Overview
ELITEA Pipelines are powerful workflow automation tools that enable you to visually design and execute complex sequences of actions and decisions. Each pipeline is purpose-built to orchestrate multi-step processes by connecting various nodes—including LLM interactions, toolkit integrations, conditional logic, and custom code execution. Pipelines seamlessly interact with external services and data sources, allowing you to automate sophisticated workflows ranging from data processing and decision-making to integration with platforms like Jira, GitHub, and Salesforce. Why Use Pipelines? Unlike manual task execution or simple automation, pipelines provide a structured approach to complex workflow automation:- Workflow Orchestration: Automate multi-step processes with conditional logic, loops, and parallel execution paths
- Visual Design: Design complex workflows using an intuitive drag-and-drop interface or advanced YAML configuration
- Service Integration: Connect multiple tools and services in a single workflow for seamless data flow
- Reusability: Create modular, reusable workflows that can be nested and combined for different use cases
- Scalability: Handle both simple linear processes and intricate multi-branch workflows with equal efficiency
- Node-Based Design: Build workflows by connecting nodes representing different actions—LLM calls, agent interactions, toolkit operations, code execution, routers, and decision points
- Visual or Code Configuration: Use the Flow Designer for visual workflow creation or switch to YAML Editor for advanced programmatic configuration
- Execution & Integration: Connect toolkits, agents, and MCPs to extend capabilities; configure model settings and conversation flows for interactive pipelines
- Visual Workflow Design: Intuitive Flow Designer with drag-and-drop nodes for easy workflow creation and management
- Conditional Logic: Implement complex decision trees using Router and Decision nodes for dynamic workflow paths
- Multi-Service Integration: Connect external toolkits, agents, MCPs, and nested pipelines within a single workflow
- Flexible Configuration: Toggle between visual Flow Designer and YAML Editor for different levels of customization
- State Management: Track and modify workflow state throughout execution using State Modifier nodes
- Version Control: Create, manage, and compare different versions of pipelines for iterative development
Navigating the Pipelines Menu
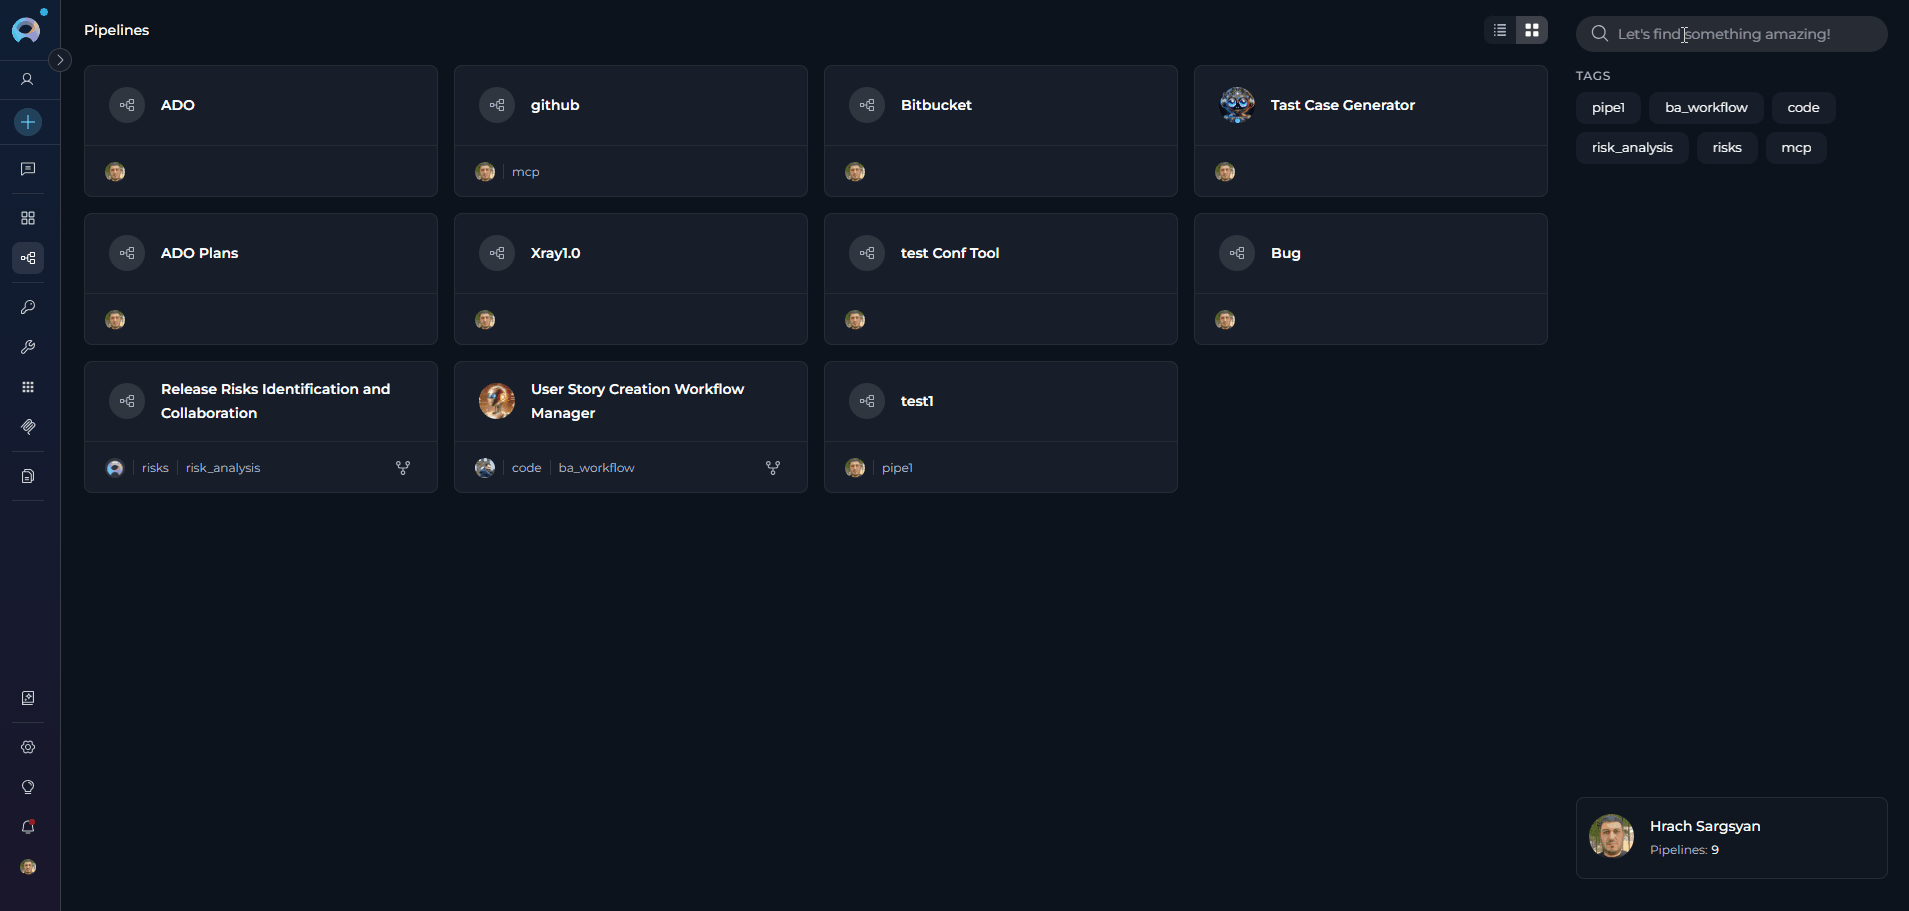
The Pipelines menu is accessible from the main platform navigation. Upon entering the Pipelines section, you’ll see a dashboard listing all created pipelines for your project.
Pipelines Dashboard
The Pipelines dashboard provides multiple ways to view and manage your pipelines: View Options- Card View - Visual cards displaying pipeline name, description, and key information. Ideal for browsing and quick identification.
- Table View - Compact table format with columns for name, description, status, and metadata. Better for managing large numbers of pipelines.

- Search Bar - Quickly find pipelines by typing the pipeline name, description, or related keywords
- Filter by Tags - Filter pipelines by their assigned tags to find workflows in specific categories or with particular characteristics. Click tags to narrow down the list.
- Locate the pipeline you want to pin
- Click the pin icon (📌) on the pipeline card or in the table row
- Pinned pipelines will appear at the top of the list, separated from unpinned ones
- Click the pin icon again to unpin the pipeline
Creating a Pipeline
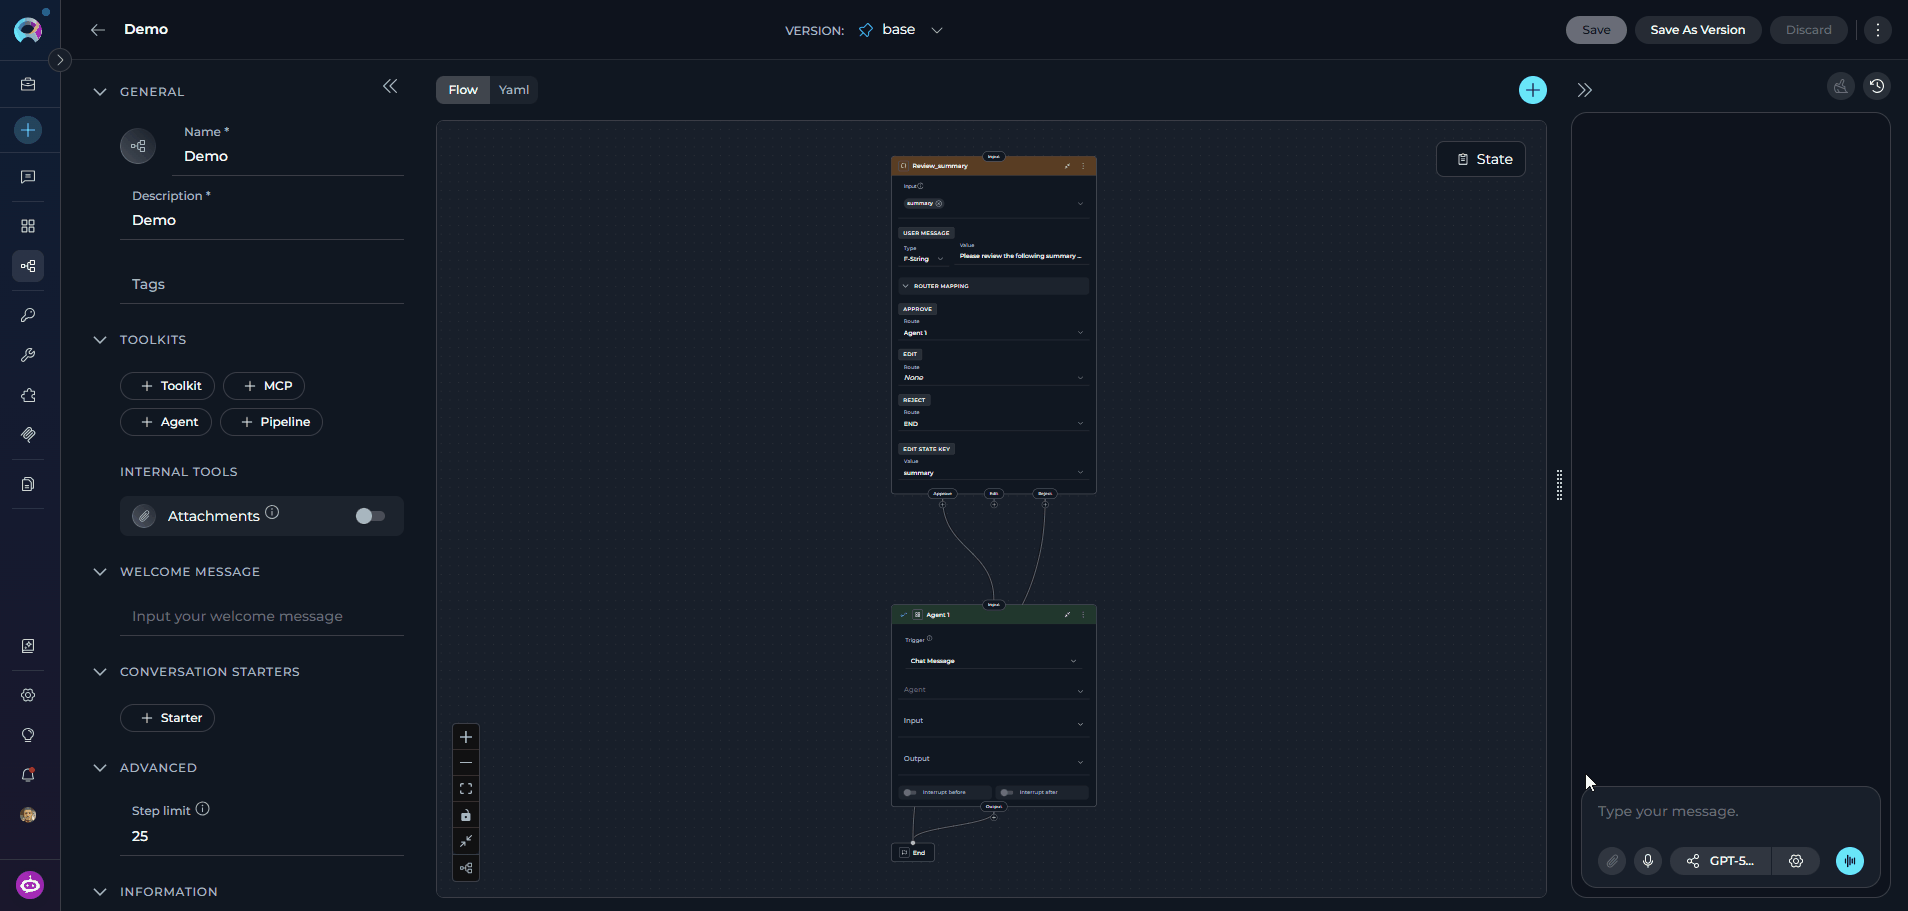
The pipeline creation flow follows a two-phase approach: first you provide the pipeline metadata and save, then the full editor environment — including the Flow/YAML designer, tools, and the embedded test chat — becomes available. Phase 1: Fill in Pipeline Metadata- Click the + Create button located in the sidebar navigation.
-
In the General section, fill out the required fields:
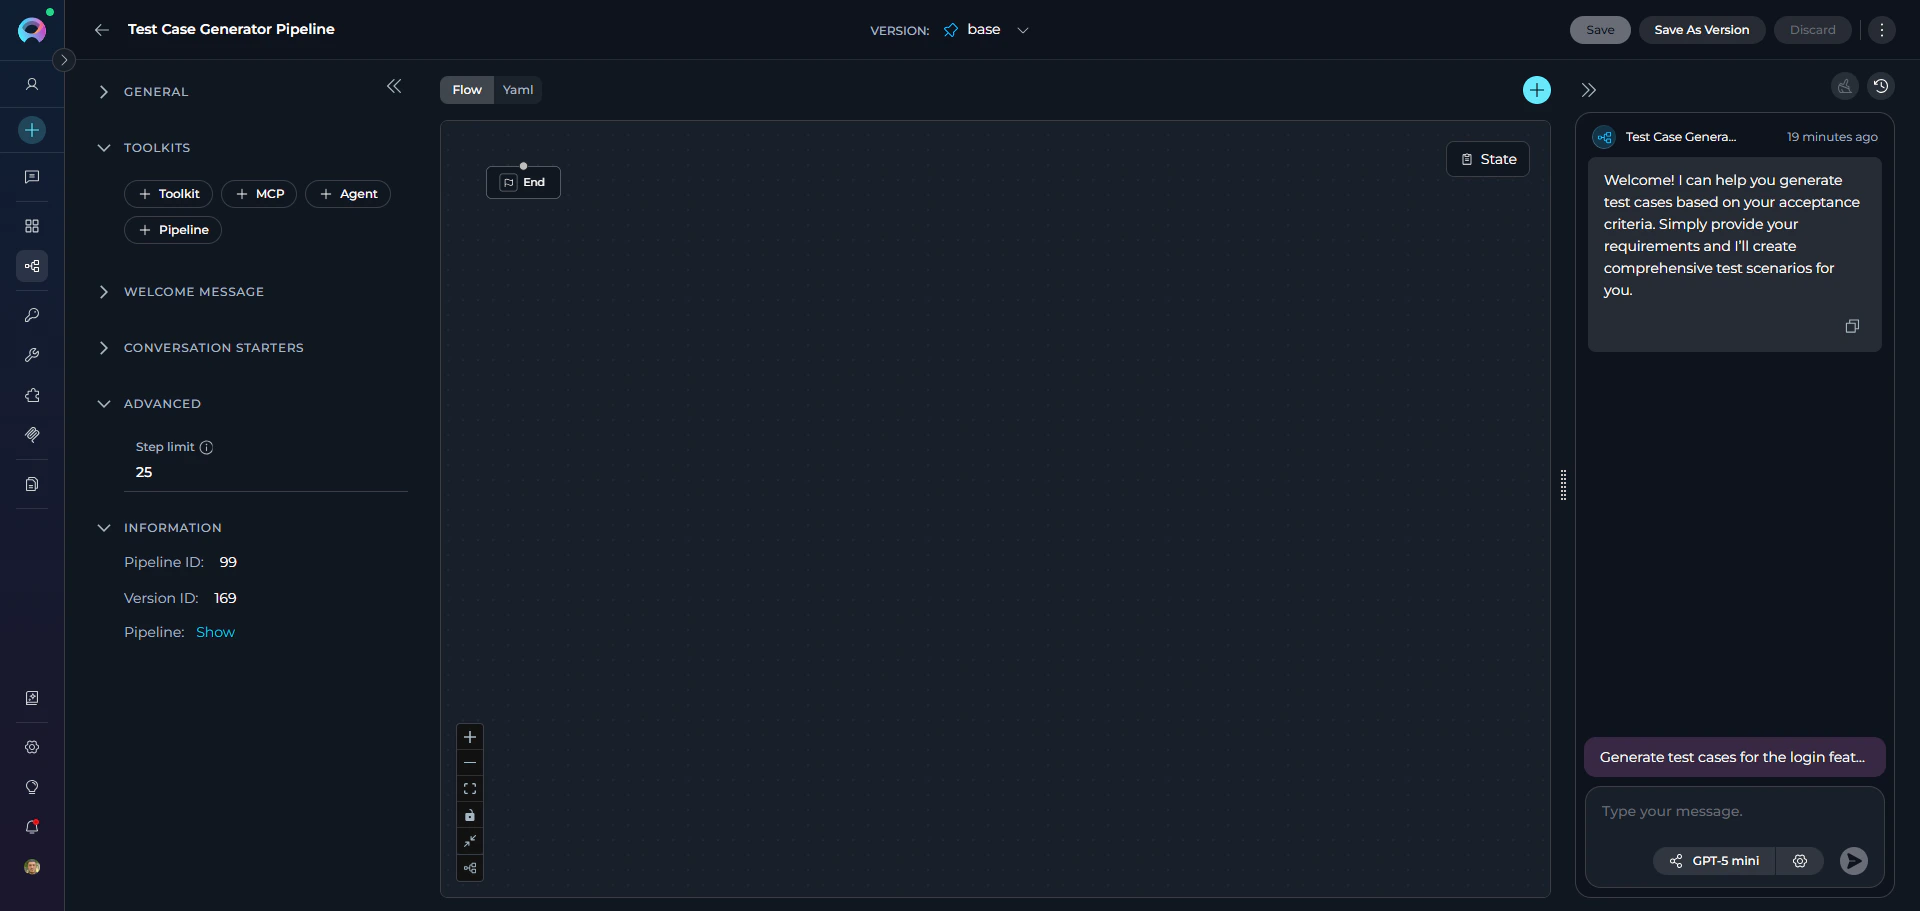
- Name: Enter a unique name for your pipeline (e.g., “Test Case Generator Pipeline”)
- Description: Provide a clear description of the pipeline’s purpose (e.g., “Automatically generates comprehensive test cases from acceptance criteria and user stories”)
-
Optionally, add and configure:
- Tags: Add tags by typing a tag name or selecting from pre-existing tags
- Welcome Message: Define a welcome message to guide users interacting with the pipeline. (e.g., “Welcome! I can help you generate test cases based on your acceptance criteria. Simply provide your requirements and I’ll create comprehensive test scenarios for you.”)
- Conversation Starters: Add predefined commands or prompts to initiate interactions with the pipeline. (e.g., “Generate test cases for the login feature” or “Create test scenarios for payment processing”)
-
In the Advanced section (optional):
- Step Limit: Set the maximum number of tool execution steps the pipeline can perform in a single turn (range: 0-999, default: 25). This parameter controls how many iterations the pipeline can execute before stopping, preventing infinite loops and managing resource usage. A higher step limit allows more complex multi-step workflows, while a lower limit ensures faster execution for simpler tasks.
-
In the Editor Notes section (optional):
- Notes: Add internal documentation for the current pipeline version, such as rollout reminders, implementation notes, or review comments. These notes are for editors only and are not sent to the LLM or used during execution.
-
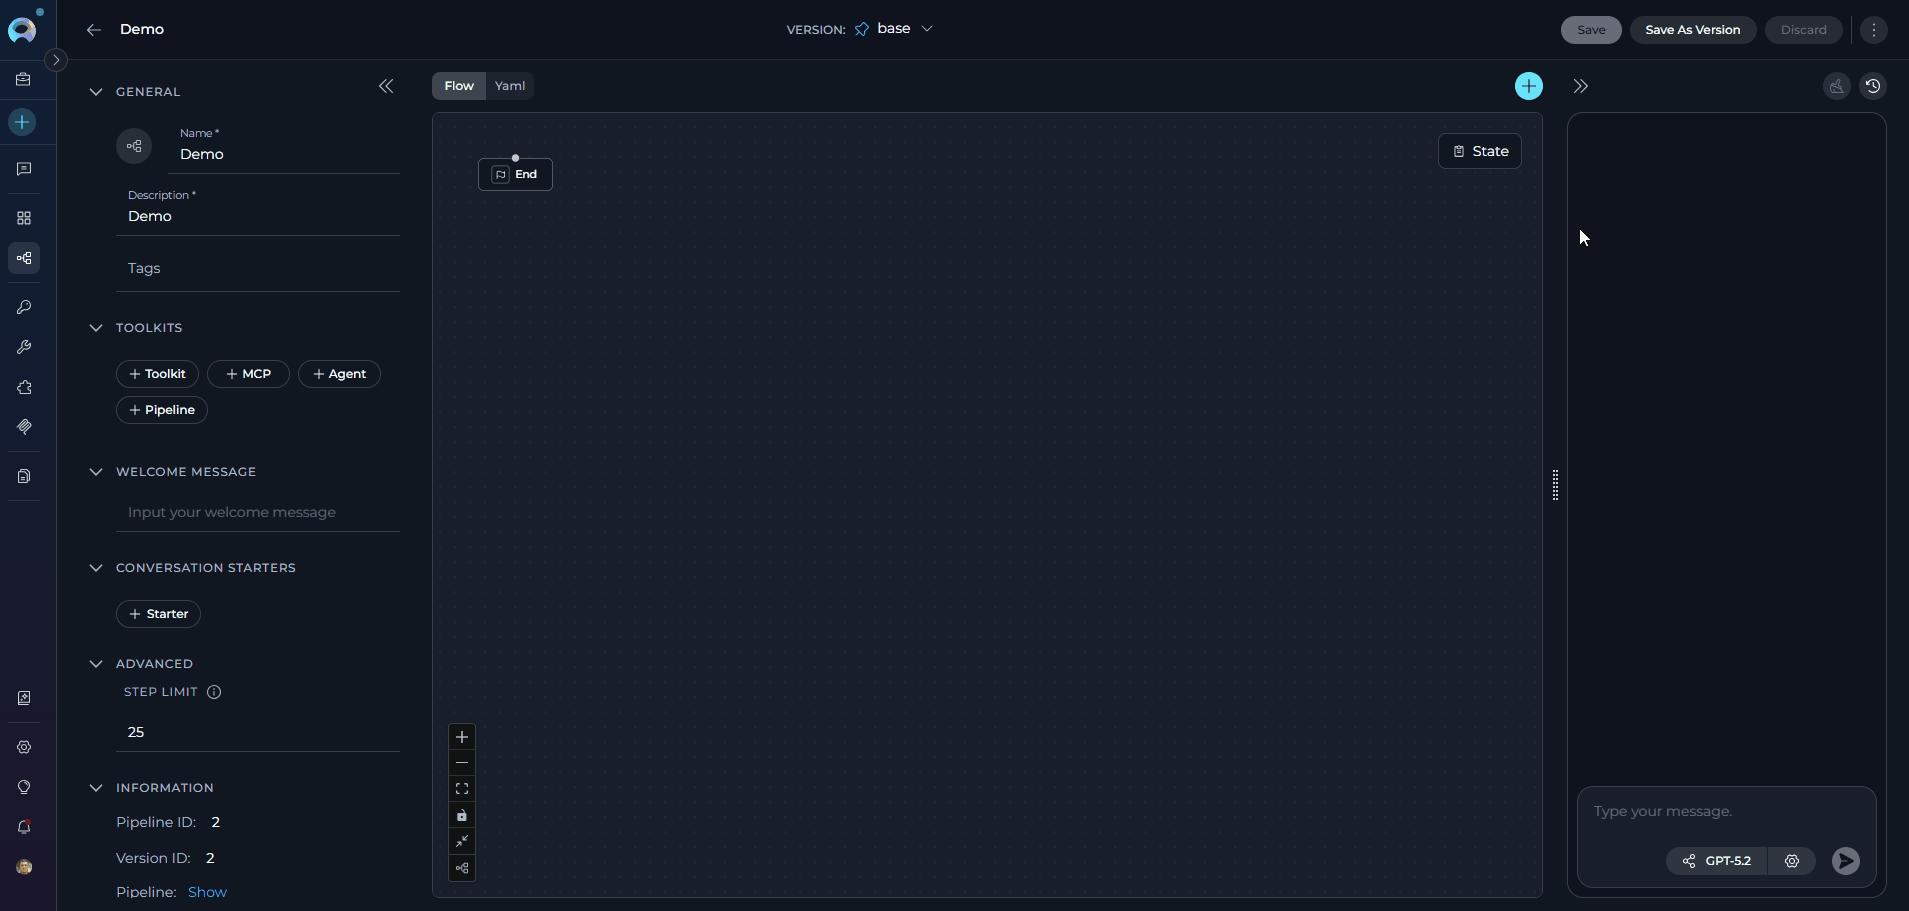
Click Save to create the pipeline. This action creates what’s known as the “base” version of your pipeline.
- Left panel — the configuration form with all settings sections (General, Tools, Variables, Welcome Message, Conversation Starters, Advanced, Editor Notes, Information)
- Center panel — the Flow/YAML editor for visually designing or coding your pipeline workflow
- Right panel — an embedded live chat panel for testing the pipeline without leaving the editor
- Add Toolkits: Integrate external services and APIs to extend your pipeline’s capabilities
- Add Agents, MCPs, and nested Pipelines: Include other agents, Model Context Protocol servers, or other pipelines to extend functionality
- Design the Workflow: Build the pipeline flow using the visual Flow Designer or the YAML editor
- Select AI Model: Choose the appropriate language model and configure model settings
- Test Interactively: Use the embedded chat panel on the right to send messages and verify pipeline behaviour in real time
-
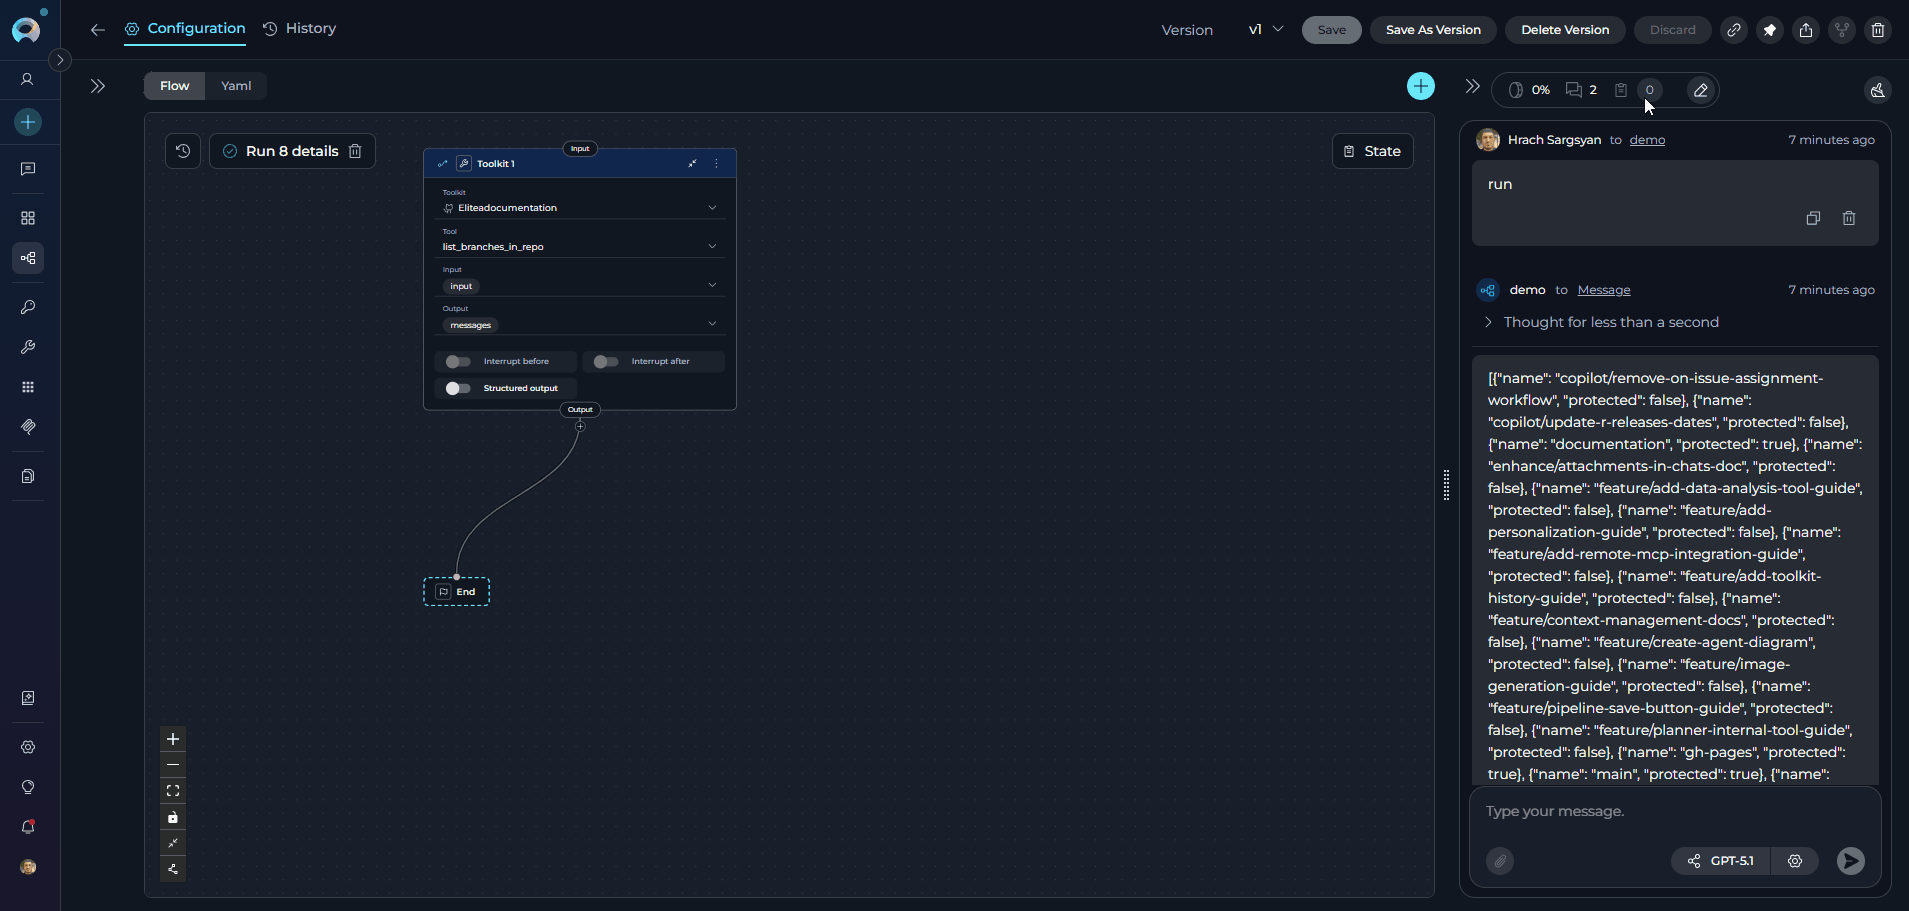
View Run History: Click the clock icon (🕐) in the top bar of the chat panel to open the Run History view
When configuring Pipelines, you can further personalize their profiles by adding a custom image along with the Name and Description. This feature allows you to create a unique, visually distinct identity for each Pipeline, making them easier to recognize and manage.To add an image: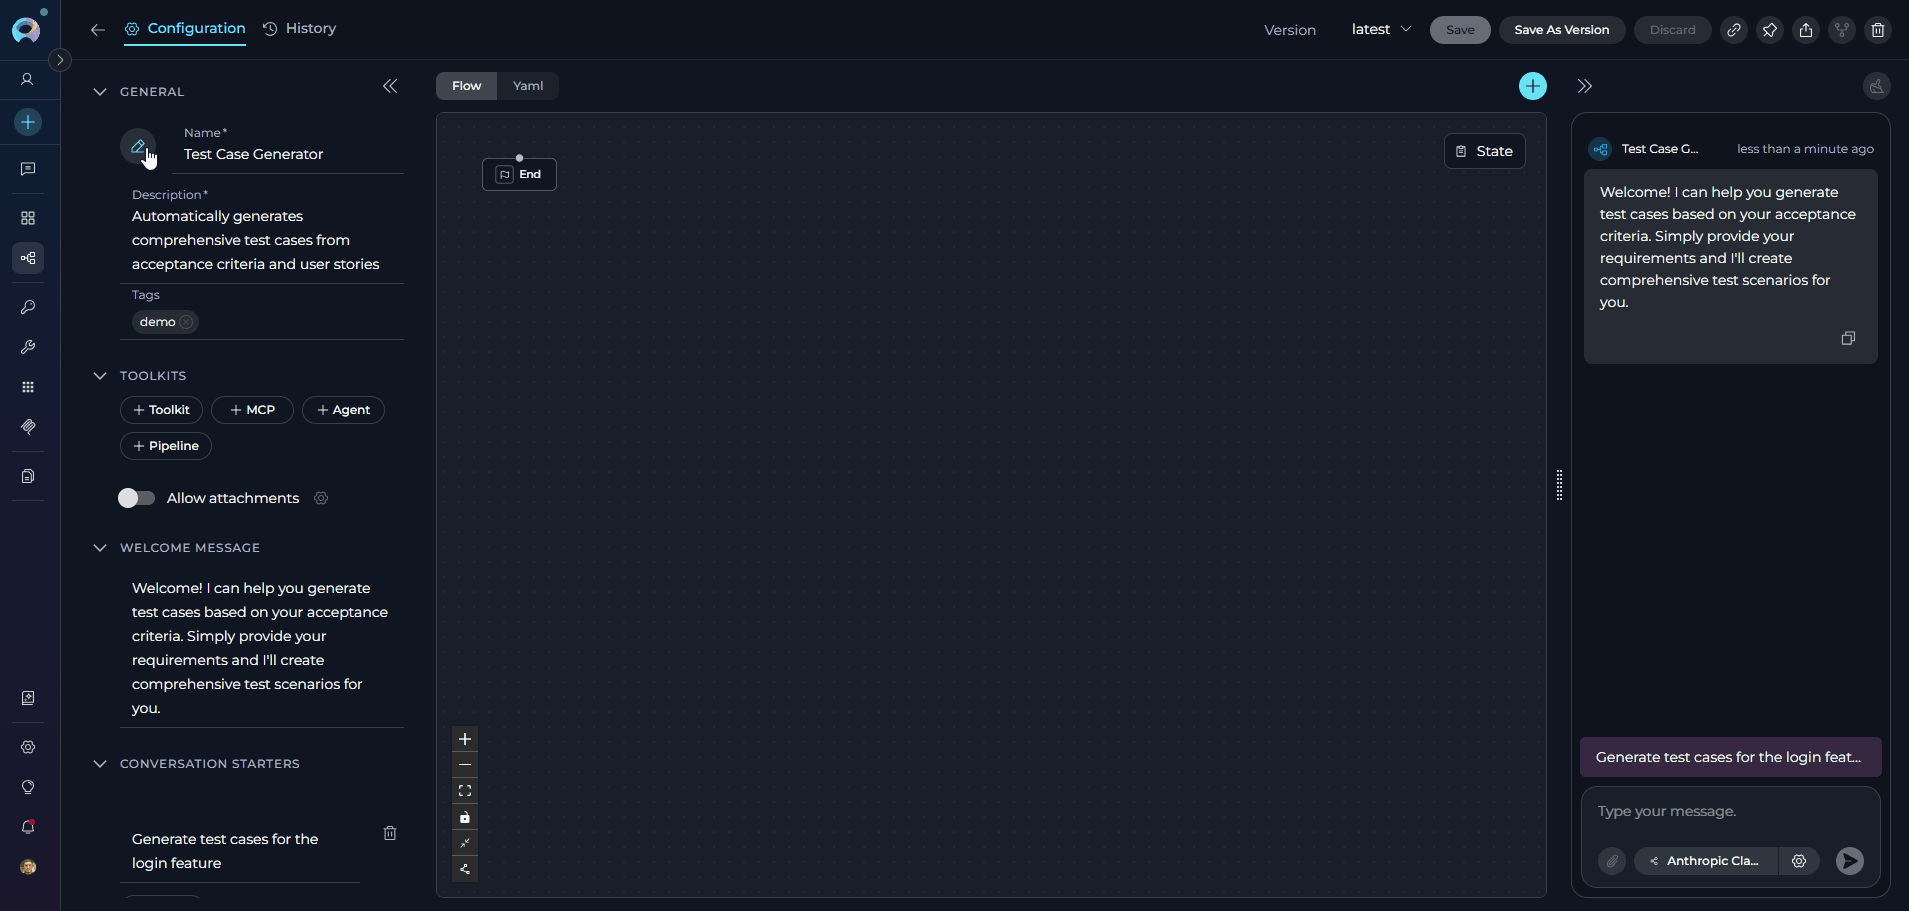
- Click the Pen Icon next to the image placeholder. Clicking this icon will open the image upload interface.
- Click the Upload a Custom Image icon to upload a custom image from your local system to personalize the Agent’s profile.
- Use Default Images from a set of default images provided by the platform.
How to Select and Configure Tools
Tools are integrations with external or ELITEA’s internal services that enhance your pipeline’s capabilities by allowing it to interact with various resources and perform specific tasks. In Tools, you can add agents, toolkits, MCPs (Model Context Protocol servers), and othr pipelines to extend your pipeline’s functionality. The TOOLS section becomes available in the left panel only after the pipeline has been saved for the first time. Adding Resources to Your Pipeline:- In the pipeline Configuration interface, navigate to the TOOLS section
- Use the dedicated add buttons to attach resources. Each button opens its own searchable dropdown:
- +Toolkit: Browse and select from available toolkits, or click “Create new” to create a new toolkit. See Toolkits.
- +MCP: Browse and select Model Context Protocol servers, or click “Create new” to create a new MCP. See MCPs.
- +Agent: Browse and select agents to enable your pipeline to delegate tasks or collaborate with specialized agents. See Agents.
- +Pipeline:Browse other pipelines to create complex multi-step workflows by chaining pipelines together
- Each dropdown supports inline search and paginated scrolling to locate resources quickly.
Note: Your changes are saved automatically when you add or remove resources.
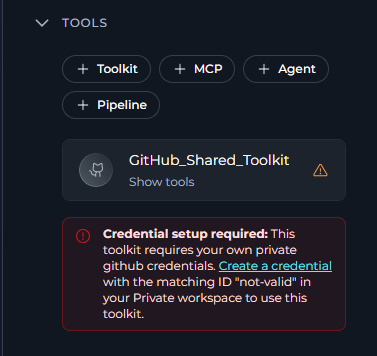
If a toolkit added to your pipeline uses shared credentials that require each user to supply their own private copy, a Credential setup required warning banner will appear on the tool card. Click the Create a credential link in the banner to create a matching private credential in your Personal workspace. See Shared Toolkit Credentials for details.
EDITOR NOTES
The EDITOR NOTES section is a separate accordion in the left configuration panel. It is intended for internal documentation about the current pipeline version. Use this field to record implementation notes, review comments, rollout reminders, or other editor-facing context that should stay with the pipeline configuration.- The content is not sent to the LLM, not included in chat or execution, and not used in monitoring
Use this version for staging validation only.Pending toolkit credential rotation before production rollout.Draft variant created for testing alternative routing logic.
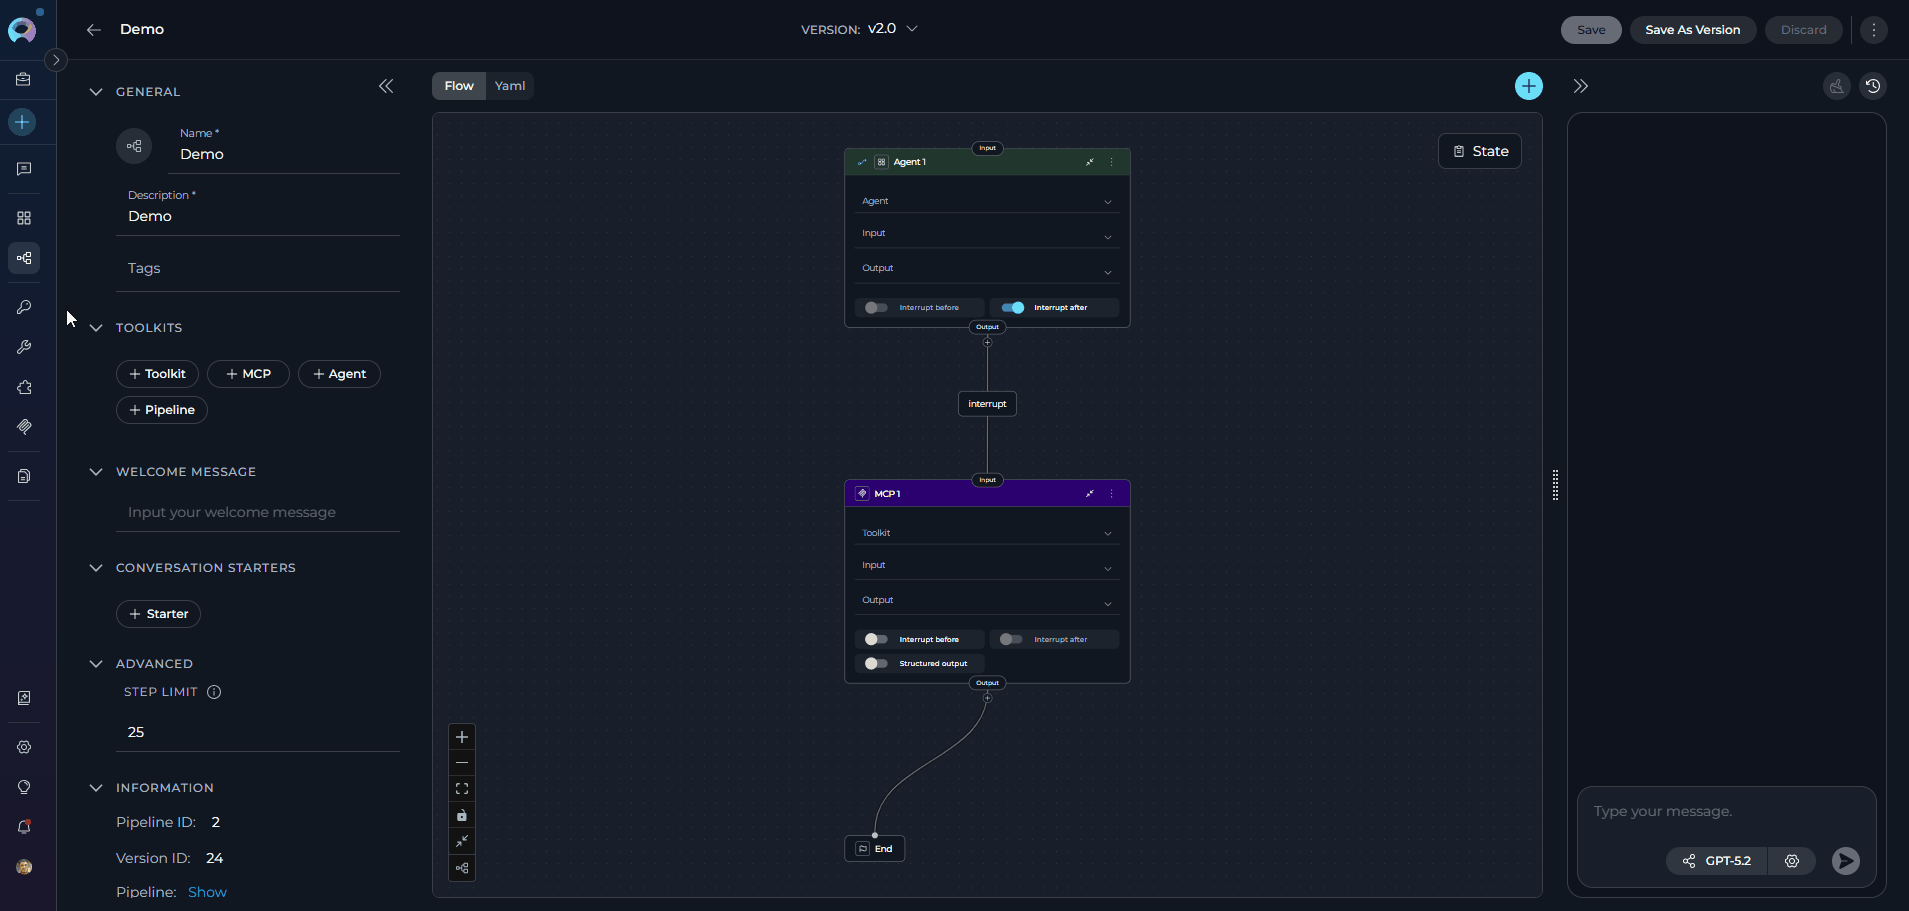
Designing Your Pipeline
After the pipeline has been saved for the first time, the center panel of the pipeline editor contains the Flow/YAML Editor. Use the Flow/YAML toggle at the top of the editor to switch between the two modes.State Management
The State feature in pipelines allows you to define and manage variables that persist throughout the entire pipeline execution. State variables enable data to be shared between different nodes, maintain context across workflow steps, and control the flow of information through your pipeline. What is Pipeline State? Pipeline state is a collection of key-value pairs that store data during pipeline execution. These variables can be accessed and modified by any node in your workflow, making it possible to:- Pass data between nodes without explicit connections
- Store intermediate results for later use
- Implement conditional logic based on accumulated data
- Track workflow progress and decision outcomes
Every pipeline includes two built-in default state variables that are automatically available without manual configuration:
inputs- Captures user input and data provided when the pipeline is executedmessages- Stores the conversation history and message exchanges throughout pipeline execution
- In the left panel, locate the State section
- Click + Context to create a new state variable
-
Enter a Variable Name (use descriptive names like
project_id,analysis_result,counter) - Set an default Value (optional) - can be text, numbers, or JSON objects
-
Click Save to apply your changes

- State Modifier Nodes: Use these specialized nodes to read from and write to state variables during pipeline execution
- Reference in Nodes: Access state variables in other nodes using the syntax
{{state.variable_name}} - Conditional Logic: Use state variables in Decision and Router nodes to control workflow branches
- Data Transformation: Pass state values between LLM, Code, and Toolkit nodes for complex processing
For detailed information about advanced state management techniques and examples, see the Pipeline State Management Guide.
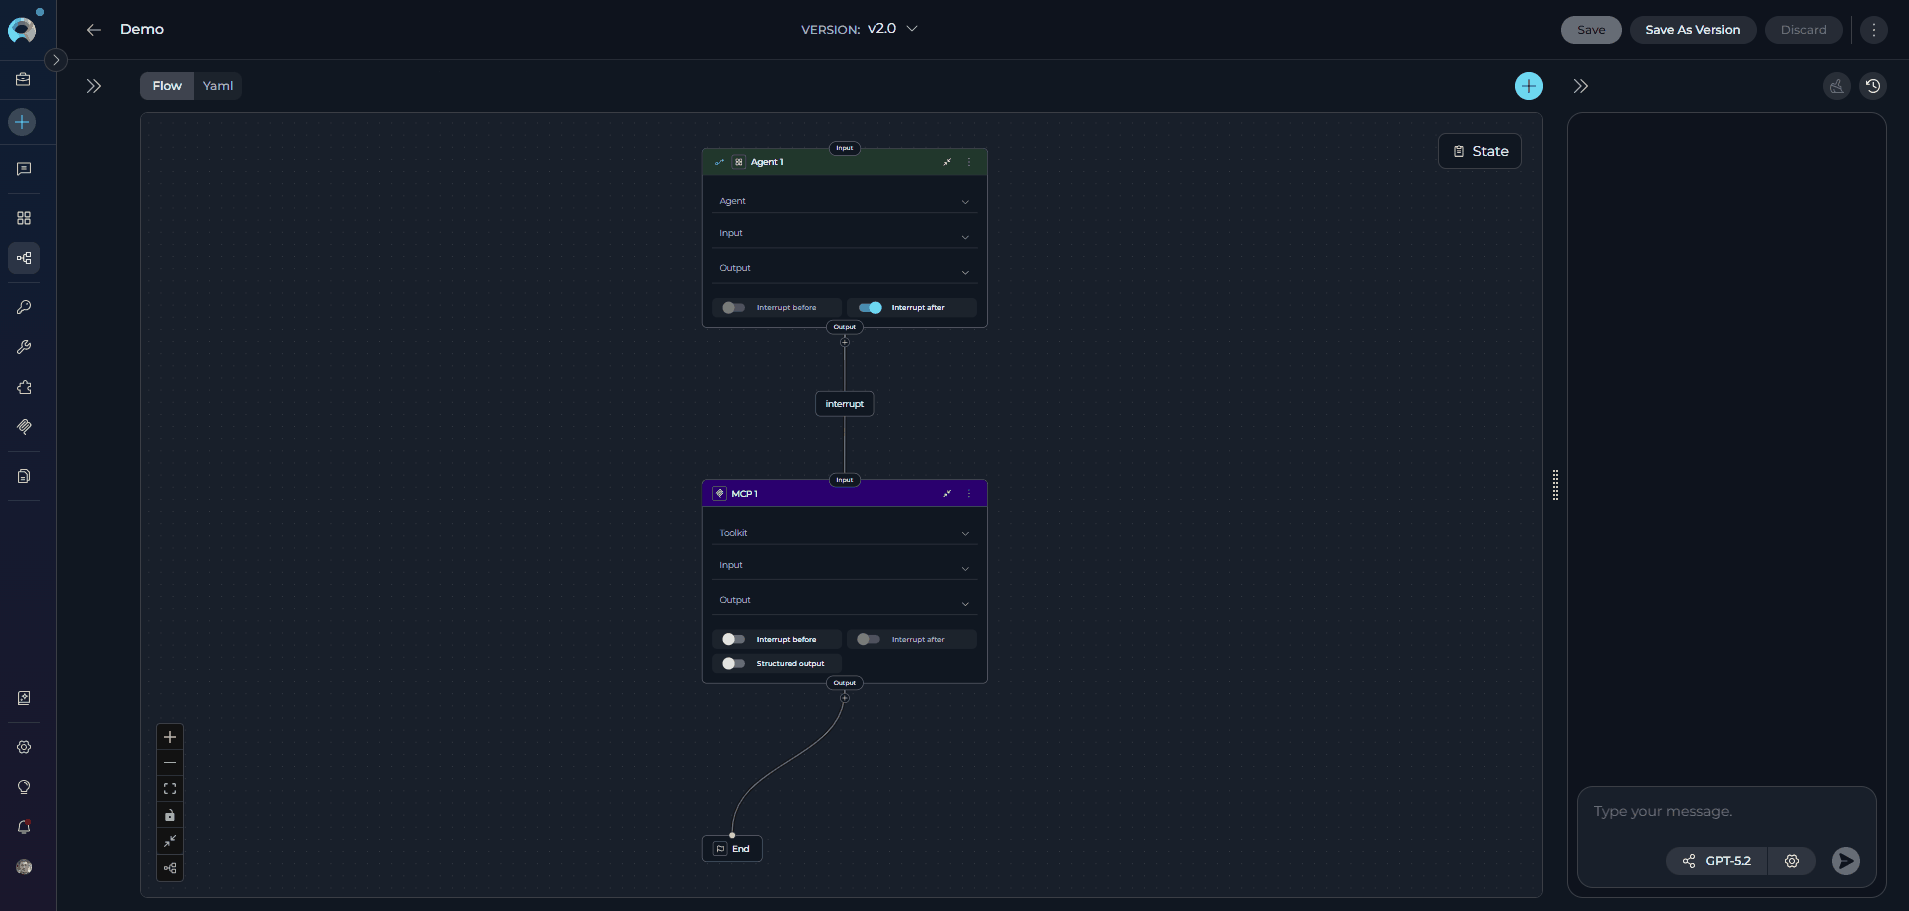
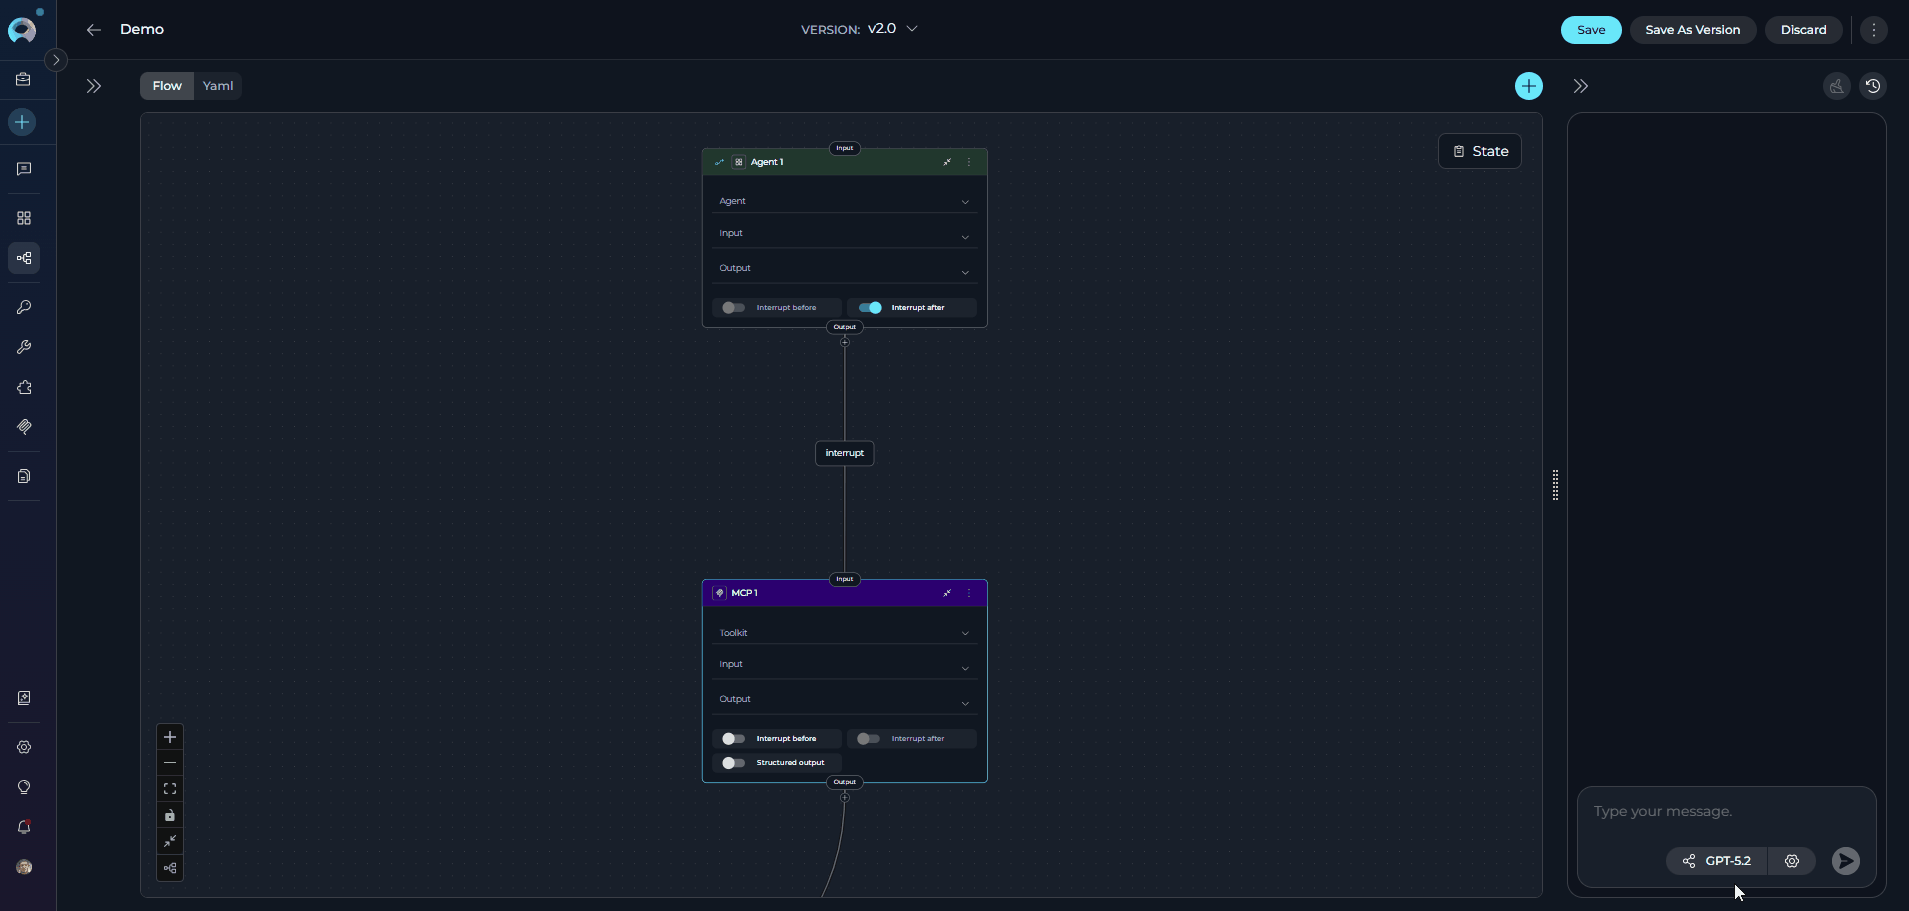
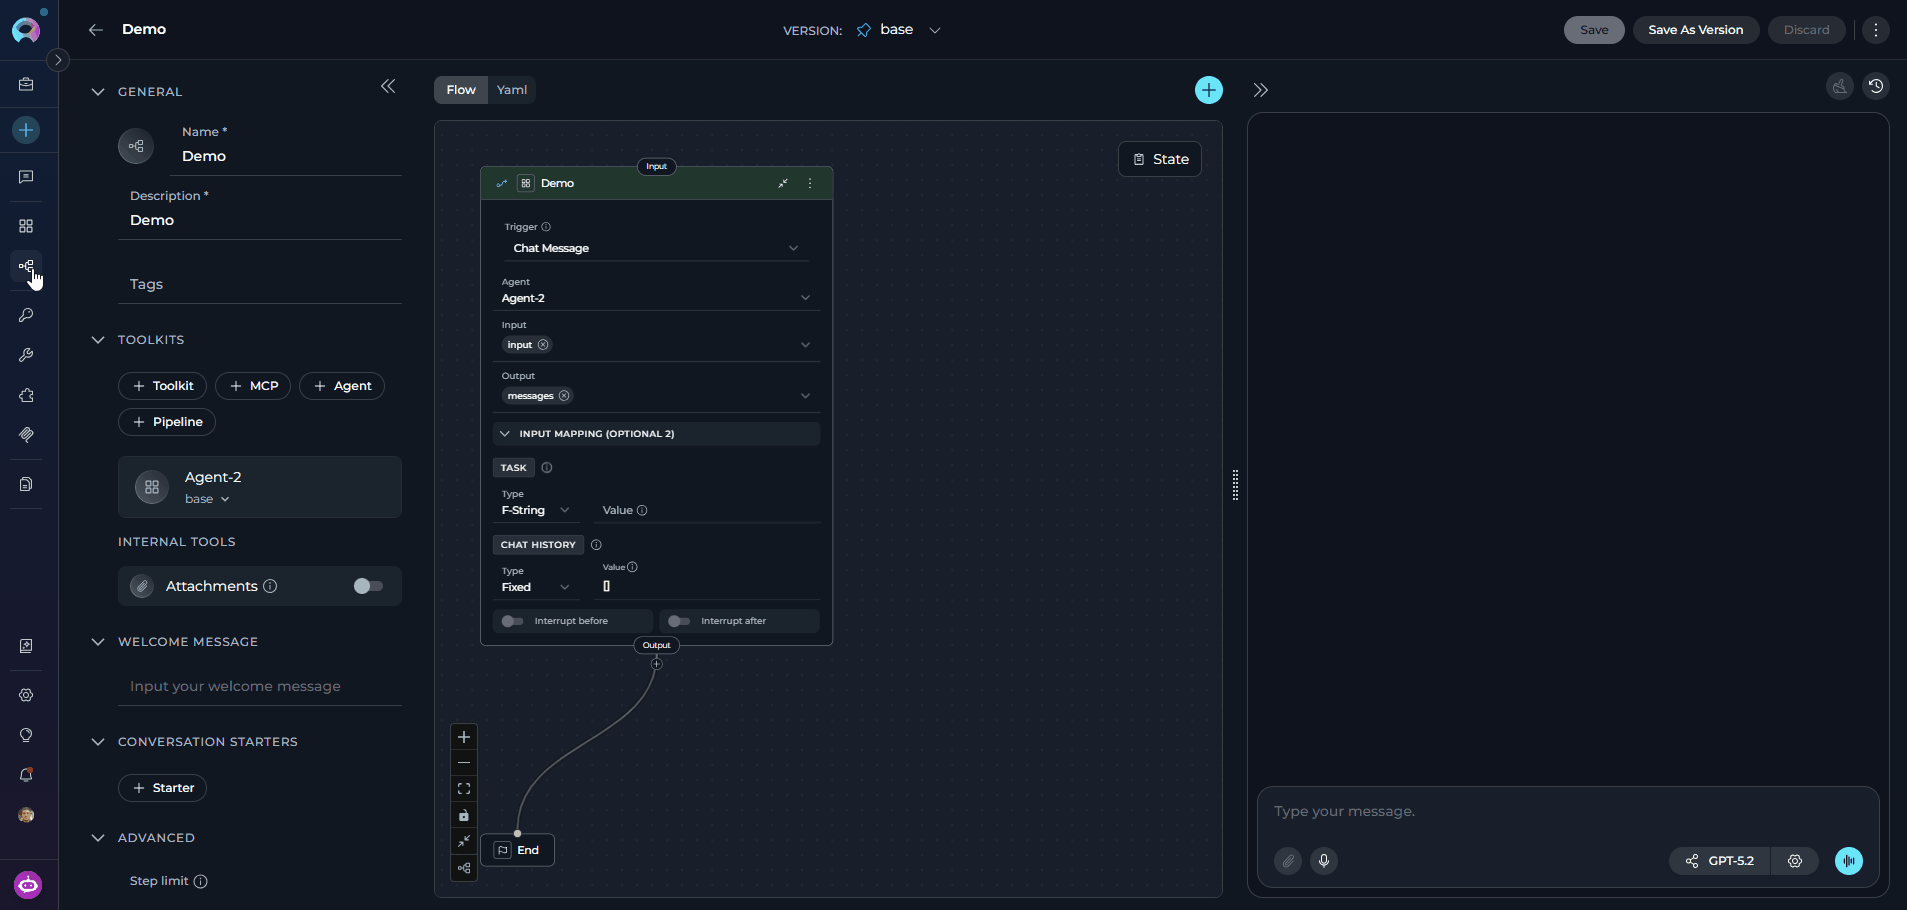
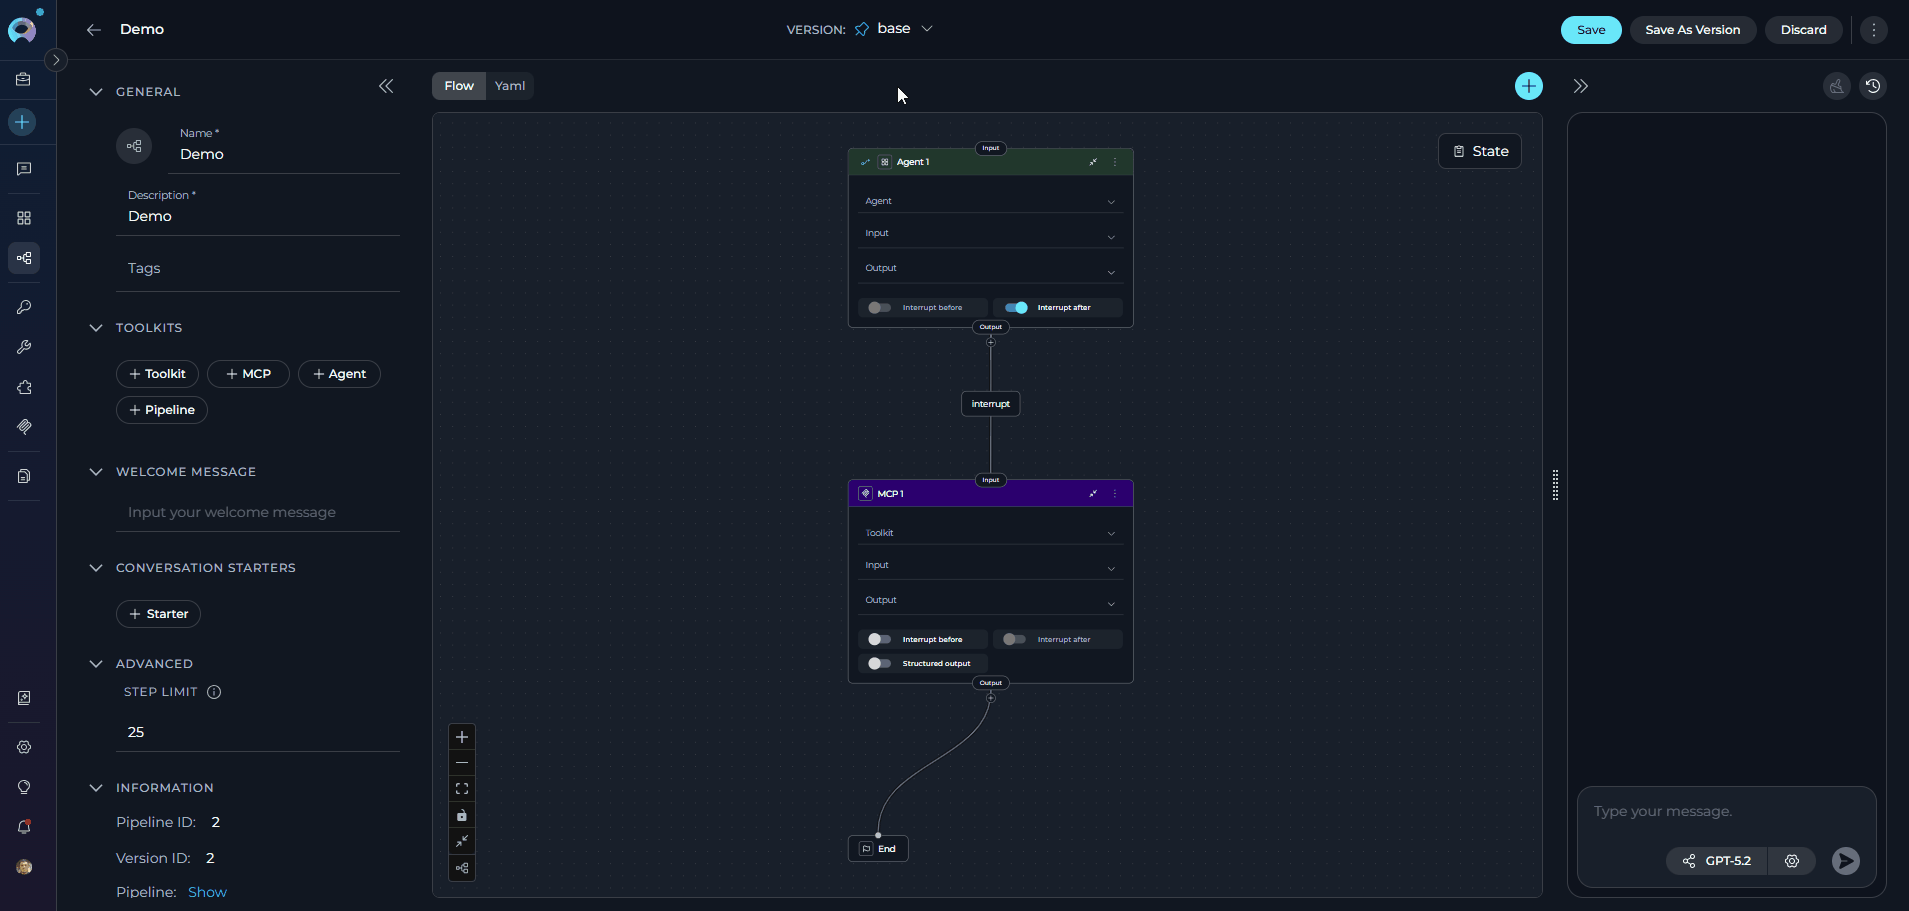
Flow Designer:
- Use Flow mode (selected via the Flow/YAML toggle in the editor panel) to visually design your pipeline by connecting various nodes, such as LLM, Agent, Toolkit, MCP, Code, Custom, Router, Decision, State Modifier, and Printer.
- Add new nodes by clicking the + icon and selecting the desired node type from the dropdown menu.
- Use the End node to define the completion of the pipeline.
- Drag and drop connections between nodes to establish the workflow’s logic and transitions.
-
Zoom in or out and adjust the view for better navigation and management of complex workflows.
For comprehensive information about using the Flow Designer and advanced workflow design techniques, see the Flow Designer Guide.
YAML Editor:
- Switch to YAML mode using the Flow/YAML toggle in the editor panel for code-based configuration.
- Define complex workflows, conditions, and logic that may not be easily achievable through the visual Flow Designer.
- Use the YAML editor to fine-tune node configurations, set advanced parameters, and integrate custom logic.
- Validate your YAML syntax to ensure the pipeline runs smoothly without errors.
- This is particularly useful for users who prefer a code-first approach, need to implement intricate logic, or want to replicate and modify existing pipelines efficiently.
For detailed information about YAML syntax, configuration options, and advanced pipeline programming, see the YAML Editor Guide.
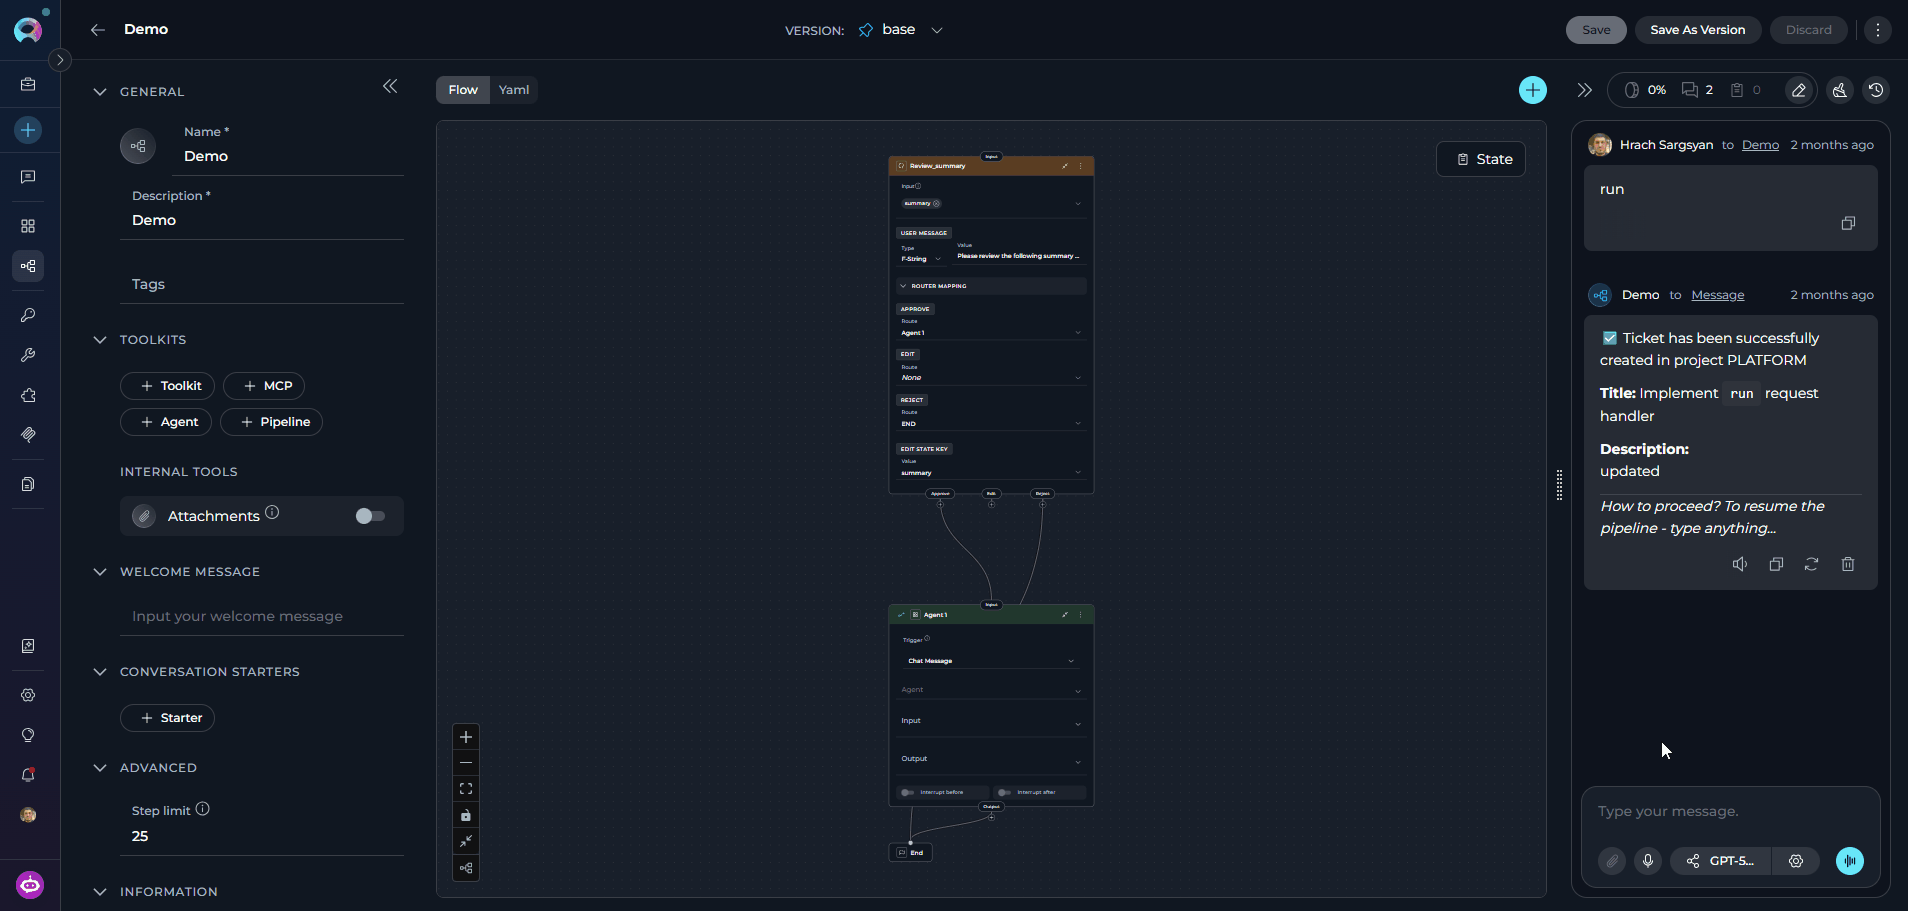
How to Execute Pipeline
To execute the pipeline and get the output:- Configure the Pipeline: Ensure your pipeline is properly configured with clear instructions and any necessary tools.
- Navigate to Pipeline: Access the pipeline’s interface by clicking on the pipeline from your pipelines list.
- Select the AI Model: In the interface, choose the appropriate AI model (e.g., gpt-4o, gpt-5.1, etc.) from the model selection dropdown.
-
Adjust Model Settings (Optional): Click the Model Settings icon (⚙️) next to the model selector to fine-tune the response generation. The settings vary depending on the selected model:
For Reasoning Models (e.g., GPT-5.1):
- Reasoning - Controls the depth of logical thinking and problem-solving with three levels:
- Low: Fast, surface-level reasoning with concise answers and minimal steps
- Medium: Balanced reasoning with clear explanations and moderate multi-step thinking (default)
- High: Deep, thorough reasoning with detailed step-by-step analysis (may be slower)
- Creativity - Controls response randomness and creativity. Lower values produce more focused and deterministic outputs, while higher values generate more diverse and creative responses with five levels (1-5):
- 1: Highly focused and deterministic outputs
- 2: Mostly focused with slight variation
- 3: Balanced between focus and creativity (default)
- 4: More varied and creative responses
- 5: Maximum creativity and diversity
- Auto (default): System automatically sets the token limit to 4096 tokens
- Custom: Manually set a specific token limit for responses
- When Custom is selected, you can enter a specific number of maximum tokens
- The interface shows remaining tokens available after your specified limit
- Setting too high a value will show an error if it exceeds the model’s maximum output tokens
- Reasoning - Controls the depth of logical thinking and problem-solving with three levels:
-
Start Interaction: Begin your conversation by either:
- Clicking on a Conversation Starter (if configured) to use a predefined prompt
- Typing your question or command directly into the chat input field
- Using simple commands like “Go”, “Start Generating”, “Execute”, or “Run it” followed by clicking the Send button
- Full Screen Mode: Increase the size of the output window for better visibility and focus. This mode can be activated to expand the output interface to the full screen.
- Continue the Dialogue: To keep the conversation going, simply type your next question or command in the chat box and click the Send icon.
- Copy the Output: Click the Copy to Clipboard icon to copy the generated text for use elsewhere.
- Regenerate Response: If the output isn’t satisfactory, click the Regenerate icon to prompt the Gen AI to produce a new response.
- Delete Output: To remove the current output from the chat, click the Delete icon.
- Purge Chat History: For a fresh start or to clear sensitive data, click the Clean icon to erase the chat history.
-
Like or Dislike the Output:
- Click the Like icon if the output meets your expectations.
- Click the Dislike icon if the output is unsatisfactory. Upon disliking, you will have the option to leave a comment explaining why the output did not meet your expectations. This feedback helps improve the system’s performance and relevance.
Managing Context Budget
When thecontext_manager secret is enabled at the project level, the Context Budget widget appears during pipeline execution to help you manage token usage effectively. This feature provides intelligent control over conversation token consumption through automated message pruning and summarization.
What is Context Management?
Context Management helps maintain conversation continuity while staying within model token limits by automatically managing message history, generating summaries of older conversations, and preserving important messages. This ensures your pipeline can handle longer conversations without hitting token limitations.
Key Features:
- Real-time Token Tracking: Monitor token consumption as your pipeline processes requests
- Automatic Pruning: System removes older messages when context limit is reached
- Conversation Summarization: Generate summaries of conversation history to preserve context
- Message Preservation: Configure how many recent messages to always keep
- Flexible Strategies: Choose between different pruning strategies based on your needs
-
Ensure the
context_managersecret is set totruein your project settings - Start executing your pipeline
- The Context Budget widget appears above the chat interface
-
Click to expand and view detailed metrics and configuration options
For detailed information about context management configuration, strategies, and best practices, see the Context Management Guide.
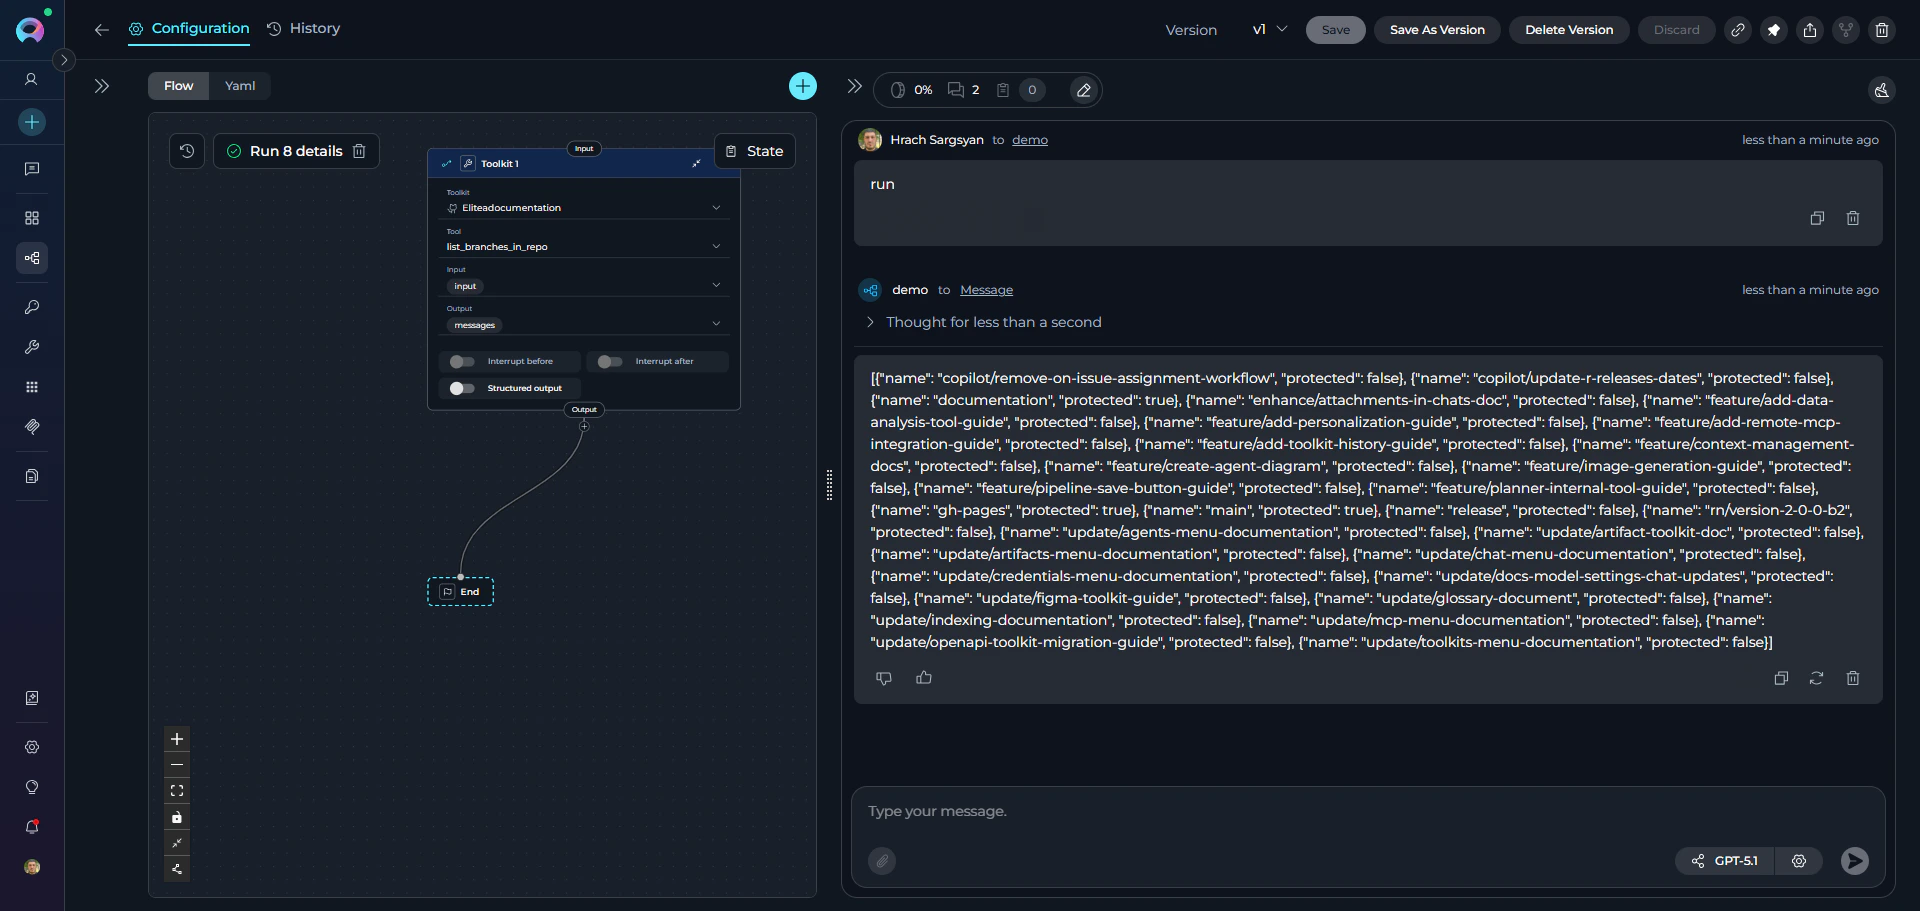
Pipeline Runs
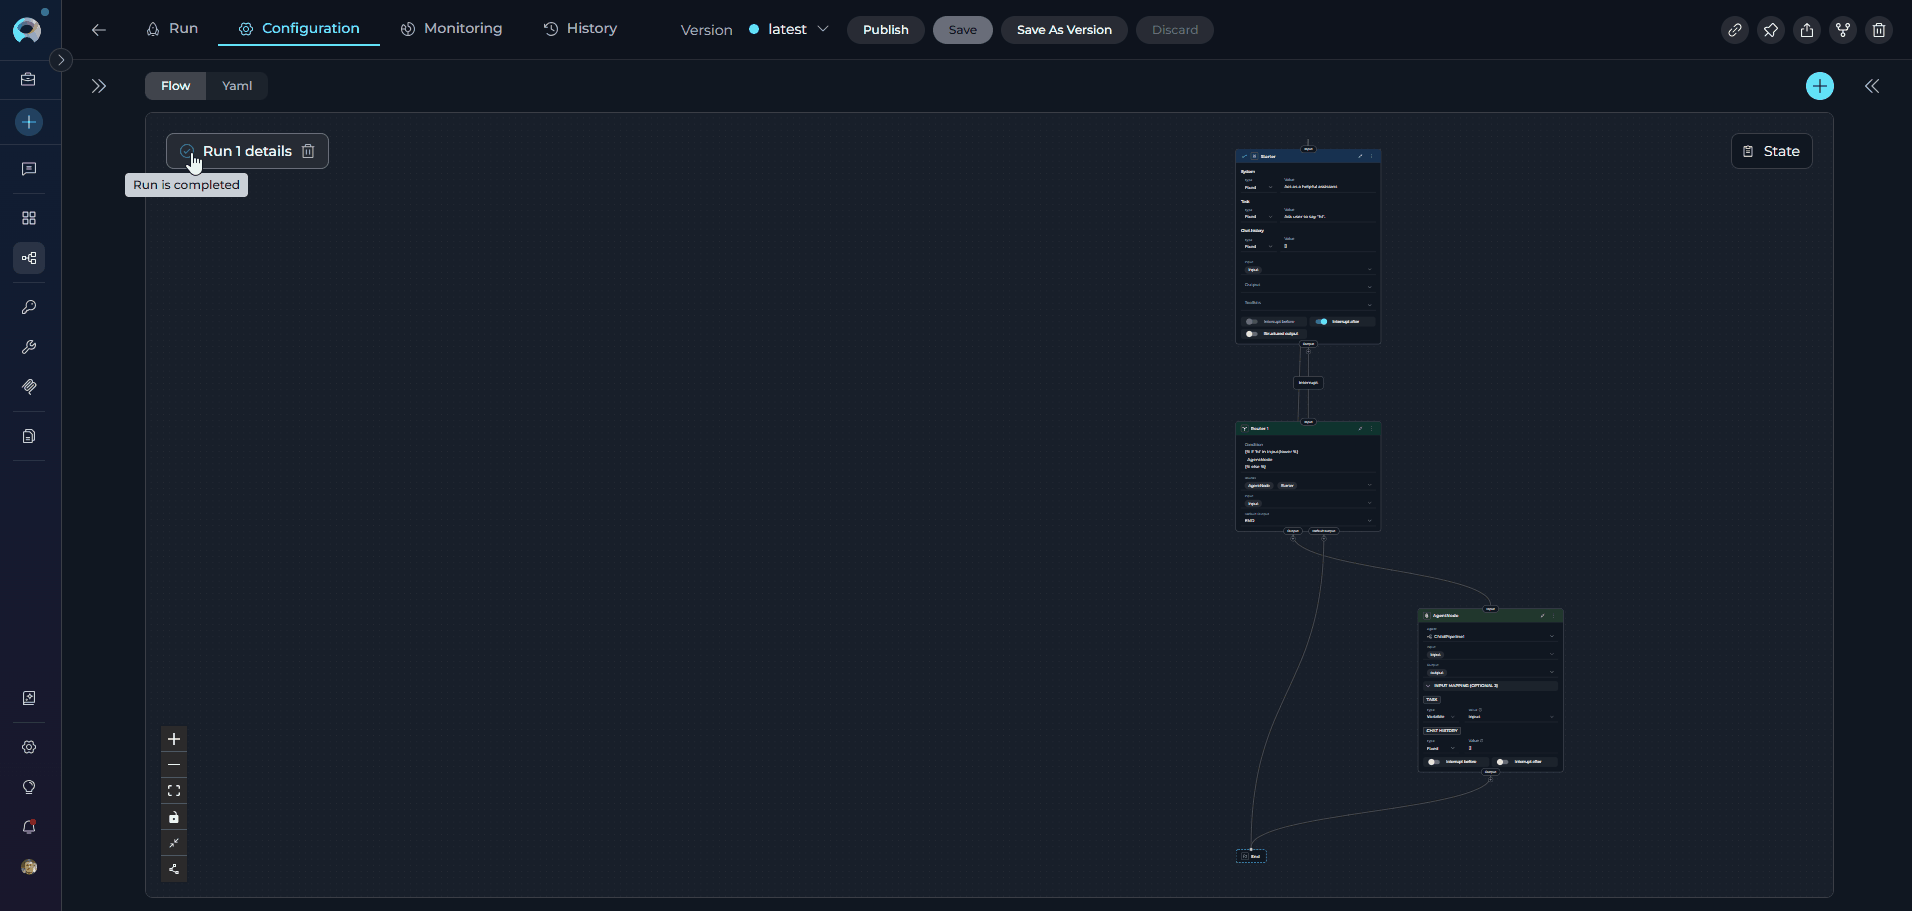
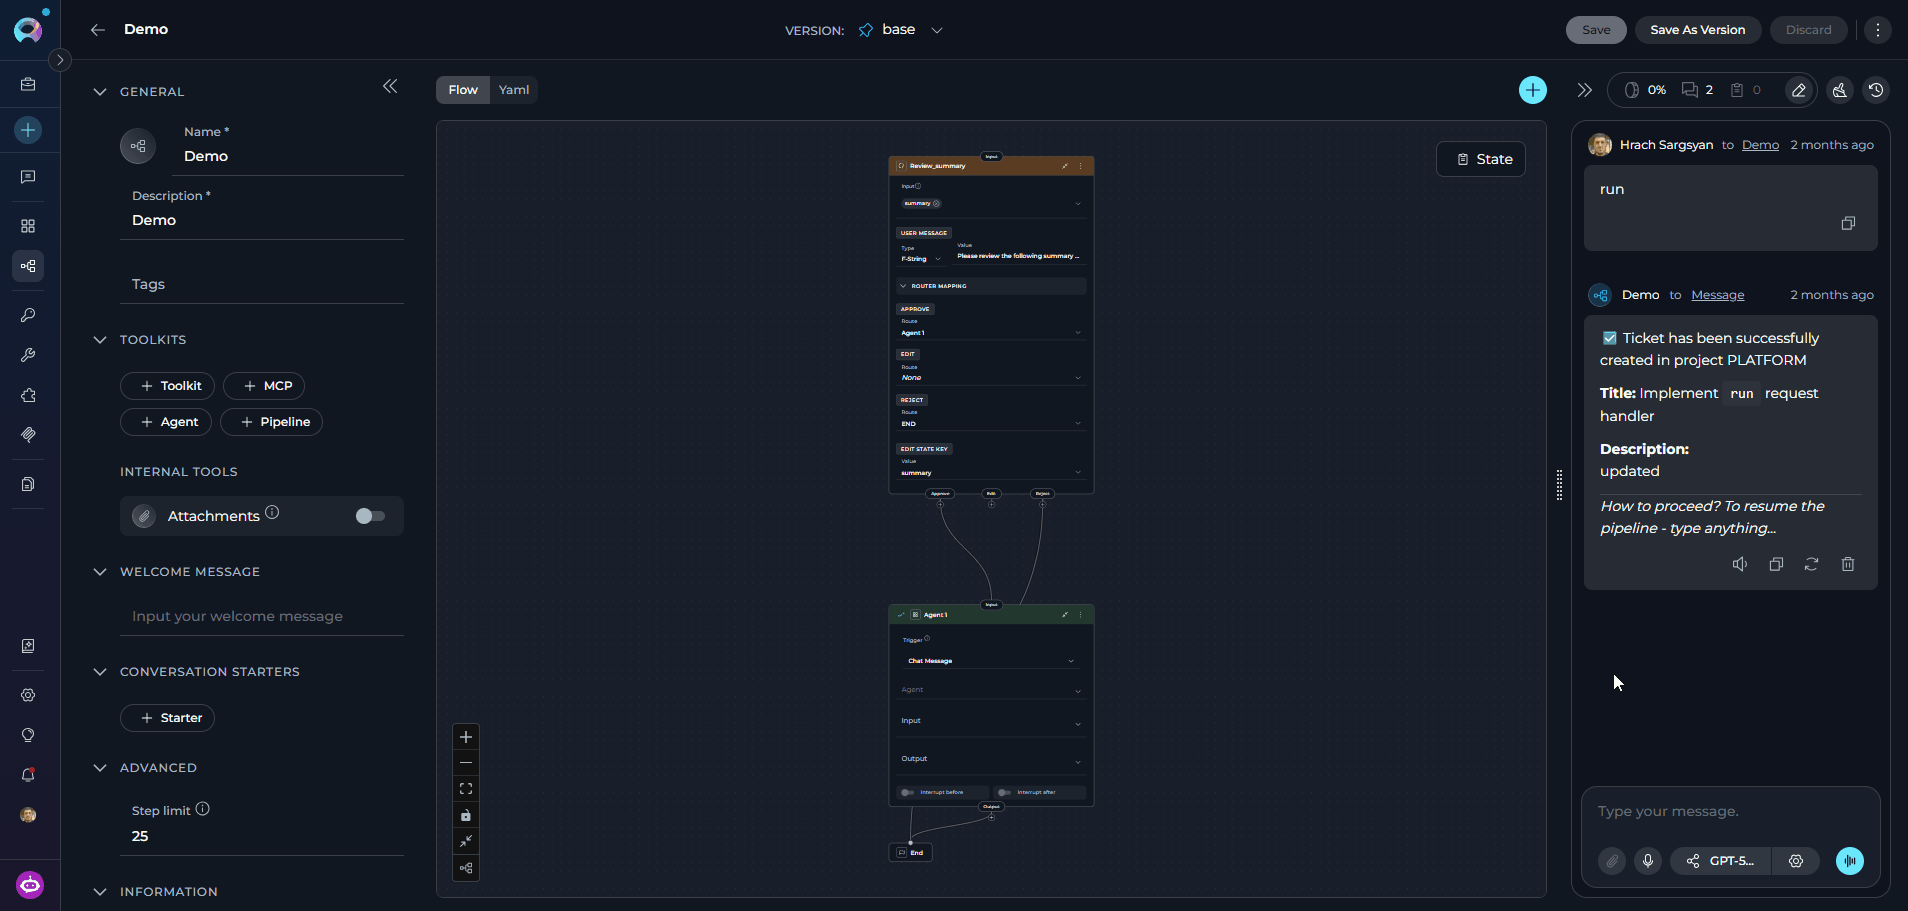
Each time you execute a pipeline, the system creates a pipeline run that captures the complete execution context, including inputs, outputs, state changes, and performance metrics. Pipeline runs provide valuable insights into how your workflows perform and help with debugging and optimization. Key Features of Pipeline Runs:- Execution Tracking: Monitor the progress and status of each pipeline execution in real-time
- Input/Output Capture: Review the exact inputs provided and outputs generated for each run
- State Evolution: Track how state variables change throughout the execution
- Performance Metrics: Analyze execution time, token usage, and resource consumption
- Error Diagnostics: Identify where failures occur and access detailed error messages
For comprehensive information about managing and analyzing pipeline runs, including advanced debugging and optimization techniques, see the Pipeline Runs Guide.
Voice Capabilities
The pipeline execution interface supports voice input and voice output, letting you dictate prompts and have pipeline responses read back to you.Voice Input
Dictate prompts into the chat input field. Transcribed text is inserted at the cursor position in real time.
Text-to-Speech
Have pipeline responses read aloud. Pause and resume playback from a mini-player pill in the input area.
Speaking Mode
Hands-free voice loop. ELITEA records, sends, speaks the pipeline’s response, and listens again — automatically.
Voice Input
Voice Input lets you dictate prompts directly into the pipeline input field. The transcribed text is inserted at the cursor position, so you can combine typed and spoken content in the same message. How to use Voice Input:- Click the microphone icon in the message input toolbar to start recording.
- Speak your prompt. A live transcript appears in the input field as you talk — interim results update in real time.
-
Click the Stop (■) button to finish recording. The final transcript is committed and focus returns to the input field.
Voice Input uses a server-side ASR (automatic speech recognition) model if configured in Settings → AI Configuration, or falls back to the browser’s built-in Web Speech API. If neither is available, the microphone icon is hidden.
Text-to-Speech
Text-to-Speech reads pipeline responses aloud. A Read out button (megaphone icon) appears in the action bar below each pipeline response when the message contains speakable text. How to use Text-to-Speech:- Click the Read out (megaphone) button below a pipeline response to start playback.
- The text is highlighted as it is read aloud.
- A playback pill appears in the input area with Pause and Resume controls.
-
Click Pause to stop playback mid-sentence; click Resume to continue from where it left off.
When a TTS model is configured in Settings → AI Configuration, ELITEA uses that model for audio generation. If no TTS model is configured, playback falls back to the browser’s built-in SpeechSynthesis API.
Speaking Mode
Speaking Mode is a continuous, hands-free voice loop. Once activated, ELITEA automatically records your speech, sends your prompt after a pause, plays back the pipeline’s response, and then starts listening again — without any manual interaction between turns. How to activate Speaking Mode:- Leave the message input field empty.
- Click the voicewave icon (shown in place of the Send button when the input is empty) to enter Speaking Mode.
- A voicewave pill with an Exit (✕) button replaces the send button, indicating Speaking Mode is active.
- Speak your prompt. After 3 seconds of silence, your message is automatically sent.
- The pipeline response streams in and is read aloud via Text-to-Speech.
- Once the response finishes playing, recording starts again for the next turn.
-
Click the ✕ button in the voicewave pill to exit Speaking Mode at any time.
Speaking Mode requires a voice recognition source (server ASR model or browser Web Speech API) for input and uses Text-to-Speech for output. If you start manual voice input while Speaking Mode is active, Speaking Mode is automatically deactivated.
File Attachments
Enable users to upload and share files — documents, images, code files, and more — directly in pipeline conversations. When Attachments are enabled, ELITEA automatically injects a file-storage and retrieval toolkit into the pipeline at execution time, and adds aninput_attachments state variable that any pipeline node can reference.
Enable Once
Turn on the Attachments toggle in the pipeline configuration. The
input_attachments state variable is added to the YAML automatically.Three Ways to Attach
Upload files using the paperclip icon, drag-and-drop onto the chat input, or paste from the clipboard (Ctrl+V).
Access in Nodes
Reference uploaded files in any pipeline node using
{{state.input_attachments}} after the files have been uploaded.Enabling File Attachments File attachment support is disabled by default for pipelines. To enable it:
- Open the pipeline and locate the left configuration panel.
- Scroll to the INTERNAL TOOLS section.
- Toggle the Attachments switch to the on position.
- Click Save to apply the change.
When you enable Attachments, ELITEA automatically adds an
input_attachments state variable (type: list, default: []) to the pipeline’s YAML state section. When you disable Attachments, the variable is automatically removed. No manual YAML editing is needed.Attaching Files in Chat Once Attachments are enabled for the pipeline, three methods are available in the chat input:
- Paperclip icon (📎) — Click the paperclip button in the message input toolbar to open the system file picker and select one or more files. The tooltip shows how many attachment slots remain (“Attach files (N left)”) and is disabled once the maximum is reached.
- Drag and drop — Drag files from your operating system and drop them directly onto the chat input area.
- Clipboard paste — Copy files to your clipboard and press Ctrl+V while the chat input is focused to attach them instantly.
- Images are displayed as thumbnail previews in a grid layout.
- Other files (documents, code, data, archives) are displayed as filename chips showing the file name and type icon.

File Limits
Supported File Types Supported file types are configured by platform administrators through document loaders. The following categories are typically available:
YAML Integration When Attachments are enabled, the pipeline YAML is automatically updated to include:
{{state.input_attachments}}. Each item in the list represents one processed file — images are passed as image content, and all other files are indexed and passed as extracted text — ready for use in LLM, Code, or Toolkit nodes.
The
input_attachments state variable is fully managed by the platform. It is added when Attachments are enabled and removed when they are disabled. The backend automatically injects the file-storage toolkit (using the project’s default attachment bucket, vector storage, and embedding model) at predict time — no manual toolkit configuration is required.Managing Pipeline Versions: Save, Create Versions, and Manage
To optimally manage your pipeline, understanding how to save and create versions is crucial. Follow these guidelines to efficiently save your pipeline, create versions, and manage them. How to Save a Pipeline:- To save your work on a Pipeline for the first time, simply click the Save button. This action creates what’s known as the “base” version of your pipeline.
- You can continue to modify your pipeline and save the changes to the “base” version at any time by clicking the Save button again. If you wish to discard any changes made, you have the option to click the Discard button before saving.
The “base” version represents the initial version you create. You can keep updating this version with your changes by saving them, without the need to create additional versions for your pipeline.
How to Create New Versions:
For instances where you need to create and manage different iterations of your Pipeline:- Initiate a New Version: Start by clicking the Save As Version button.
- Name Your Version: When saving your work, provide a version name that clearly identifies the iteration or changes made.
-
Click Save to confirm your entry.
- Delete: Remove this version of the Pipeline if it’s no longer needed.
- Execute: Run this specific version of the Pipeline to see how it performs.
- Navigate Versions: Use the Version dropdown list to switch between and select different versions of the Pipeline. This allows for easy comparison and management of various iterations.
For detailed information on version management, naming conventions, and best practices, see the Entity Versioning guide.
Exporting and Importing Pipelines
ELITEA allows you to export the currently selected version of a pipeline as a file and import it into another project. Export and import are always version-specific — there is no option to export the entire pipeline with all its versions at once. Exporting a Pipeline Version:- Open the pipeline and select the version you want to export using the version selector.
- Click the three-dot menu (⋮) in the toolbar.
- Select Export. The file downloads automatically to your device.
- If the selected version has no nested dependencies, a single
.mdfile is downloaded. - If the selected version references other agents or pipelines as tools, the export is a
.zipfile containing all dependencies.
- If the selected version has no nested dependencies, a single
- In the Pipelines dashboard, click the Import button in the toolbar.
- Upload the
.mdor.zipfile previously exported from ELITEA. - The Import Wizard displays entity cards for the main pipeline and any nested dependencies. Review configuration before confirming.
- Click Import to complete. The pipeline will appear in the current project.
After import, tools requiring authentication will need their credentials reconfigured manually.
For complete details on file formats, nested dependencies, and advanced options, see the Import/Export Agents and Pipelines guide.
Forking Pipelines
Forking copies the currently selected version of a pipeline from one project to another within the same ELITEA environment — no file download required. Only one version is forked at a time; there is no option to fork the entire pipeline with all its versions. How to Fork a Pipeline Version:- Open the pipeline and select the version you want to fork using the version selector.
- Click the three-dot menu (⋮) in the toolbar and select Fork.
- In the Fork parameters wizard, choose a target project from the dropdown. No project is pre-selected; you must pick one manually.
- Review the entity cards — the main pipeline card and any nested dependencies that will be forked automatically.
- Click Fork. When complete, click Got it to navigate directly to the forked pipeline in the target project.
- Only the currently selected version is forked.
- Nested agent or pipeline dependencies are automatically included.
- Model settings are preserved if the model is available in the target project; otherwise the first available model is used.
- Credentials for tools must be reconfigured manually after forking.
For complete details and agent forking, see the Fork Agents and Pipelines guide.
Viewing Pipeline History
The Run History panel provides a complete audit trail of all past executions of your pipeline. How to access Run History:- Open any saved pipeline.
- In the right panel (embedded chat area), click the clock icon (🕐) in the top bar. The tooltip reads “View run history”.
- The pipeline page is replaced by the two-panel Run History display. Click the ✕ (Close) button in the top-left to return.
- Review past conversations: View complete chat histories from previous pipeline runs
- Track performance: Monitor execution duration across different versions
- Debug issues: Replay conversations to identify where problems occurred
- Compare versions: See how different pipeline versions performed with the same inputs
- Audit trail: Maintain records of all pipeline interactions for compliance purposes
-
Left panel — sortable list of all past runs. Click any column header to sort:
Click a row to load the conversation replay in the right panel. Each row also has a three-dot menu (⋮) with: Share link, Delete, and Restore conversation.
-
Right panel — full conversation replay of the selected run.

For detailed instructions on using the History panel, please refer to the Agents and Pipelines History Guide.
INFORMATION
The Information accordion at the bottom of the left panel provides read-only metadata about the current pipeline and version.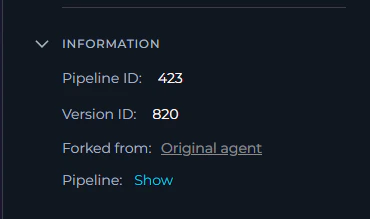
Best Practices
Keep It Modular
Keep It Modular
Break down complex workflows into smaller, manageable nodes for better readability and maintainability. Create reusable pipeline components.
Use Clear Node Names
Use Clear Node Names
Name each node descriptively to make your pipeline self-documenting. Use consistent naming conventions across your pipelines.
Test Iteratively
Test Iteratively
Test each node and connection individually before executing the entire pipeline. Use sample data to validate data flow.
Version Your Pipelines
Version Your Pipelines
Create named versions for significant changes. This allows you to roll back if needed and compare different iterations.
Handle Errors Gracefully
Handle Errors Gracefully
Implement error handling and fallback mechanisms in your pipeline design. Use Decision nodes to manage error conditions.
Document Your Logic
Document Your Logic
Add descriptions to nodes and use the YAML editor comments to explain complex logic. Include conversation starters that demonstrate usage.
Troubleshooting
Pipeline Not Executing
Pipeline Not Executing
Check that all required tools are properly configured with valid credentials. Verify node connections are complete. Review the execution history for error messages.
Node Failing or Timing Out
Node Failing or Timing Out
Verify credentials and network connectivity. Check if external services are accessible. Review node configuration parameters for correctness.
Incorrect Data Flow
Incorrect Data Flow
Review connections between nodes to ensure data is passed correctly. Test with sample data to identify where data transformation fails. Check State Modifier configurations.
Cannot Save Pipeline Changes
Cannot Save Pipeline Changes
Verify you have edit permissions. Check for validation errors in node configurations. Try discarding changes and reapplying them incrementally.
Version Not Creating
Version Not Creating
Ensure the version name meets requirements (max 48 characters, no special characters). Check that you have permission to create versions. Try refreshing the page.
Pipeline Not Appearing in List
Pipeline Not Appearing in List
Clear search filters and check tag filters. Verify you’re in the correct project. Refresh the pipelines dashboard.
Support Contact
If you encounter issues not covered in this guide or need additional assistance with Pipeline management, please refer to Contact Support for detailed information on how to reach the ELITEA Support Team.For more detailed information on related topics, please refer to the following documentation:
- Sensitive Action Authorization Guardrail - Learn how pipeline tool calls can be paused for human authorization before executing sensitive actions.
- Credentials - Learn how to create and manage credentials for toolkit integrations
- Toolkits - Comprehensive guide on creating and configuring toolkits
- Glossary - Definitions of key terms and concepts used in the ELITEA platform
- Pipeline Overview - Advanced pipeline development guide
- Nodes and Connectors - Learn how to connect and manage nodes in your pipeline workflows
- Entry Point Configuration - Configure pipeline entry points and initialization
- AI Assistant in Nodes - Use AI assistance for node configuration and setup
- How to Create and Edit Pipelines from Canvas - Design workflows from chat interface