Overview
Agent HUB is a shared library that includes all published agents from the ELITEA community. Each agent is a pre-configured AI assistant designed for specific tasks, complete with custom instructions, conversation starters, and optimized settings.Agent HUB is available across all projects and provides a centralized view of all published agents, regardless of which project you’re currently viewing.
Instant access
Browse and use community-published agents without building anything from scratch.
Driven by community
Leverage expertise from the ELITEA community — agents are created and shared by real users.
Quality is assured
All agents undergo moderation review before getting to Agent HUB.
Quick discovery
Find agents through real-time search, category filters, and trending sections.
Seamless integration
Add agents directly to any conversation with one click — no extra configuration needed.
Workflow enhancement
Integrate specialized agents into daily workflows for code review, documentation, testing, and more.
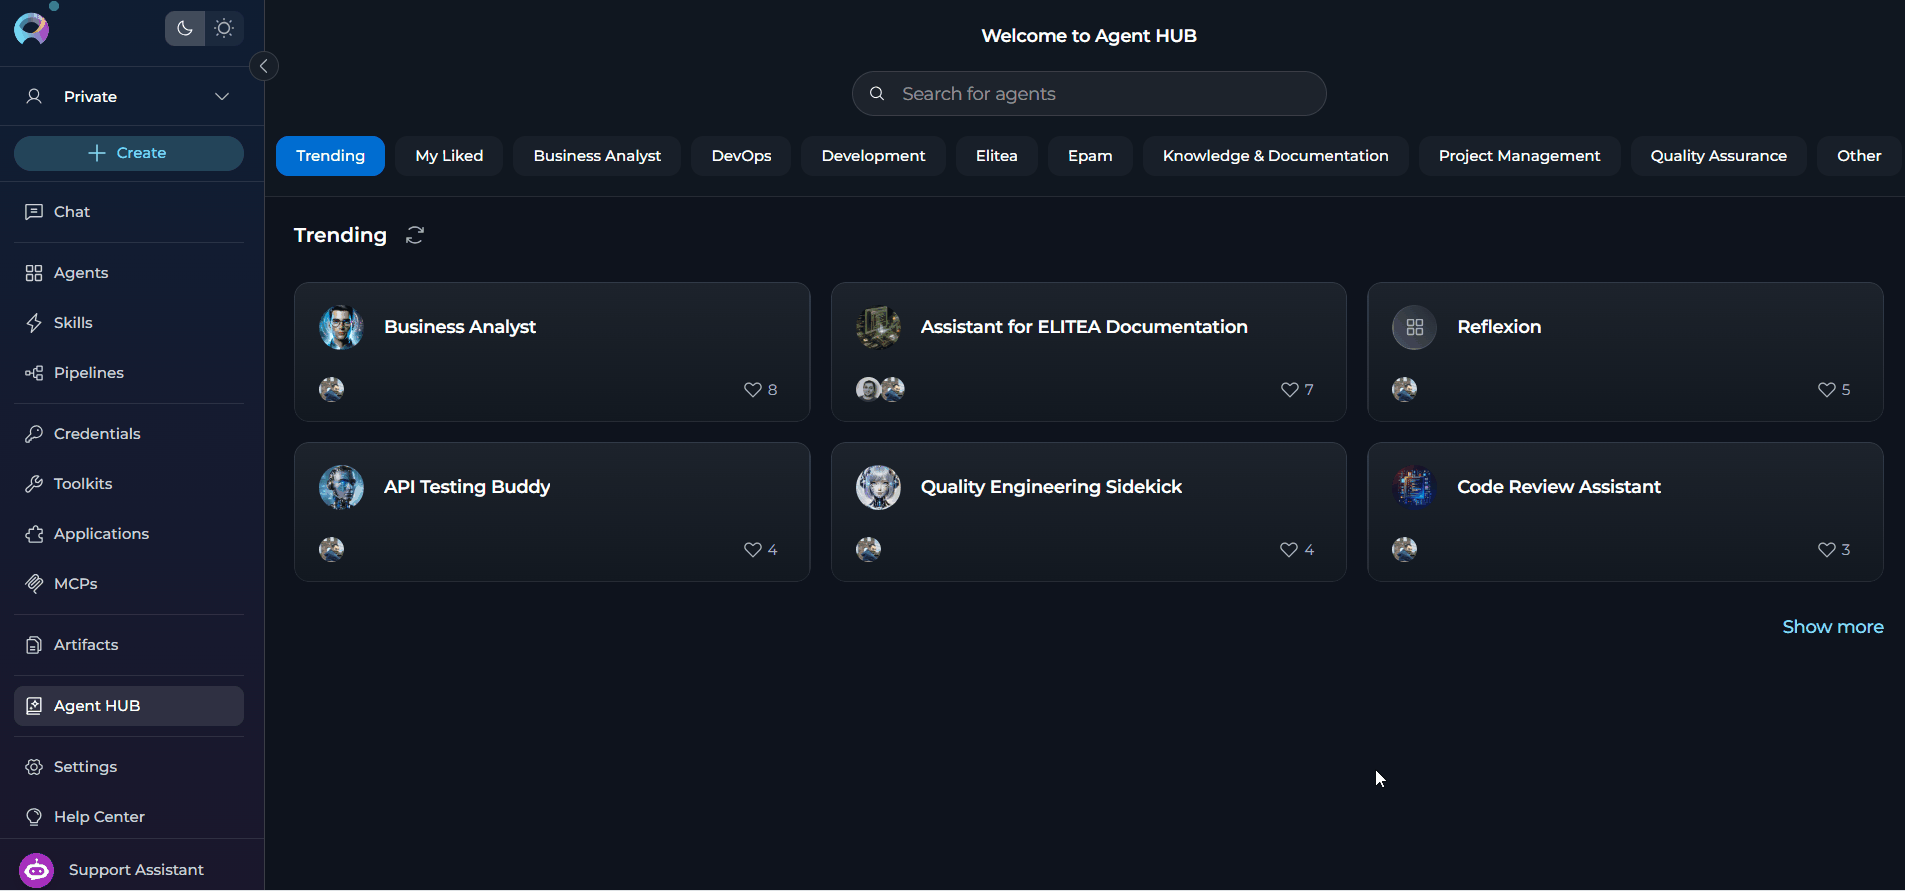
How to Get to Agent HUB
Agent HUB is located in the ELITEA sidebar:- Open ELITEA and ensure you’re logged in
- Look for Agent HUB in the sidebar
- Click it to open Agent HUB
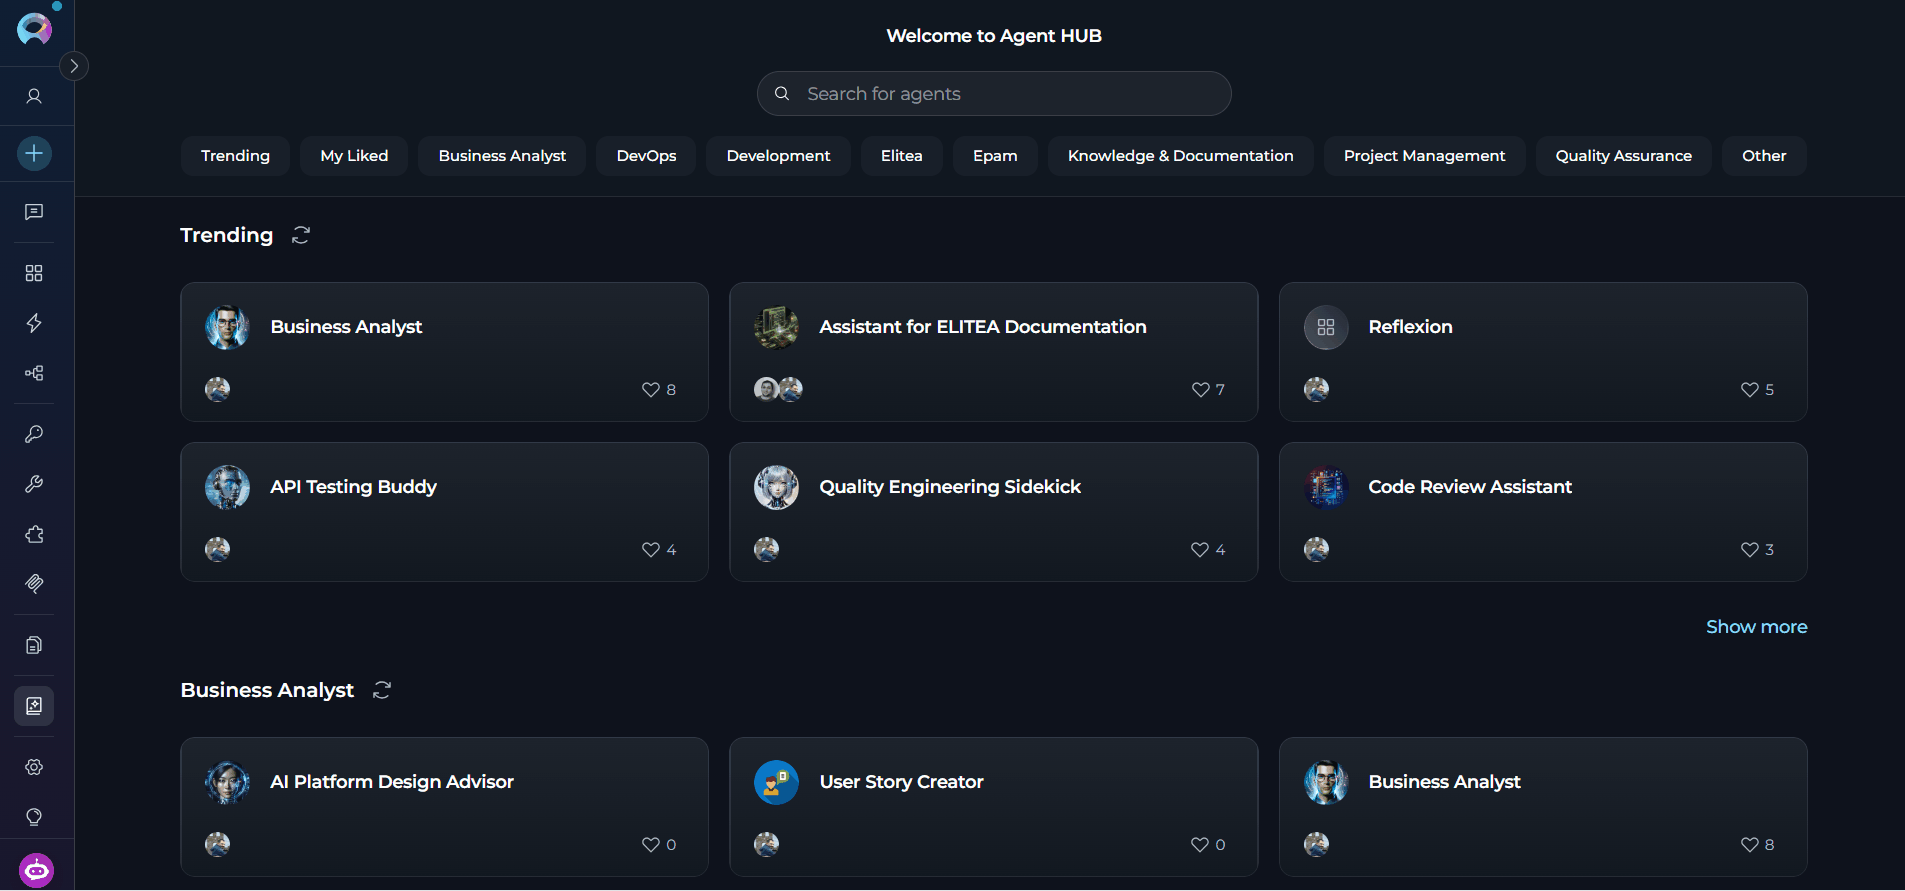
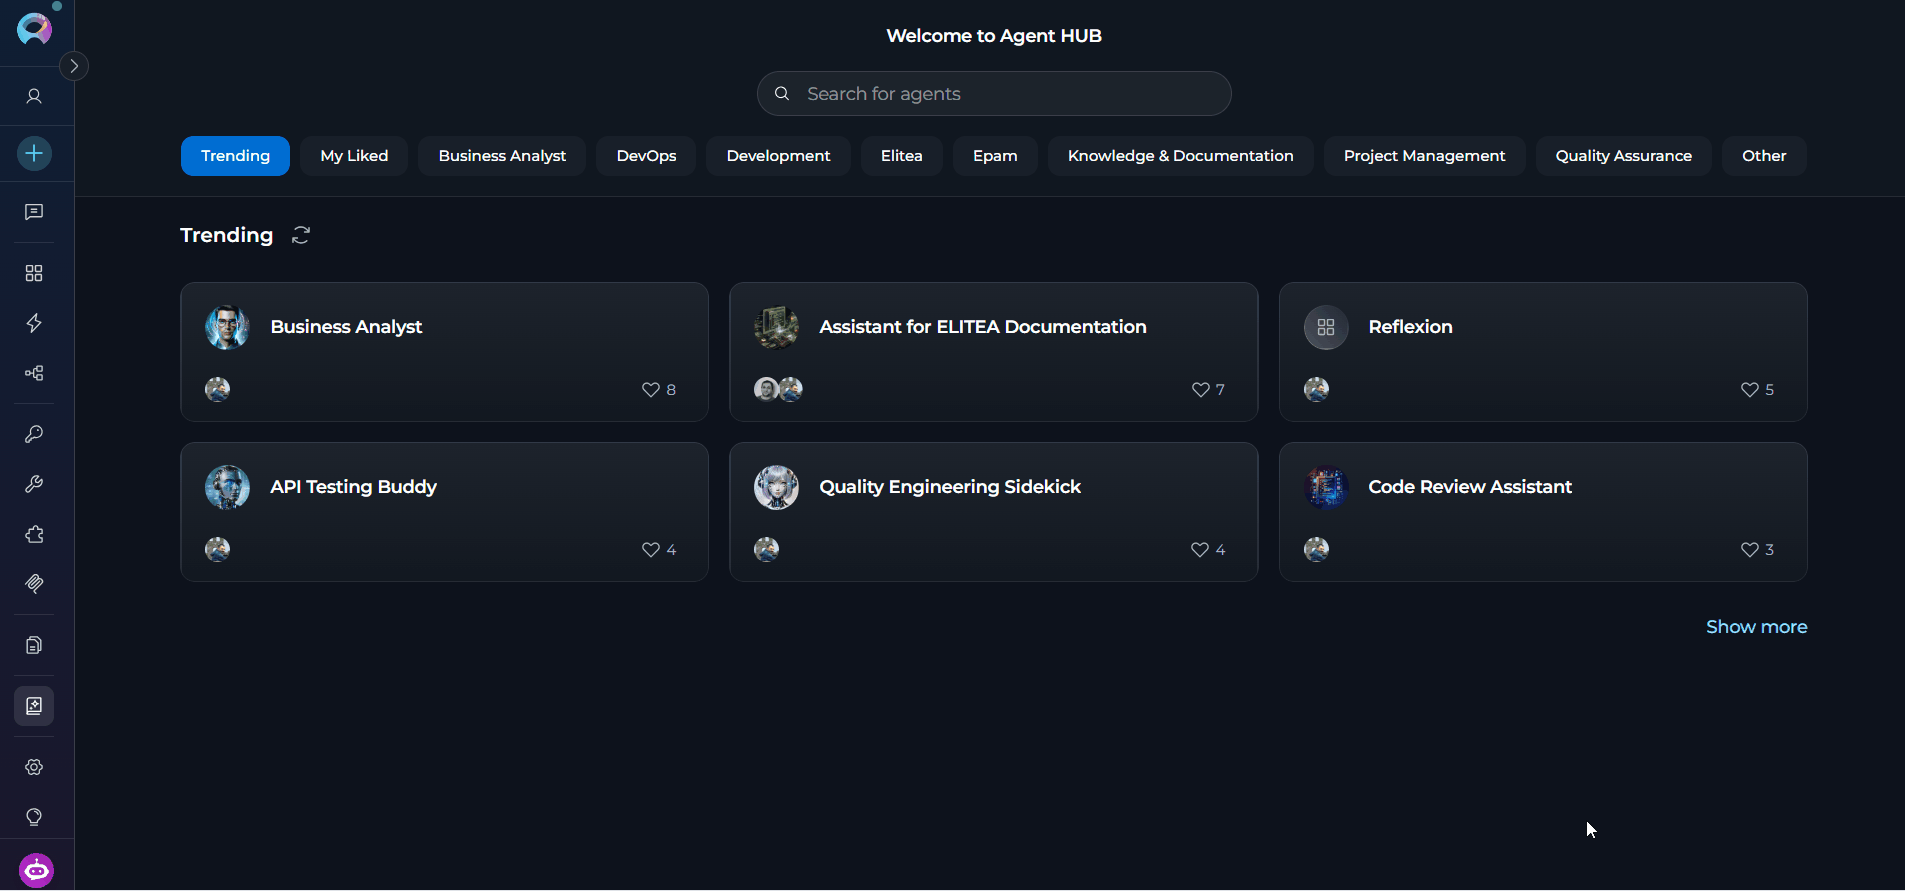
Agents in Agent HUB
Published agents are displayed as cards in a responsive grid layout, grouped by their assigned categories. Each card provides key agent information:- agent’s display name
- profile image of the agent’s creator
- number of likes the agent has received
- Click the card to open the agent’s full information
- Like (or unlike) the agent

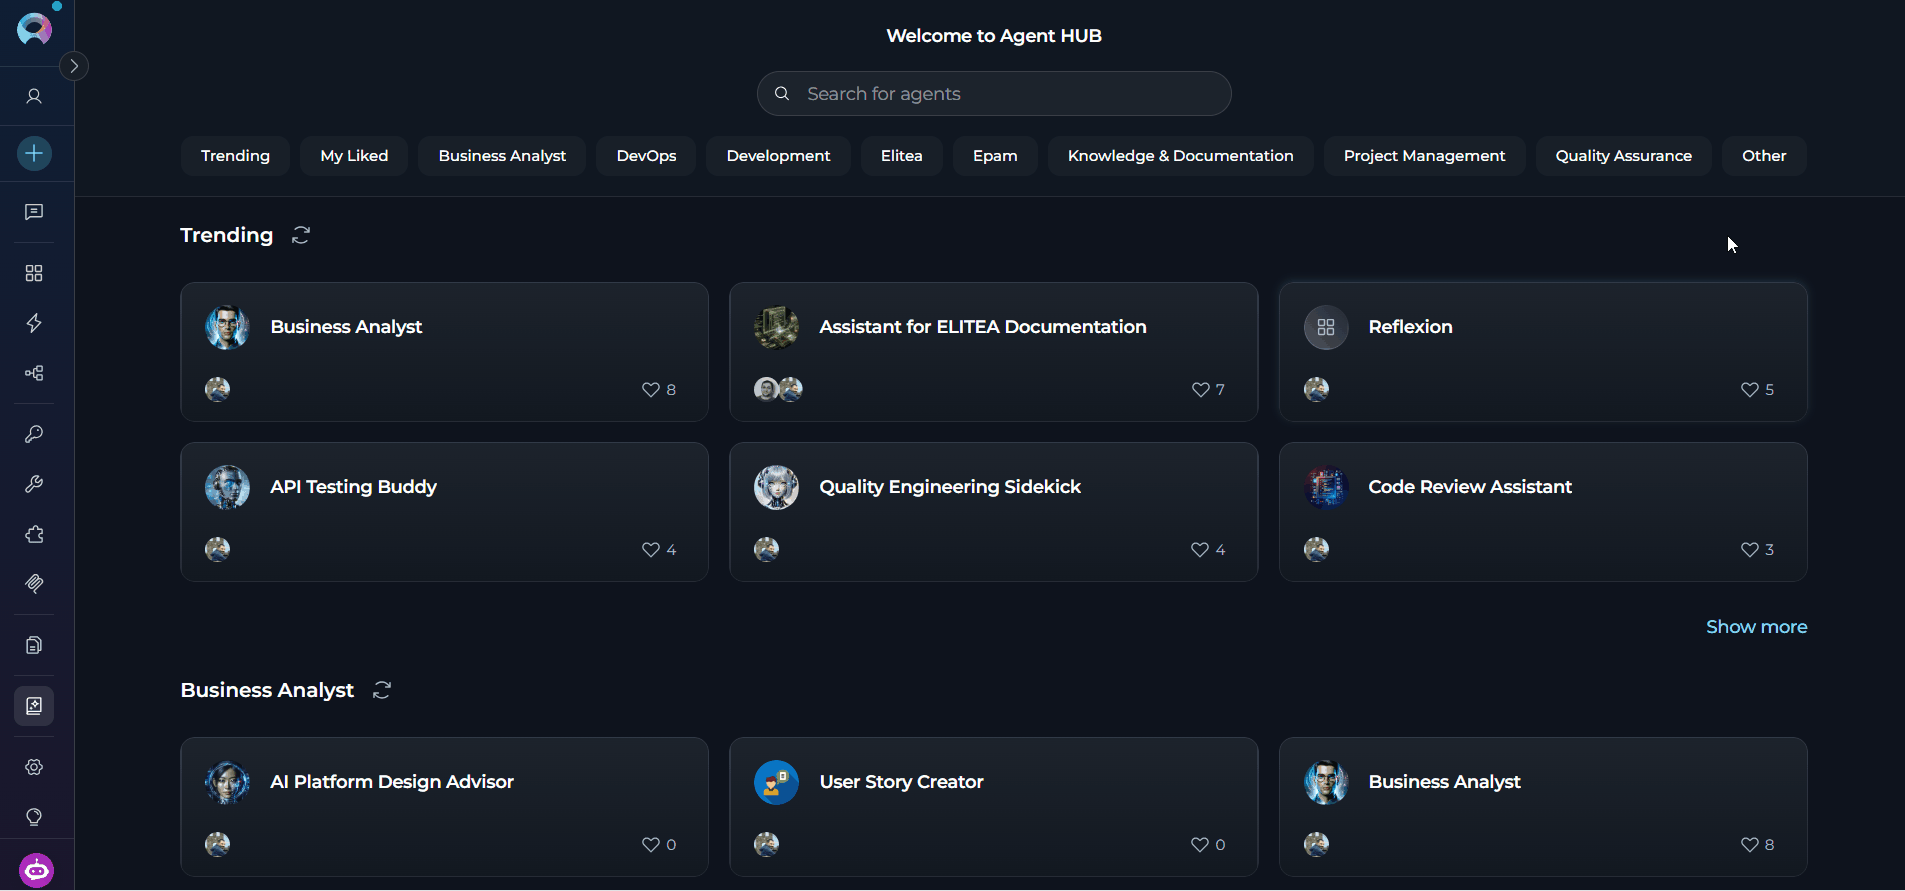
How to Browse and Search Agents
At the top of Agent HUB, you’ll find a Search field that allows searching across published agents. You can search by the agent’s name and description. The search results update in real-time as you type. You can clear the search field to reset the search. Search by Name To search for an agent by name:- Click in the search field at the top of Agent HUB
- Type keywords related to the agent you’re looking for
To filter agents by category,
- Click the category button (multiple filters can be applied simultaneously)
- Active category is highlighted
- Agent cards update automatically based on selected filters
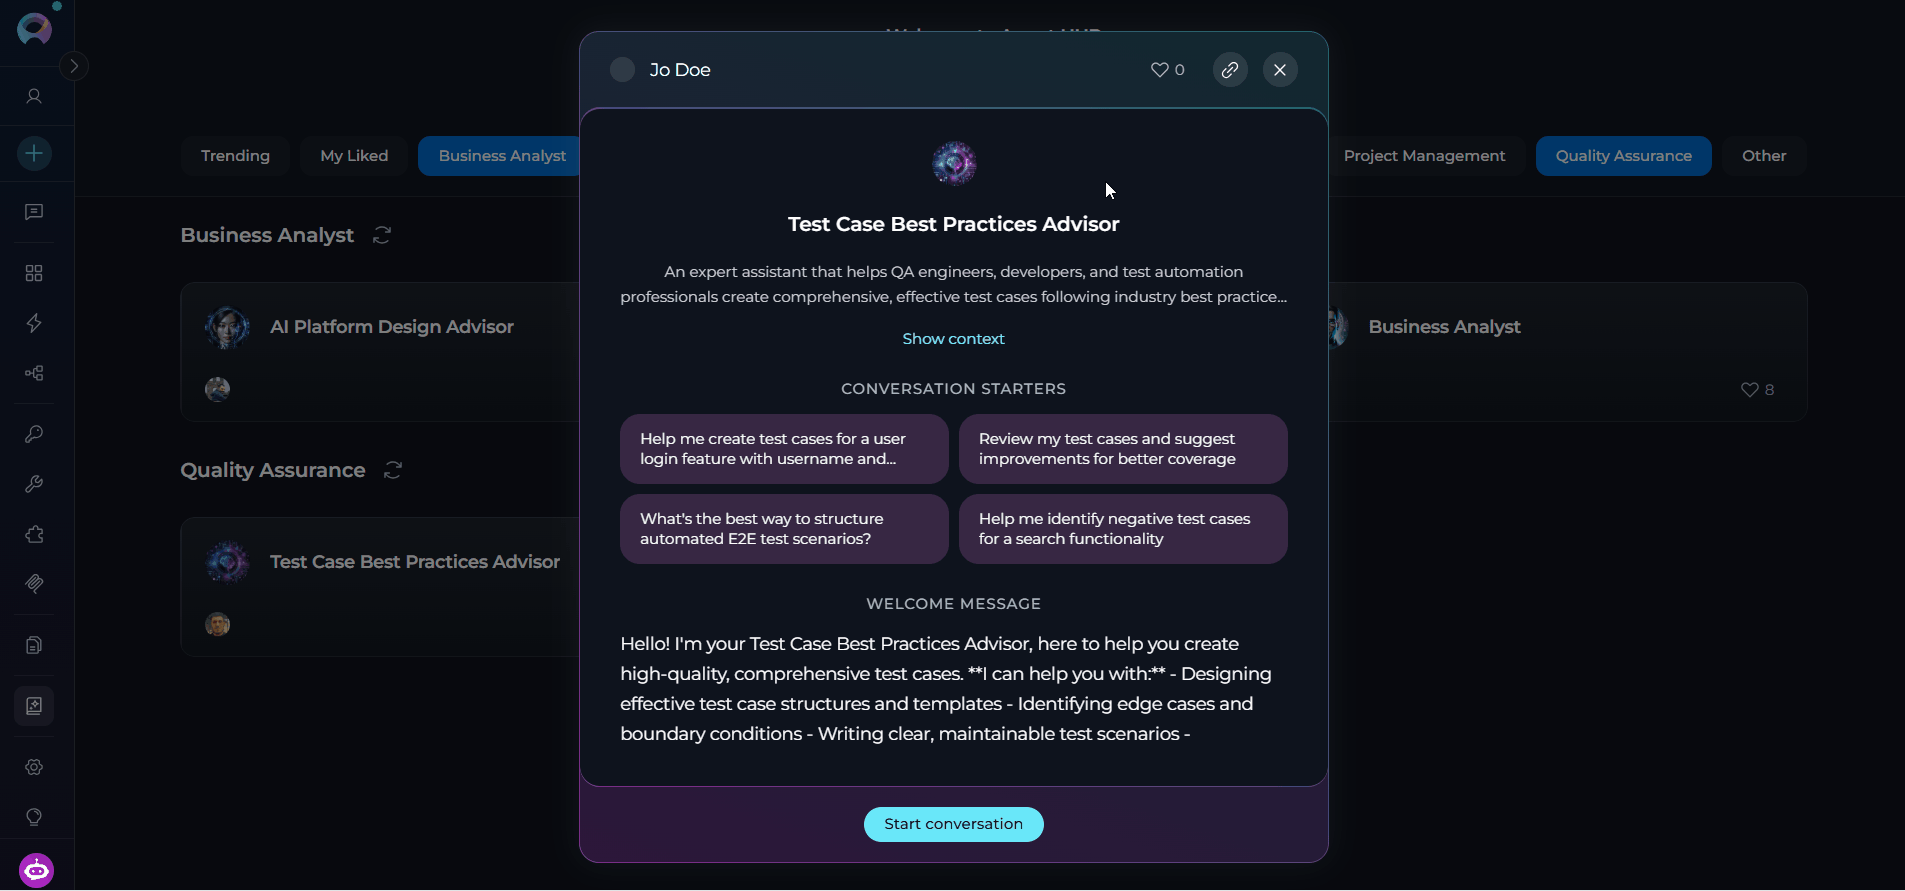
How to View Agent Details
When you click on any agent card, a pop-up modal opens that displays all the information about the agent:- Creator: Details about who created the agent
- Like button: Option to like/unlike the agent
- Copy link to clipboard button: Option to copy the agent’s link to the clipboard
- Name: Full name of the agent
- Description: Detailed explanation of the agent’s purpose and capabilities
- Show context button: Click to open a read-only modal displaying the agent’s full instructions and configuration details. You can read and copy the instructions but cannot modify them
- Conversation starters: Pre-defined prompts to help users get started
- Welcome message: The greeting users see when starting a conversation
- Start conversation button: Primary action to begin using the agent
How to Start a Conversation with an Agent
You can start a conversation with an agent in two ways:- With the Start Conversation button: Creates a new conversation and displays conversation starters
- With a Conversation Starter: Creates a new conversation and pre-fills the starter text in the chat input field
- You’re automatically redirected to the Chat menu
- A fresh conversation is created specifically for this agent
- The agent is added to the Participants list
- The agent is set as the active participant
- Pre-defined prompts appear to guide your interaction (or if you clicked a starter, it’s pre-filled in the input field)
- You can immediately start sending messages
- Use conversation starters: Click any starter to send that prompt immediately
- Type a custom message: Enter your own message in the input box
- Modify the model settings: Adjust LLM model and model parameters
Modification Restrictions
When using a published agent in a conversation, you have limited modification capabilities to maintain the integrity of the published agent: What You Can Modify- Variable values: Provide or modify values for variables defined in the agent
-
LLM Model: Change which AI model the agent uses. Icons near the model name indicate its supported capabilities:
-
Model settings:
- With the agent active in a conversation, click the Settings icon at the bottom of the chat
- The Model settings dialog opens — adjust the parameters as needed
- Click Apply to save your changes, or Cancel to discard. Use Reset to defaults to restore the agent’s original settings
- Changes apply only to this conversation — they do not affect the published agent
- Agent name
- Instructions (core behavior and task guidelines are locked)
- Welcome message
- Conversation starters
- Toolkits (toolkits are locked as a part of the published agent)
- Variable definitions (cannot add or remove variables but can modify their values)
Agent Powers and Limitations
When using published agents from Agent HUB, keep these considerations in mind:- Powers
- Limitations
- Access & security
Immediate execution
Published agents work instantly in conversations — no setup required.
Specialized expertise
Agents are designed for specific tasks and domains, delivering focused results.
Conversation starters
Pre-written prompts help you get started quickly without crafting your own input.
Optimized settings
Agents come with tested configurations tuned for their intended use case.
Community support
Popular agents have been used and validated by the broader ELITEA community.
Troubleshooting
Agent does not appear in Agent HUB
Agent does not appear in Agent HUB
Problem: Expected agent doesn’t show up in Agent HUB.
Cannot start conversation with the agent
Cannot start conversation with the agent
Problem: Clicking the Start Conversation button doesn’t work or produces an error.
Agent behavior is different from expected
Agent behavior is different from expected
Problem: Published agent doesn’t perform as described.
Search does not find agents
Search does not find agents
Problem: Search returns no results even when agents exist.
Best Practices
Finding the right agent
Finding the right agent
- Start with Trending: Browse trending agents to find proven, popular solutions
- Use specific keywords: Search with task-specific terms (e.g., “code review,” “documentation”)
- Check descriptions: Read full descriptions to understand capabilities and limitations
- Review conversation starters: Starters often reveal the agent’s core functionality
- Test multiple agents: Try different agents for the same task to compare approaches
Using agents effectively
Using agents effectively
- Use conversation starters: Start with provided prompts to understand agent capabilities
- Provide context: Give agents sufficient context in your messages
- Configure required toolkits: Set up necessary credentials for toolkit-dependent agents
- Adjust model settings: Experiment with different models if results are not optimal
- Read welcome messages: Welcome messages often contain important usage instructions
Building on published agents
Building on published agents
- Study instructions: Learn how successful agents structure their behavior guidelines
- Analyze conversation starters: See how effective prompts are crafted
- Create your own: Use insights to build your custom agents
- Share back: Once you’ve created valuable agents, consider publishing them
Guides and References
- Agents Menu - Create and manage your personal agents
- Chat Menu - Complete guide to chat interface and conversations
- How to Use Public Agents from Chat - Detailed guide on using published agents in conversations
- How to Create and Edit Agents from Canvas - Visual agent creation guide
- Agent Versioning - Understanding agent versions and publishing