

- State Modifier Node - Transform, update, and clean up state variables using templates
- Printer Node - Display formatted output to users during pipeline execution
Utility nodes don’t perform AI inference or external API calls directly. Instead, they provide essential support functions: state manipulation, data transformation, and user output display.
State Modifier Node
The State Modifier Node is like a text editor for your pipeline’s data. It takes information from your workflow (stored in variables), combines or changes it using templates, and saves the result back into your pipeline. It’s useful when you need to:- Combine multiple pieces of data into one
- Format data in a specific way (like creating a message or report)
- Clean up temporary data you no longer need
- Do simple calculations (like adding numbers or counting items)
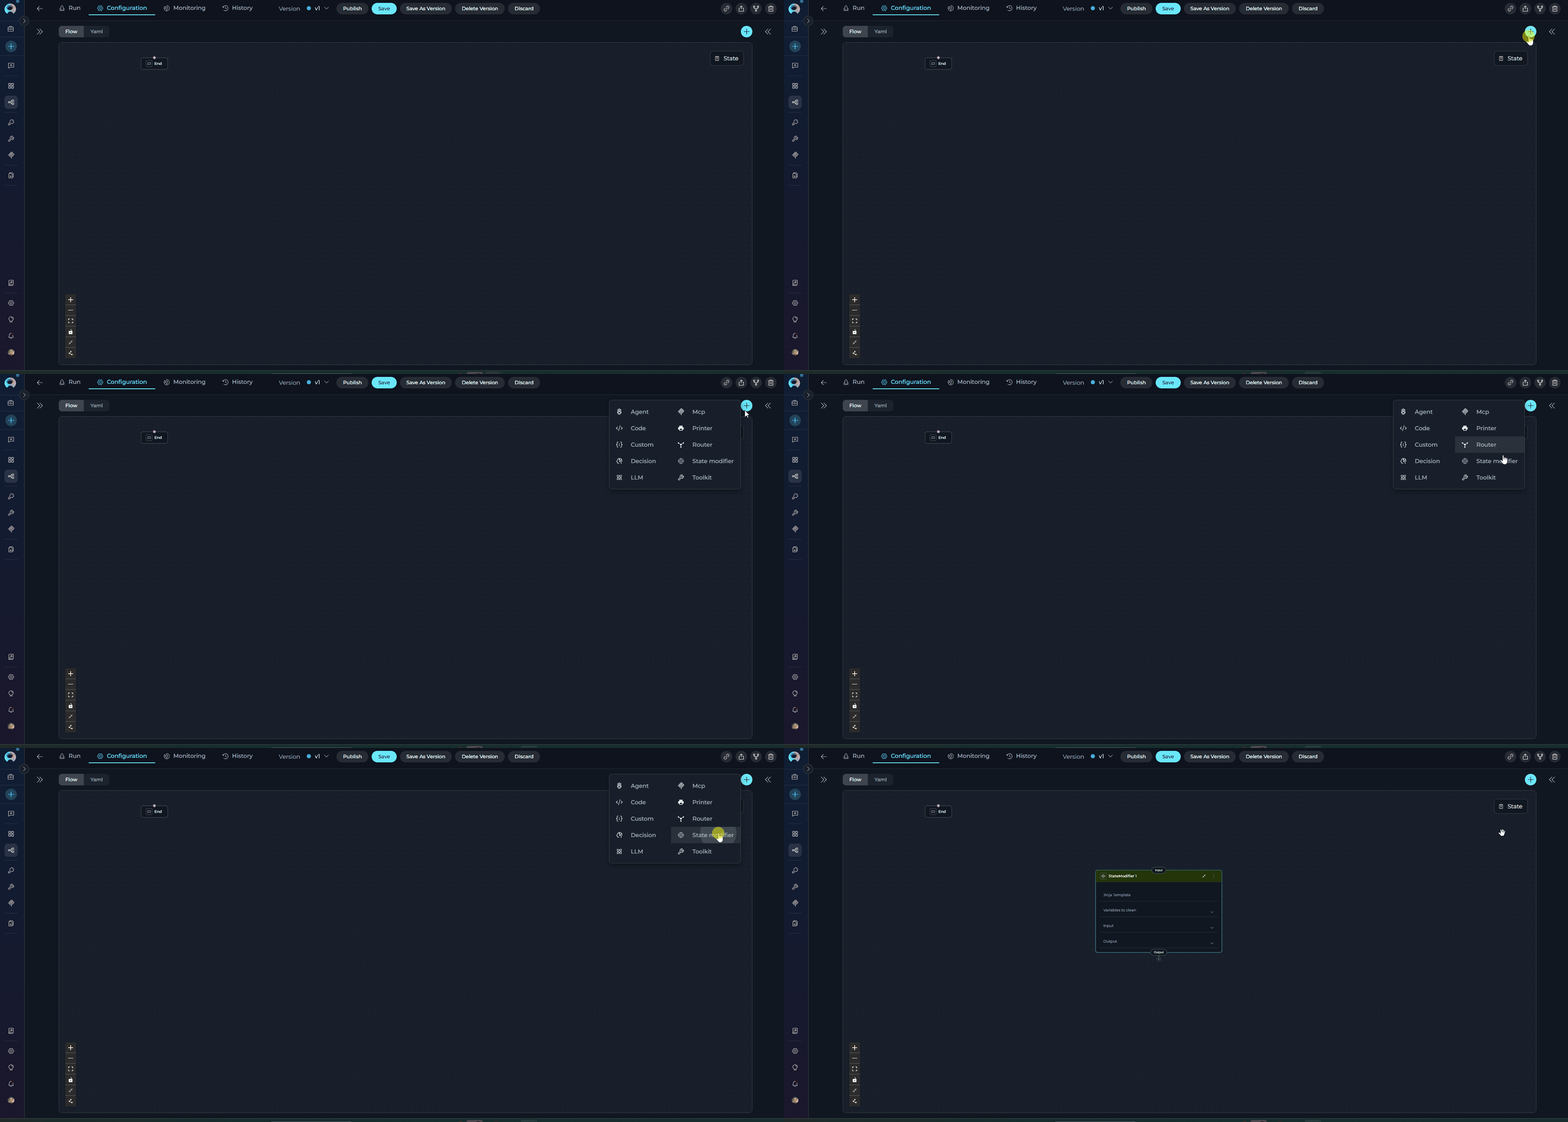
- Combine data - Mix information from different variables into one formatted output
- Format text - Create messages, reports, or structured content from your data
- Clean up - Delete or reset temporary variables after you’re done with them
- Simple math - Add, subtract, or count things
- Transform data - Change how your data looks (uppercase, lowercase, extract parts, etc.)
Basic Example: Simple Greeting
Basic Example: Simple Greeting
Advanced Example: Counter Increment with Type Conversion
Advanced Example: Counter Increment with Type Conversion
This example demonstrates automatic type conversion - the template renders a string, but the State Modifier automatically converts it to an integer to match the output variable’s type.How it works:
- Template renders:
"1"(string) - State Modifier detects
indexis typeint - Automatically converts:
"1"→1 - Result:
indexis updated to integer1
Complex Example: Aggregating Multi-Step Responses
Complex Example: Aggregating Multi-Step Responses
This example shows how to build a comprehensive response by combining multiple state variables, accessing message history, and using conditional formatting.
Custom Filters Example: JSON Processing and Text Splitting
Custom Filters Example: JSON Processing and Text Splitting
This example demonstrates the custom filters available in State Modifier for data transformation.Available Custom Filters:
from_json- Parse JSON string to Python objectbase64_to_string- Decode base64 encoded datasplit_by_words(chunk_size)- Split text into chunks of specified word countsplit_by_regex(pattern)- Split text using regex pattern
Text Extraction Example: Cleaning Status Value
Text Extraction Example: Cleaning Status Value
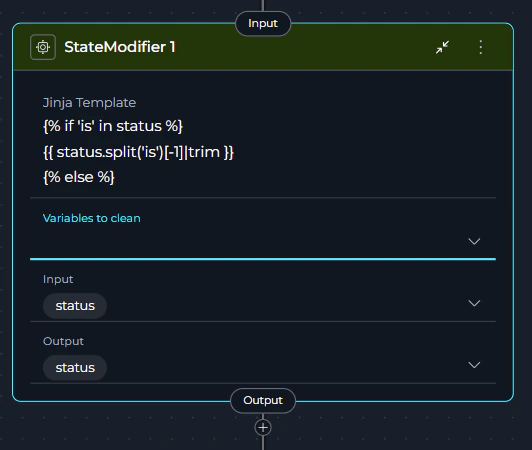
This example shows how to extract a specific value from a sentence using conditional logic and string manipulation.How it works:
After:
- Check if ‘is’ exists:
{% if 'is' in status %}- Checks if the word “is” appears in the status text - Split the text:
status.split('is')- Divides the text into parts using “is” as the separator- Example:
"The status is Open"becomes["The status ", " Open"]
- Example:
- Get the last part:
[-1]- Takes the last item from the split result- Example:
" Open"
- Example:
- Remove extra spaces:
|trim- Removes whitespace from the beginning and end- Example:
"Open"
- Example:
- Otherwise keep original:
{% else %} {{ status }} {% endif %}- If “is” is not found, keeps the status unchanged
"The status is Open"After:
"Open"Cleanup Example: Resetting Variables by Type
Cleanup Example: Resetting Variables by Type
This example shows how After execution:
variables_to_clean resets different variable types appropriately.temp_items(list) →[]cache_data(dict) →{}counter(int) →0processing_flag(str) →""
Template Access ControlThe template can only access variables listed in the Input parameter. Variables not included in Input will cause template rendering errors if referenced.Standard Filters:
Custom Filters:
Multi-line: Use YAML multi-line syntax (
Formatting: Access nested data with dot notation:
Type Conversion: Output automatically converts to match state variable type (str, int, float, bool, list, dict)
|default('value'), |upper/|lower, |lengthCustom Filters:
|from_json, |base64_to_string, |split_by_words(n), |split_by_regex('pattern')Multi-line: Use YAML multi-line syntax (
|) for complex templatesFormatting: Access nested data with dot notation:
{{ user.profile.name }}Type Conversion: Output automatically converts to match state variable type (str, int, float, bool, list, dict)
- Always List Input Variables: Explicitly specify all variables used in template to avoid rendering errors.
- Use Default Filters for Optional Variables: Handle missing or null values gracefully with
{{ var|default('default_value') }}. - Leverage Custom Filters: Use
|from_jsonfor API responses,|split_by_words()for chunking,|base64_to_stringfor encoded data. - Trust Automatic Type Conversion: The node automatically converts rendered output to match the target variable’s type (int, float, bool, list, dict).
- Clean Up Temporary Variables: Reset variables that are no longer needed using variables_to_clean - they’ll be reset appropriately based on type.
- Format Long Templates for Readability: Use multi-line YAML strings with proper indentation.
- Test Templates with Sample Data: Verify template rendering before deployment with sample state data.
- Use Descriptive Output Names: Name outputs to indicate their content (e.g., “formatted_summary” not “result”).
- Access Message History: Use
messages[-1].contentto get the last message ormessages[0]for the first. - Document Complex Templates: Add comments explaining template logic for maintainability.
- Validate State Before Cleaning: Ensure cleaned variables aren’t needed by later nodes.
- Use State Modifier for Formatting Only: Don’t use for complex logic - use LLM or Code nodes instead.
- Combine Multiple Variables in Output: Generate comprehensive output in single template rather than multiple State Modifiers.
- Handle JSON Data: Use
|from_jsonfilter to parse JSON strings, then access nested properties with dot notation.
Printer Node
The Printer Node displays output to users during pipeline execution and pauses the workflow so users can review the information before continuing. Simple Explanation: Think of it like a “pause and show” button in your pipeline. It stops the workflow, shows a message to the user (which can be a simple text, a variable’s value, or formatted text), and waits for the user to click “continue” before moving to the next step. For example, you might use it to show:- “Processing complete! Found 5 results.”
- The contents of a status variable
- A formatted report combining multiple pieces of data
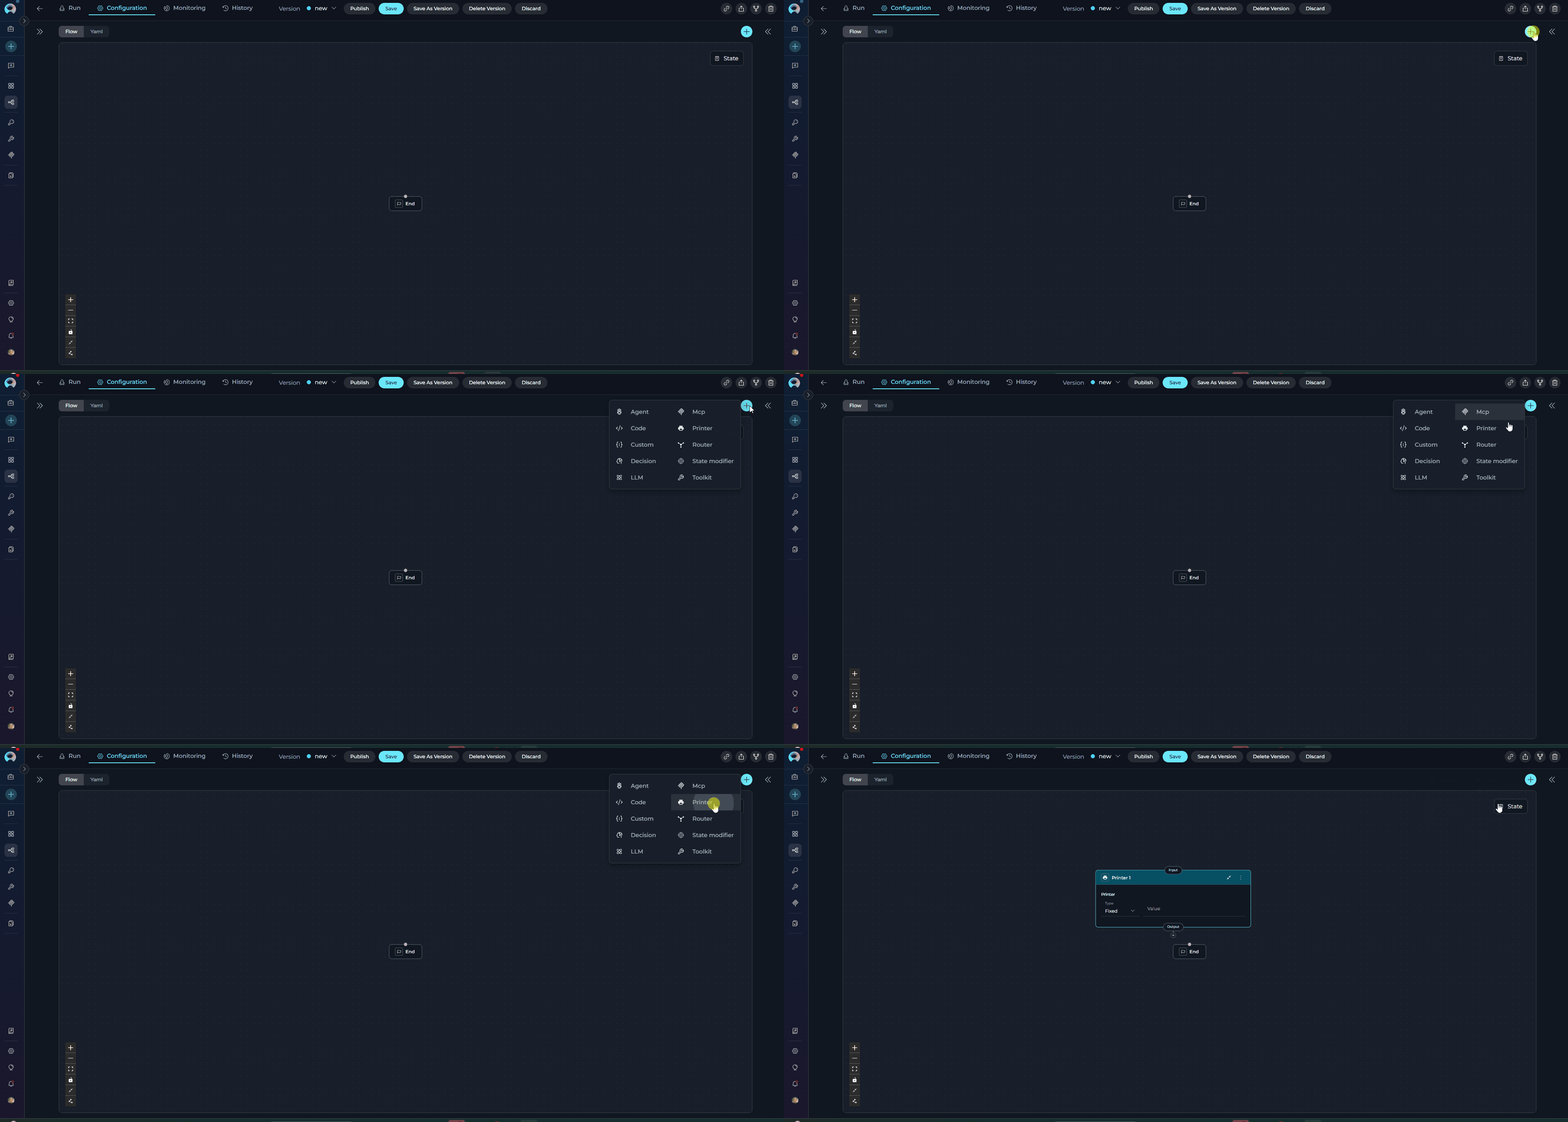
- Show messages - Display text to users at any point in the workflow
- Pause for review - Stop the pipeline so users can check results before continuing
- Display variable values - Show the contents of any variable from your pipeline
- Show formatted output - Combine text and variables for better presentation
- Progress updates - Tell users what’s happening in multi-step workflows
Simple Text (Type: Fixed)
Simple Text (Type: Fixed)
Display a static message to the user.
Show Variable Value (Type: Variable)
Show Variable Value (Type: Variable)
Display the contents of a variable directly.
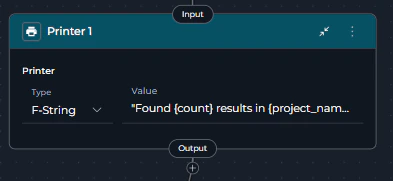
Formatted Text (Type: F-String)
Formatted Text (Type: F-String)
Combine text with variable values using syntax.
The Printer Node automatically pauses the pipeline after displaying the message. The pipeline will resume only after the user acknowledges the message by typing anything.Important: If the Printer Node is the last node in your pipeline (transition: END), the pipeline execution will not complete until the user provides input to continue.
- Choose the Right Type:
- Use
fixedfor static messages that don’t change - Use
variableto show the value of a single variable - Use
fstringwhen you need to combine text with multiple variables
- Use
- Use Clear Messages - Make it obvious what information you’re showing
- Format Multi-line Output - Use
|in YAML for readable multi-line messages - Include Context - Show relevant information so users understand what they’re looking at
- Test Variable Names - Make sure the variables you reference actually exist in your state
- Keep It Simple - Don’t try to show too much information at once
- Use Descriptive Text - Add labels like “Status:”, “Results:”, etc. to make output clear
Utility Nodes Comparison
When to Use Each NodeDeprecated Utility Nodes
The following utility node is deprecated and will be removed in a future release:Pipeline (Subgraph) Node
Pipeline (Subgraph) Node
The Pipeline (Subgraph) node is deprecated and will be removed in an upcoming release.Migration: Use the Agent node to delegate tasks to specialized AI agents, effectively replacing nested pipeline functionality.Migration Guide: Pipeline Node Migration
- Entry Point - Define pipeline starting point
- Flow Editor - Visual workflow design
- YAML Configuration - Text-based pipeline definition
- Control Flow Nodes - Decision and routing nodes
- Execution Nodes - LLM, Tool, and Code nodes
- State Management - Understanding state variables