Introduction
The Wikis application within ELITEA is an advanced AI-powered documentation generator that analyzes code repositories (GitHub, GitLab, Bitbucket, ADO Repos) to create comprehensive wikis through intelligent code analysis and natural language processing. With Wikis, your ELITEA Agents can automatically generate documentation, answer questions about codebases, and perform deep research on repository functionality.Automated Wiki Generation
Intelligent Code Analysis
Interactive Q&A
Deep Research Capabilities
Diagram Generation
Prerequisites
Code Repository Toolkit
LLM Configuration
Embedding Model
System Integration with ELITEA
Wikis integrates with ELITEA as an Application accessible through the Apps menu. It provides specialized documentation generation and analysis tools with a built-in user interface for managing wiki content and repository analysis workflows.Request Wikis Application Access
If the Wikis application is not yet enabled for your project, the App Catalog card shows a Request Access button instead of Configure. Submit a request to have it enabled by your administrator.- Navigate to Apps: Open the sidebar and select Apps.
- Open the App Catalog tab: Select the App Catalog tab to browse available applications.
- Locate the Wikis card: Find the Wikis card in the catalog.
- Click Request Access: Click the Request Access button on the Wikis card.
- Provide a reason: In the request modal, enter a description of why you need access to the Wikis application.
- Submit the request: Click Submit to send the request to your administrator.
- Await approval: Once approved, the card updates and the Configure button becomes available.
-
Proceed with configuration: Follow the steps in Create Wikis Application to set up the application.
Create Wikis Application
- Navigate to Apps: Open the sidebar and select Apps.
- Open the App Catalog tab: Select the App Catalog tab to browse available applications.
- Locate the Wikis card: Find the Wikis card in the catalog.
-
Start configuration: Click the Configure button on the Wikis card. This opens the application configuration form.
-
Configure Application Settings:
-
Save Application: Click Save to create the application.
- Visual wiki generation management
- Progress monitoring for documentation generation
- Access to generated wiki content
- Repository analysis status
Available Tools
The Wikis application toolkit provides three tools:Applications Tab
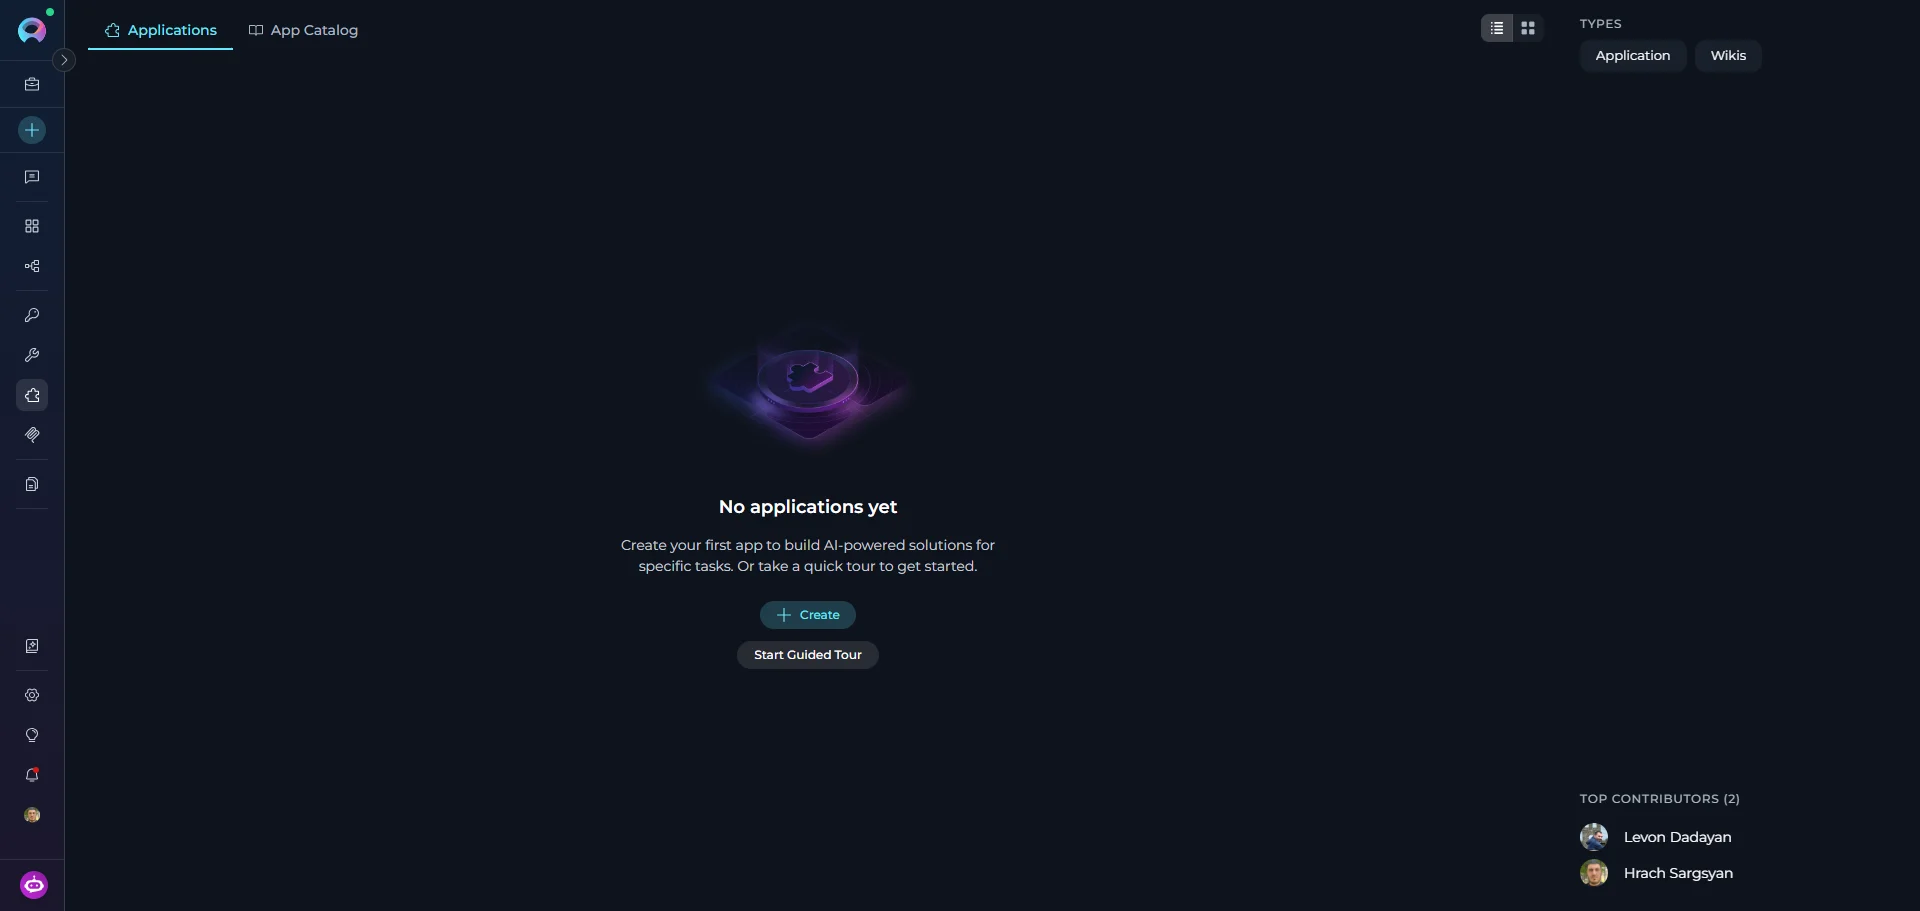
All created Wikis applications are listed in the Applications tab of the Apps menu. Each card displays the application name and description. To open a Wikis application:- Navigate to the Apps menu in the sidebar and select the Applications tab.
- Click on your Wikis application card.
-
The Wikis interface opens. Here you can manage wiki generation, access generated documentation, and monitor repository analysis.
Working with the Wikis Application
The Wikis interface is organized into three main panels:- Left Sidebar: Navigation panel for browsing generated wiki pages organized by sections
- Main Content Area: Wiki content with formatted markdown, code blocks, and diagrams
-
Chat Panel: (Right side) For asking questions about your codebase using natural language
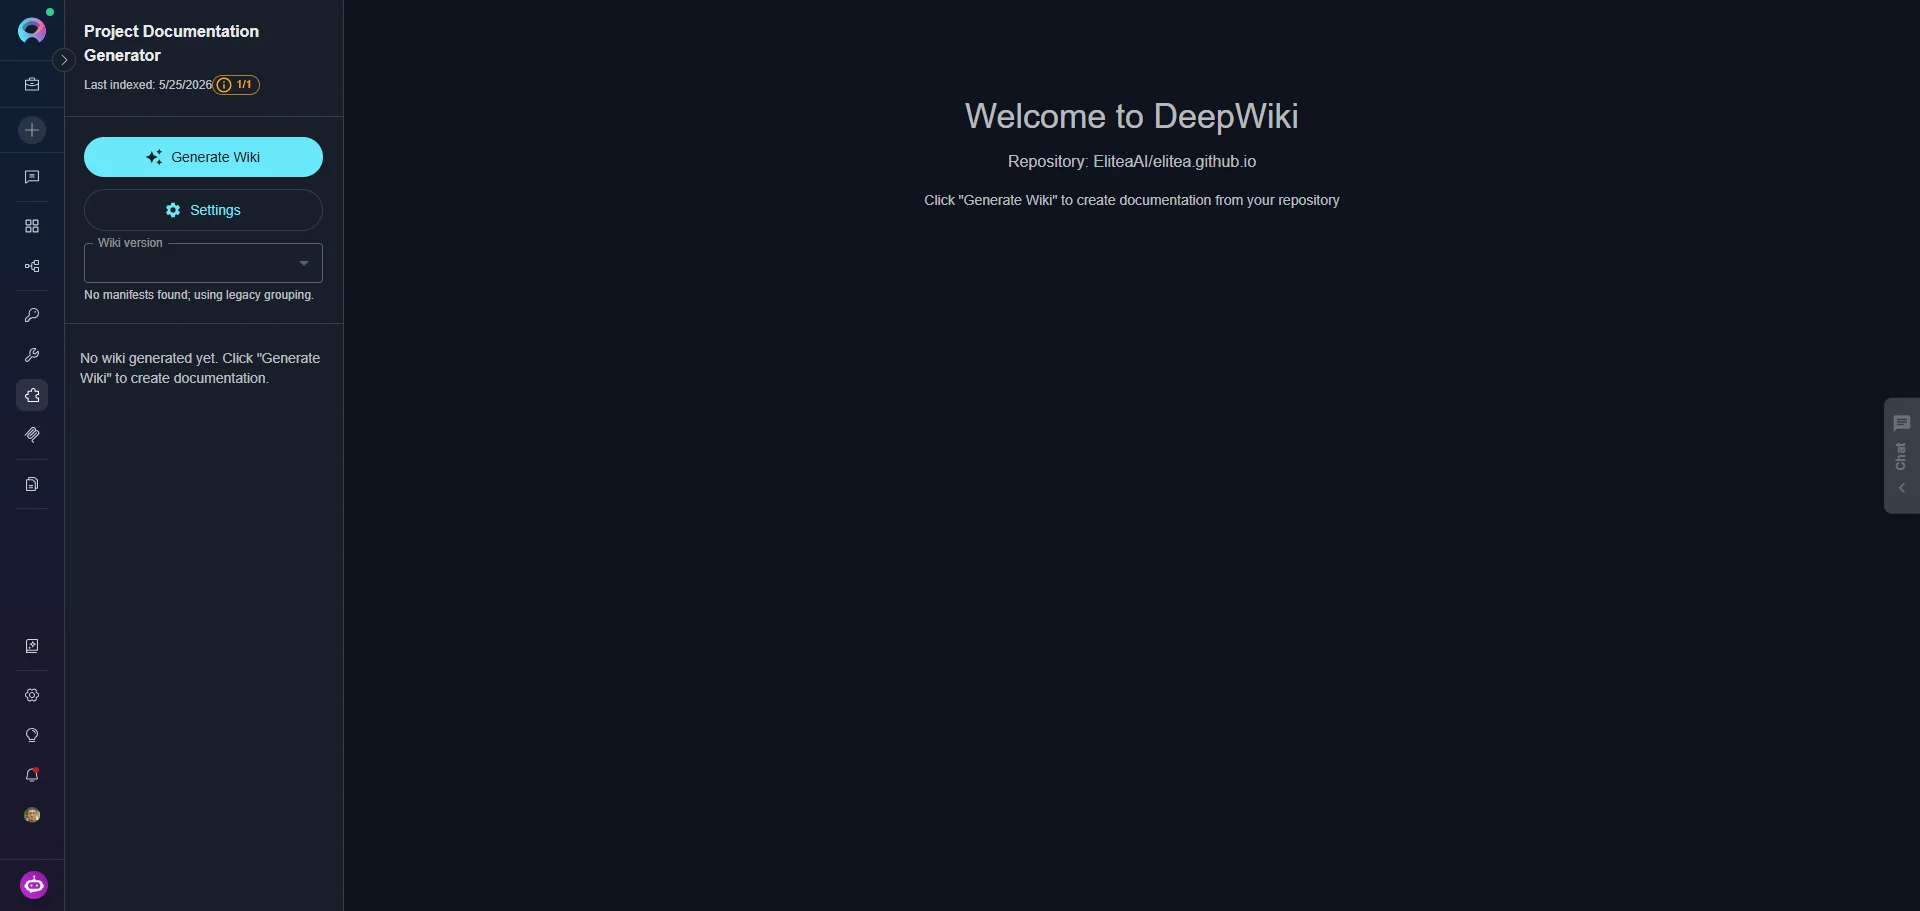
Wiki Generation Workflow
Once you’re in the Wikis application interface, follow these steps to generate documentation:generate_wiki tool — no manual configuration required. Wikis uses the configured code toolkit to access repository data and processes it efficiently based on repository size. The analysis includes:- Code Structure Analysis: Examines repository organization, file relationships, and dependencies
- Content Extraction: Processes source code, documentation files, and comments
- Knowledge Graph Creation: Builds connections between different parts of your codebase
- Vector Store Generation: Creates searchable indexes for intelligent question answering
Check Slot Availability Before Starting

- Green chip — slots available, generation starts immediately
- Yellow chip — only 1 slot remaining, proceed with caution
- Red chip — all slots full, wait for a running generation to complete before starting a new one
- In the left sidebar, locate and click the “Generate Wiki” button.
- In the “Generate Wiki Documentation?” dialog:
- Under Structure planner, select a mode:
- Graph clustering (recommended) — builds the outline deterministically from code-graph clusters; scales predictably from small repos to large monorepos
- Agentic — the planner agent drafts the outline iteratively; may over-segment small or doc-light repositories
- If Graph clustering is selected, optionally enable “Smart skip tests” to exclude test files from the cluster planner and keep the outline focused
- Click “Update” to start generation, or “Cancel” to abort
- Under Structure planner, select a mode:
- Progress Bar: Appears below the Generate Wiki button
- Status Messages: Real-time updates show current operations (e.g., “Analyzing repository structure…”, “Building knowledge graph…”)
-
Elapsed Time: Counter displays how long generation has been running

Access Generated Documentation
Once generation completes:- The left sidebar populates with navigation sections
- Click on any section to expand and view wiki pages
- Select a page to view its content in the main area
- Generated content includes:
- Formatted markdown documentation
- Code examples with syntax highlighting
- Mermaid diagrams for visualizations
- Cross-references between related topics

Edit Wiki Pages
Wikis allows you to edit generated documentation directly in the interface to refine or customize content: To Edit a Page:- Navigate to the wiki page you want to modify
- Click the Edit button (pencil icon) in the top-right corner of the page
- The page opens in an editor with markdown formatting
- Make your changes to the content
- Click Save to apply changes or Cancel to discard
- Markdown Editing: Full markdown support for formatting text, adding links, creating lists, and more
- Code Blocks: Modify or add code examples with syntax highlighting
- Diagrams: Edit Mermaid diagram definitions to update visualizations
- Content Organization: Restructure sections, add new information, or clarify existing content
Update Generated Wiki
When your repository code changes, you can regenerate the wiki to update all sections with the latest information from your codebase.- Make changes to your repository code, comments, or documentation files
- Commit and push your changes to the repository
- Return to the Wikis application interface
- Click the “Generate Wiki” button in the left sidebar
- Confirm the regeneration in the dialog
- Wikis will re-analyze the repository and update all sections
Wiki Artifacts Storage
When you generate a wiki, Wikis stores all generated files in thewiki-artifacts bucket under a per-wiki folder. You can access and manage these files through the Artifacts Menu in ELITEA.
Bucket structure:
Managing Settings
The Settings panel allows you to view and modify your Wikis application configuration. Opening Settings:- In the left sidebar, click the “Settings” button (below Generate Wiki button)
- The Settings panel opens from the right side
- Delete Wiki: Removes all generated wiki artifacts from the bucket
- Use this to clean up old documentation before regenerating
- This action cannot be undone
- Modify any editable configuration field
- Click “Save Settings” button at the bottom
- Settings are immediately applied to the toolkit
Use the Chat Interface
- Locate the vertical Chat tab on the right edge of the interface
- Click it to slide open the chat drawer
- Select your preferred tool using the toggle: Ask or Research
- Type your question in natural language
- Press Enter or click the Send button
- The response streams in real time with thinking steps visible during processing
- Use the copy, regenerate, or clear controls on each response as needed
Ask tool (Quick Queries):- “What is the main architecture of this application?”
- “What APIs are available in the UserService class?”
- “How do I configure database connections?”
- “What is the purpose of secrets in the ELITEA configuration?”
Research tool (Complex Analysis):- “How does the authentication system work across all modules?”
- “Explain the complete data flow from API request to database”
- “What are the security implications of the current session management?”
- “Analyze the relationships between all microservices”
Using Wikis in Your Workflows
To give an ELITEA Agent, Chat, or Pipeline access to a generated wiki knowledge base, you need a query toolkit — a separate, lightweight read-only toolkit that connects to an existing Wikis application. The Wikis plugin provides two query toolkit types depending on your use case: Create Wikis Application (Apps menu) → Generate Wiki → Create Query Toolkit (Toolkits menu) → Add Toolkit to Agent / Chat / Pipeline- Wikis Query toolkit — connects to one specific Wikis application. Best when your agent always queries the same repository.
- Wiki Query toolkit — connects to the wiki registry and can query any available wiki. Best when your agent needs to work across multiple repositories or discover which wiki to use automatically.
Step 1: Create a Query Toolkit
- Wikis Query (Single Wiki)
- Wiki Query (Multi-Wiki)
ask and deep_research for that wiki only.
Navigate to Toolkits
Create a New Toolkit
+ Create Toolkit. The toolkit type selector opens.Select Wikis Query
Configure the Toolkit
Save the Toolkit
Available Tools
- Wikis Query (Single Wiki)
- Wiki Query (Multi-Wiki)
Step 2: Add the Toolkit to an Agent, Chat, or Pipeline
Navigate to the Target Menu
Create or Open an Item
+ Create to create a new agent, chat, or pipeline, or click an existing item’s name to open its configuration.Add the Query Toolkit
- Scroll to the Toolkits section of the configuration.
-
Click the
+ Toolkitbutton. - In the dropdown, select the Wikis Query or Wiki Query toolkit you just created.
-
The toolkit is added with all its tools enabled.
Write Instructions (Agents only)
Save
Best Practices
Wiki Generation
Wiki Generation
- Clear Query Descriptions: Provide specific, detailed queries for
generate_wiki— the query shapes the structure and focus of the generated documentation - Use Graph Clustering for Large Repos: Prefer the Graph clustering planner for large or complex repositories; it scales predictably and produces more consistent outlines than the Agentic planner
- Enable Smart Skip Tests: Enable “Smart skip tests” (Graph clustering only) when your repository has a large test suite — it keeps the wiki outline focused on production code
- Monitor Slots: Check the slot availability indicator before starting generation to avoid queuing delays
Question Asking
Question Asking
- Specific Questions: Ask focused questions rather than broad “explain everything” queries
- Pin to a Wiki Version: Use
analysis_key_override(format:owner/repo@version_id) when querying from an agent to pin results to a specific generation and avoid inconsistency if the wiki is regenerated - Progressive Refinement: Start with
askfor quick answers — it runs without slot limits and responds in seconds; switch todeep_researchfor complex multi-file analysis - Reference Generated Wiki: Browse generated wiki pages before asking questions to understand what context is available
Resource Management
Resource Management
- Cleanup Old Wikis: Regularly remove outdated wiki artifacts using the Delete Wiki button in Settings or the
delete_wikitool — all artifacts are stored in the sharedwiki-artifactsbucket - Slot Monitoring: Be aware of
DEEPWIKI_MAX_PARALLEL_WORKERSlimits in your environment; onlygenerate_wikiconsumes slots —askanddeep_researchrun without slot restrictions - Share One App Across Agents: When multiple agents need to query the same repository, point them all to the same Wikis application instead of creating separate apps — the generated index is reused automatically
- Use
repo_identifier_overridefor Cross-Repo Queries: When using thewikis_querytoolkit, passrepo_identifier_overrideto direct a query at a specific repository’s wiki index rather than the default configured repo
Troubleshooting
Wiki Generation Fails
Wiki Generation Fails
- Code toolkit authentication invalid or expired
- Repository or branch not found
- Repository has no indexable source files (
empty_repositoryerror) - LLM API errors or insufficient token limit
- Artifact upload failure after generation completes
- Check the error message returned — it includes a category (
authentication_error,repository_not_found,branch_not_found,indexing_failed,empty_repository) to indicate the specific cause - Verify the code toolkit is properly configured and authenticated in the Toolkits menu
- Confirm the repository exists and the configured branch is correct
- If the error is
empty_repository, the repository contains no files the indexer can process — check that the repo has source code and the code toolkit has read access - Increase
max_tokensin Settings if generation fails mid-way on large repositories - Check the
wiki-artifactsbucket exists in the Artifacts menu and the service has write permissions
Service Busy — Slots Full
Service Busy — Slots Full
- Maximum parallel subprocess workers reached (
DEEPWIKI_MAX_PARALLEL_WORKERS, default: 1) - Maximum parallel K8s Jobs reached (
DEEPWIKI_MAX_CONCURRENT_JOBS, default: 3) in Jobs mode - Other wiki generations in progress
- Wait for current generations to complete — the slot indicator turns green when a slot is free
- Check current slot status using the slot chip next to the Generate Wiki button
- Contact your administrator to increase
DEEPWIKI_MAX_PARALLEL_WORKERS(subprocess mode) orDEEPWIKI_MAX_CONCURRENT_JOBS(K8s Jobs mode)
Ask / Deep Research Returns Empty or Incorrect Answers
Ask / Deep Research Returns Empty or Incorrect Answers
- Wiki has not been generated yet for the repository
- Embedding model changed after wiki generation — causes dimension mismatch on query
- Question outside the scope of the indexed content
- Ensure
generate_wikicompleted successfully and wiki pages are visible in the sidebar - If you see an error like “Dimension mismatch for query vector. Expected 1536 dimensions but received 1024”, the embedding model was changed after the wiki was generated — delete the wiki, update the Wikis application to use the original embedding model (or regenerate with the new model), then run
generate_wikiagain - The LLM Model and Embedding Model fields are read-only in Settings — to change the embedding model, delete and recreate the Wikis application
- Rephrase the question to match terminology used in the codebase
- Browse generated wiki pages to understand what content was indexed
Rate Limit / LLM API Quota Exceeded
Rate Limit / LLM API Quota Exceeded
- LLM provider rate limit hit during wiki generation or querying (
rate_limiterror) - API quota exhausted for the configured model
- Too many concurrent requests to the LLM endpoint
- Wait and retry — most rate limits reset within minutes to hours
- Check LLM provider quota usage and upgrade the plan if needed
- Reduce
max_tokensin Settings to lower per-request token consumption - Contact your ELITEA administrator if the LLM integration is shared across projects
Slow Wiki Generation
Slow Wiki Generation
- Large repository with many files being cloned and indexed
- Network latency during repository cloning
- LLM response times for generating wiki page content
- Generation time scales with repository size — small repos take 2–5 min, large repos (1000+ files) can take 15–30+ min; monitor the progress bar and status messages
- Filesystem-based indexing (the default) is faster than API-based — verify
indexing_methodis not set togithubunless required - Enable “Smart skip tests” (Graph clustering mode) to reduce the number of files indexed
- Use the Graph clustering planner instead of Agentic — it is more predictable and faster on large repos
Code Toolkit Configuration Error
Code Toolkit Configuration Error
- Code toolkit not properly configured or authenticated
- Missing or expired repository access credentials
- Invalid toolkit ID reference in the Wikis application
- Toolkit deleted or no longer accessible
- Verify the code toolkit exists and is properly configured in the Toolkits menu
- Check that access tokens or SSH keys are valid and have at least read access to the repository
- Ensure the toolkit has permissions to clone the target repository
- Re-select the code toolkit in the Wikis application Settings panel
- Test the code toolkit independently before using it with Wikis
LLM or Embedding Model Configuration Issues
LLM or Embedding Model Configuration Issues
- LLM model not accessible or API key expired
- Embedding model changed after wiki generation — vector dimensions no longer match (
Dimension mismatcherror) - Insufficient token limit for large wiki pages
- Verify the LLM model is properly configured and the API key is valid
- Check that API key quotas have not been exceeded
- If you changed the embedding model after generating a wiki, delete the wiki and regenerate — the stored vectors and query vectors must use the same model
- To permanently change the embedding model, delete and recreate the Wikis application with the new model, then regenerate the wiki
- Increase
max_tokensin Settings for large repositories with complex code
Out of Memory / Worker Killed
Out of Memory / Worker Killed
- Repository too large for the available worker memory
- Too many concurrent wiki generations consuming memory
- Insufficient memory allocated to the DeepWiki worker pod (K8s mode)
- Wait for other active generations to complete before starting a new one
- Contact your administrator to increase worker pod memory limits (K8s deployment)
- Use the Graph clustering planner — it uses less memory than Agentic
- Enable “Smart skip tests” to reduce the number of files processed
Repository Access or Clone Failures
Repository Access or Clone Failures
- Network connectivity issues between the worker and the repository host
- Repository authentication failures (
authentication_error) - Repository deleted, moved, or renamed
- Branch does not exist (
branch_not_found) - Firewall or proxy blocking outbound Git operations
- Verify the repository URL and branch name configured in the code toolkit are correct
- Confirm the repository is accessible and has not been moved or deleted
- Ensure the access token has at minimum read/clone permissions
- Check for firewall or proxy rules that may block Git operations from the ELITEA worker
- Test the code toolkit independently using a simple repository operation
Artifact Storage Issues
Artifact Storage Issues
wiki-artifactsbucket does not exist or was deleted- Insufficient write permissions for the service to upload to the bucket
- Storage quota exceeded
- Network issues between the worker and the artifact storage service
- Verify the
wiki-artifactsbucket exists in the Artifacts menu - Ensure the ELITEA service account has write permissions to the
wiki-artifactsbucket - Confirm storage quota has not been exceeded
- Contact your administrator to verify artifact storage configuration and service account permissions
FAQ
How long does wiki generation take?
How long does wiki generation take?
- Small repositories (< 100 files): 2–5 minutes
- Medium repositories (100–1,000 files): 5–15 minutes
- Large repositories (> 1,000 files): 15–30+ minutes
Can I generate wikis for private repositories?
Can I generate wikis for private repositories?
How do I update the wiki when the repository changes?
How do I update the wiki when the repository changes?
generate_wiki again. Each generation performs a full re-analysis of the repository and creates a new versioned manifest — there is no partial or incremental update. Manual edits made to wiki pages in previous generations will be overwritten by the new generation.Previous versions remain accessible via the version selector in the wiki interface.What happens if I run out of worker slots?
What happens if I run out of worker slots?
[SERVICE_BUSY] error indicating all slots are occupied. You can:- Wait for a running generation to complete — the slot chip next to the Generate Wiki button turns green when a slot is free
- Contact your administrator to increase
DEEPWIKI_MAX_PARALLEL_WORKERS(subprocess mode) orDEEPWIKI_MAX_CONCURRENT_JOBS(K8s Jobs mode)
ask and deep_research are not affected by slot limits and continue to work while generation slots are full.Can multiple agents use the same Wikis application?
Can multiple agents use the same Wikis application?
ask and deep_research operations simultaneously — these tools have no slot limits. Only generate_wiki is subject to slot limits, and concurrent calls from multiple agents may result in a [SERVICE_BUSY] response for all but the first.What LLM models work best with Wikis?
What LLM models work best with Wikis?
- Use models with large context windows — the default
max_tokensis 64,000, so models that support 64k+ tokens produce better wiki pages - GPT-4 or Claude Sonnet are recommended for complex, multi-file documentation
- Adjust
max_tokensin Settings if generation fails or produces truncated content on large repositories
Will changing the embedding model break existing wikis?
Will changing the embedding model break existing wikis?
- Artifacts Menu - Managing generated wiki artifacts
- Agents Menu - Using Wikis tools in agents
- GitHub Toolkit - Setting up GitHub code access
- GitLab Toolkit - Setting up GitLab code access
- Indexing Overview - Understanding indexing in ELITEA