Introduction
Step 1: Navigate to the Pipelines Menu
-
Open the Sidebar:
- From the main platform navigation, locate and click Pipelines in the sidebar.
-
Access the Pipelines Dashboard:
- You’ll see a list of all existing pipelines for your project (if any).
- If this is your first time, the list will be empty.
Step 2: Create a New Pipeline
-
Start Pipeline Creation:
- Click the
+ Createbutton located at the top of the main sidebar.
- Click the
-
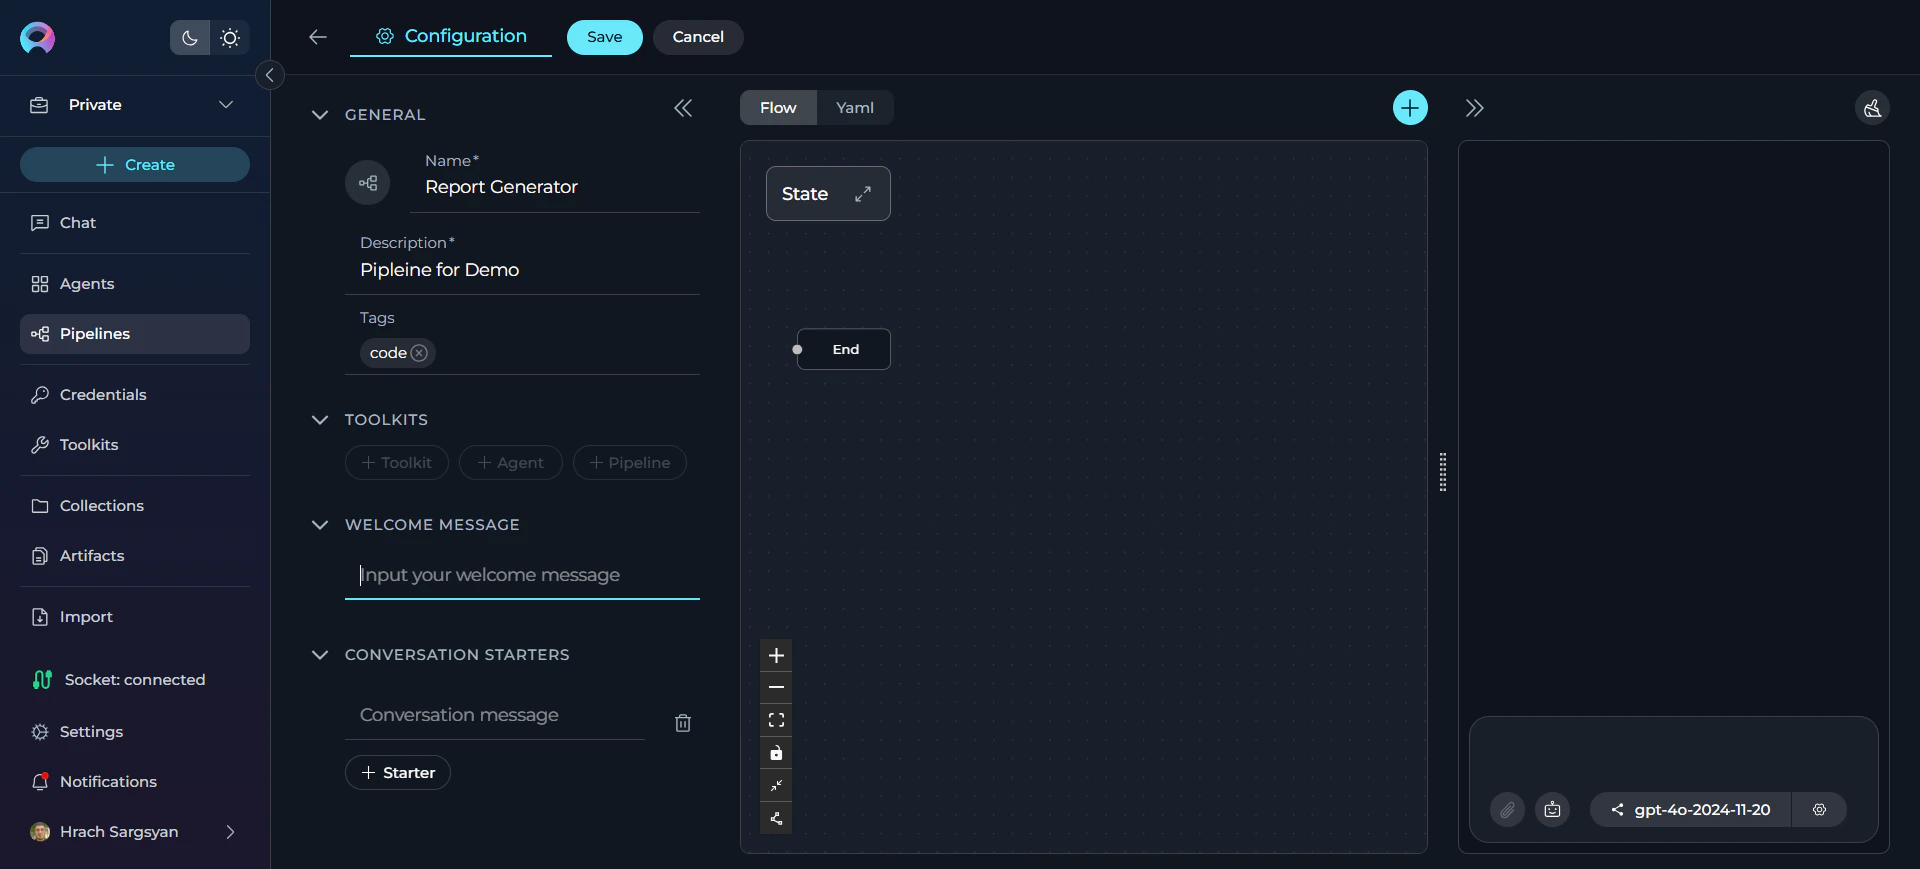
Configure General Information:
- Name: Enter a unique, descriptive name for your pipeline (e.g., “Data Processing Workflow”, “Report Generation Pipeline”).
- Description: Provide a clear description of what your pipeline will do.
- Tags (optional): Add relevant tags by typing tag names or selecting from existing ones.
-
Save Initial Pipeline:
- Click Save to create your initial pipeline.
- This creates the “latest” version of your pipeline.
-
Configure Optional Features:
- Welcome Message (optional): Add a message that users see when they first interact with your pipeline.
- Conversation Starters (optional): Create predefined prompts to help users get started quickly.
-
Save Your Configuration:
- Click Save again to preserve your additional configurations.
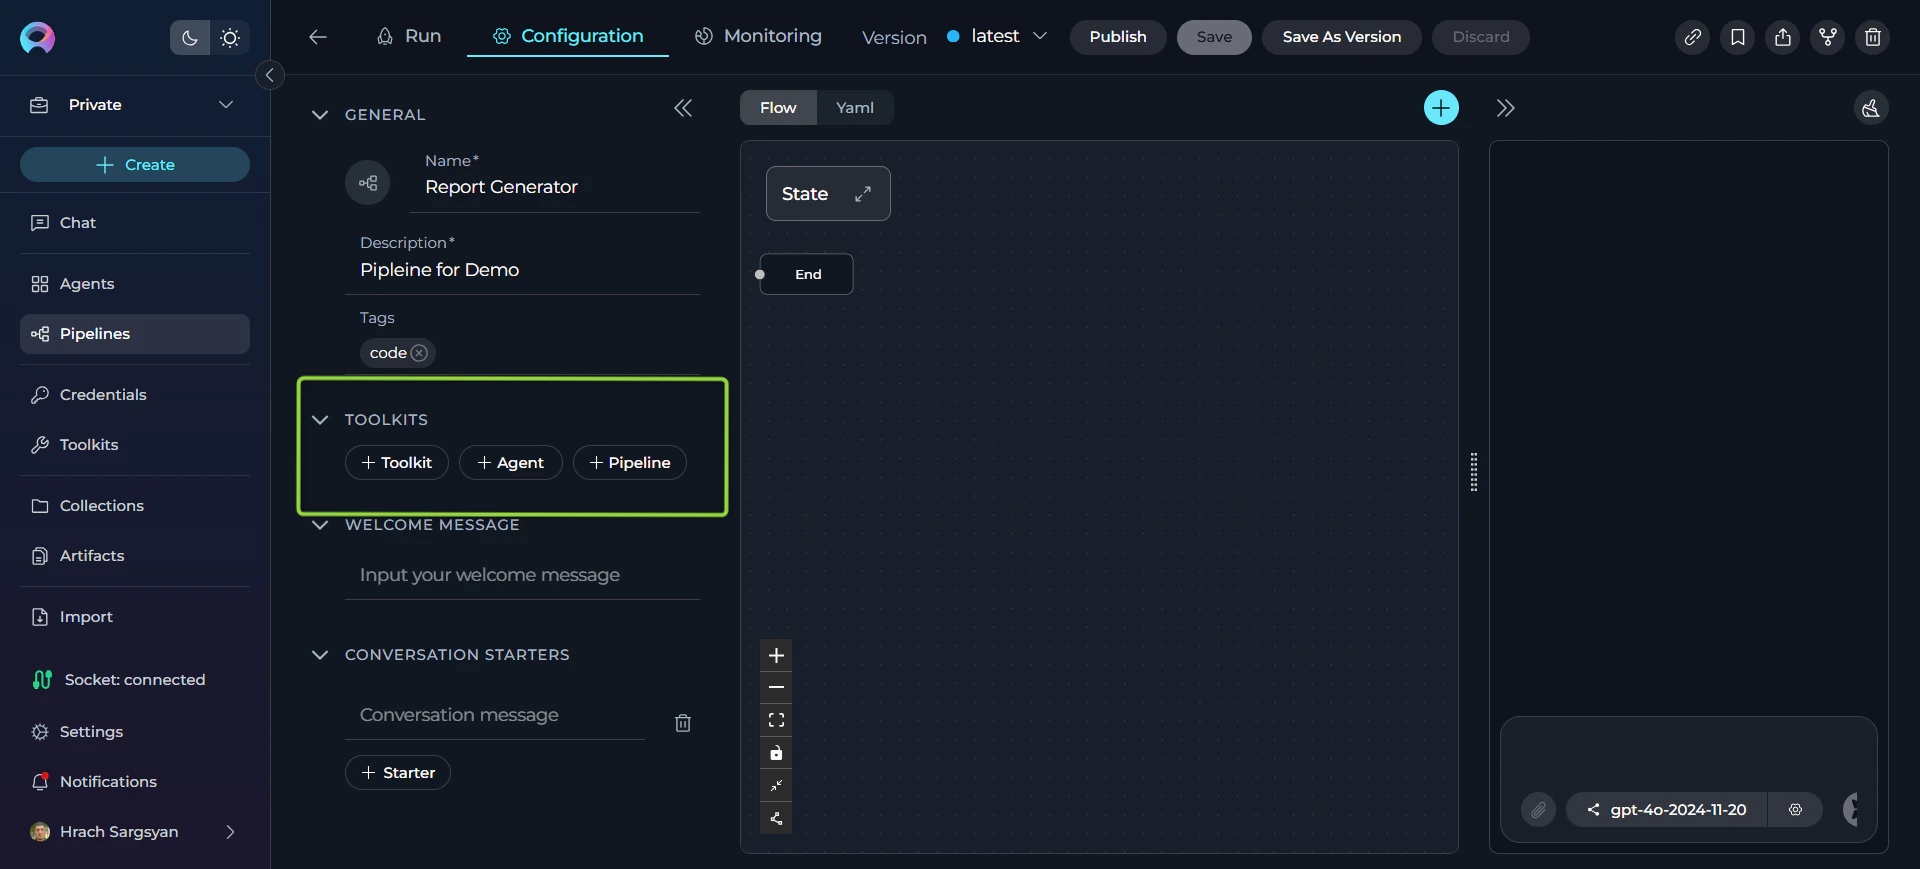
Step 3: Add Toolkits, Agents, or Pipelines
After saving your initial pipeline, the TOOLKITS section becomes available with three integration options to enhance your pipeline’s functionality.Add a Toolkit
-
Access Toolkits Section:
- In your pipeline configuration, scroll to the TOOLKITS section.
-
Add a Toolkit:
- Click the
+ Toolkitbutton. - Select Existing Toolkits: Browse and choose from available toolkits in the platform’s toolkit library, or
- Create New Toolkit: Click the
+ Create newbutton to build a custom toolkit for your specific requirements.
- Click the
For detailed information on creating and managing toolkits, refer to the Toolkits Menu Guide.
Add an Agent
- Click the
+ AgentButton:- This allows you to incorporate existing agents into your pipeline workflow.
Add a Pipeline
- Click the
+ PipelineButton:- This allows you to nest other pipelines within your current pipeline.
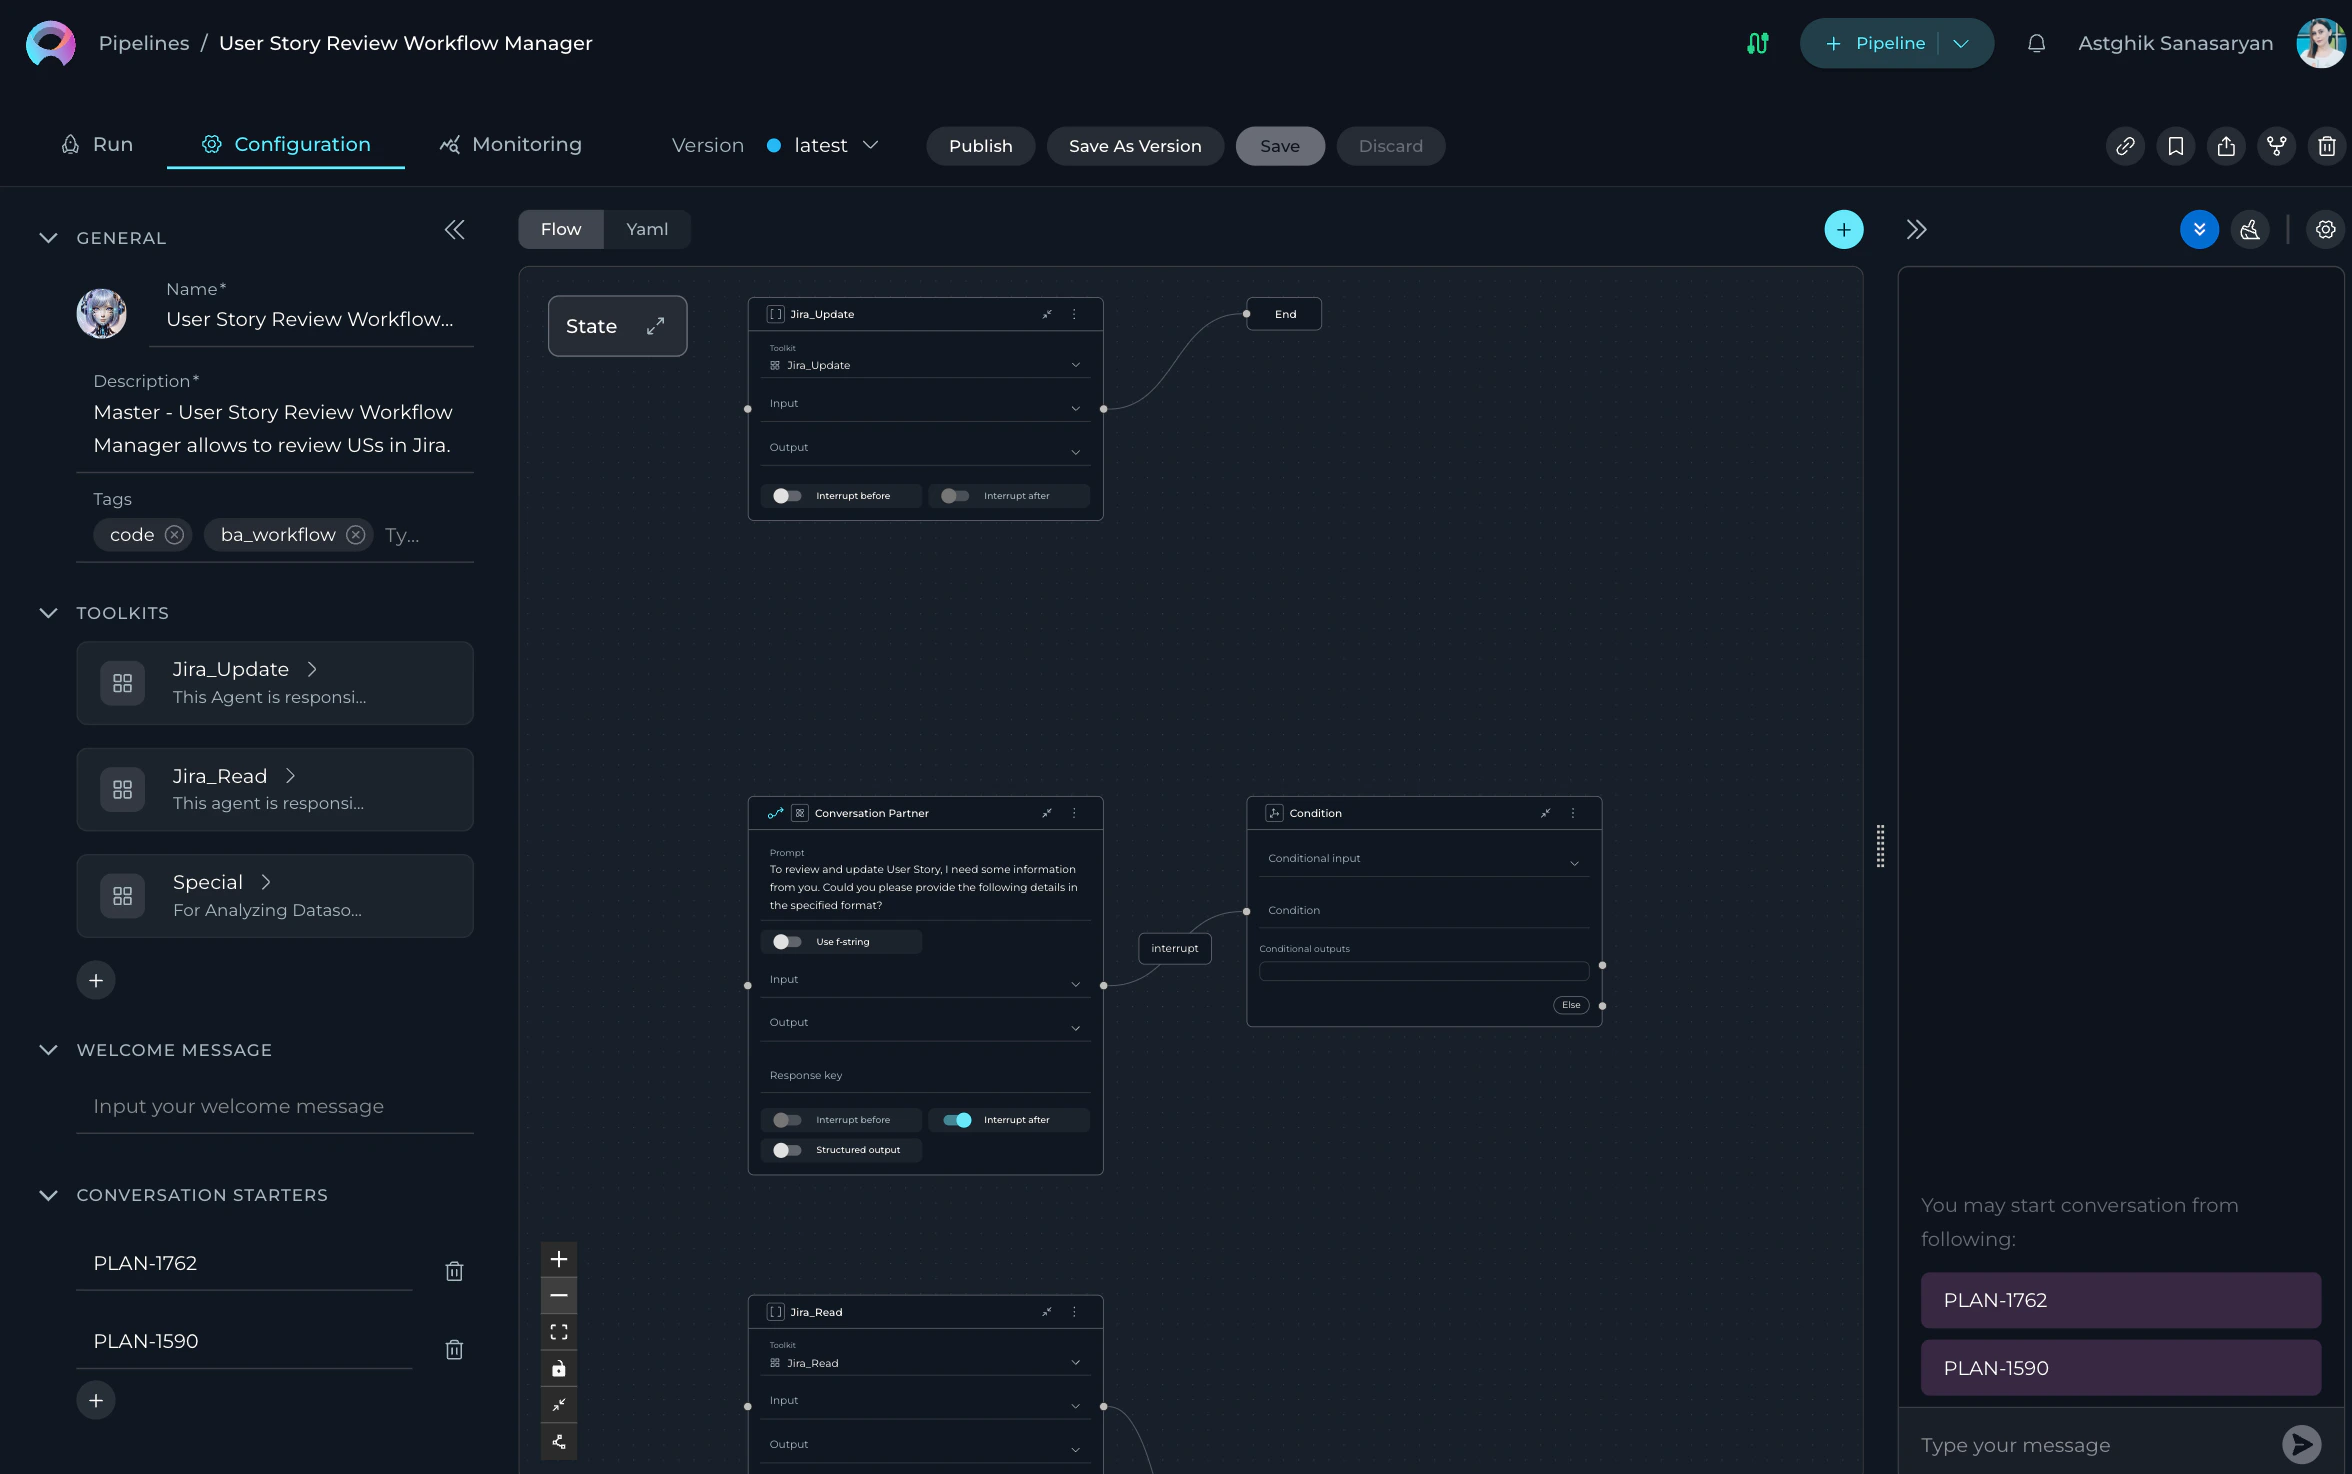
Step 4: Design Your Pipeline Workflow
Using the Flow Designer
-
Access Flow Designer:
- Navigate to the Configuration tab.
- Select the Flow tab to visually design your pipeline.
-
Add Nodes:
- Click the + icon to add new nodes.
- Choose from available node types: Agent, Condition, Decision, Function, LLM, Loop, Loop from Tool, Pipeline, Router, State Modifier, Tool, and Custom.
-
Connect Nodes:
- Drag and drop connections between nodes to establish workflow logic.
- Use the End node to define pipeline completion.
-
Customize View:
- Zoom in or out for better navigation.
- Adjust the view for managing complex workflows.
Using the YAML Editor (Optional)
-
Switch to YAML:
- Click the YAML tab for advanced code-based configuration.
-
Define Workflow:
- Write complex workflows, conditions, and logic using YAML syntax.
- Fine-tune node configurations and set advanced parameters.
-
Validate Syntax:
- Ensure your YAML syntax is correct before saving.
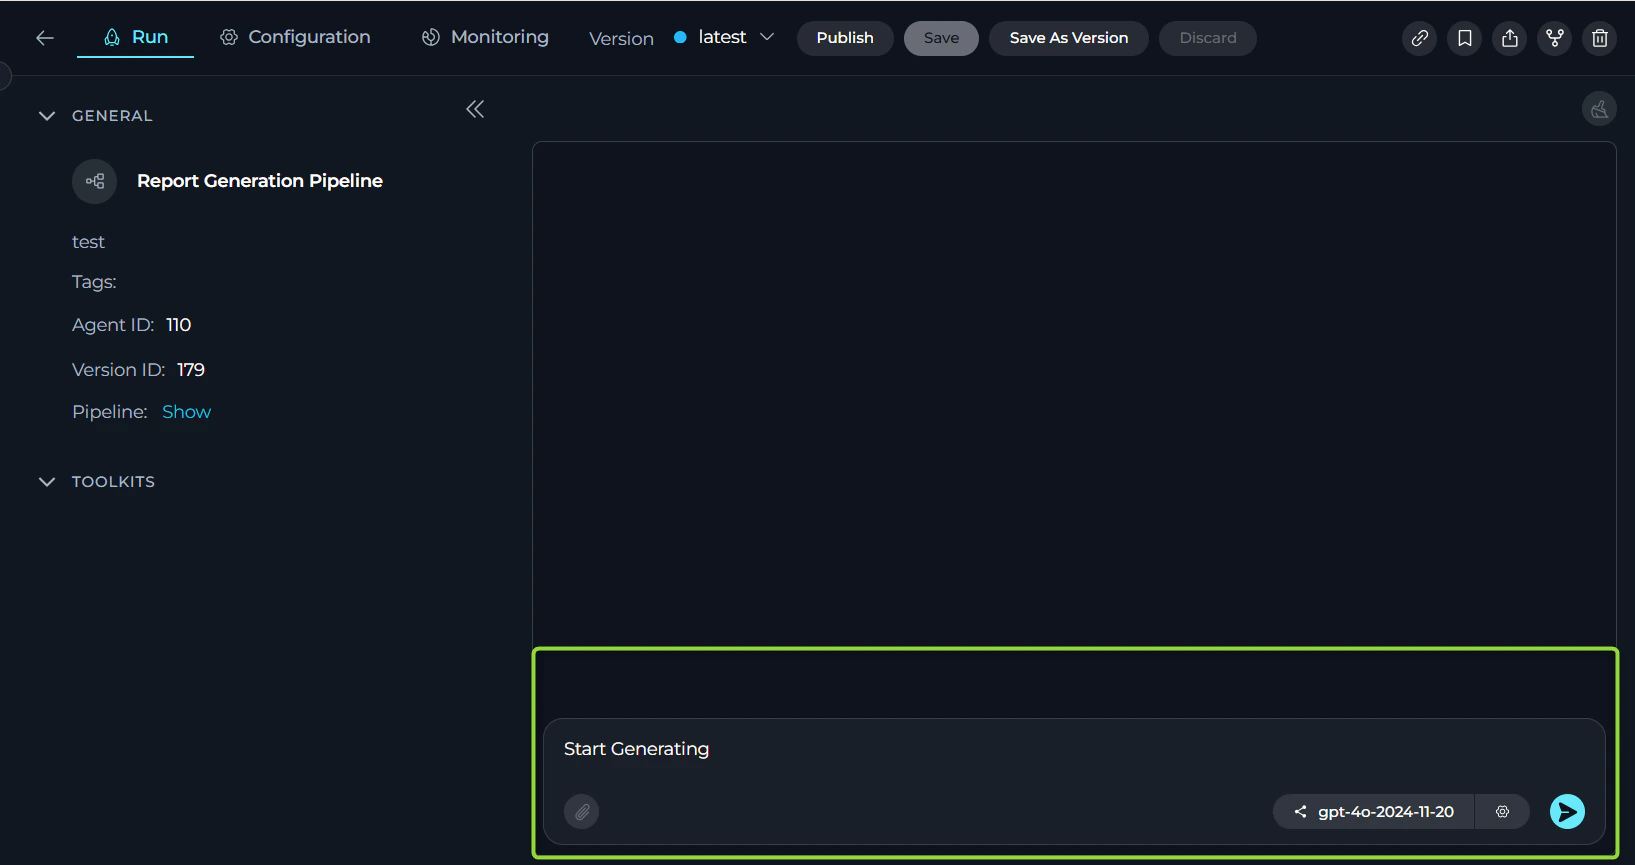
Step 5: Test and Execute Your Pipeline
-
Navigate to Run Tab:
- Click on the Run tab to access the execution environment.
-
Select AI Model:
- Choose an appropriate AI model from the dropdown (e.g., gpt-4o-2024-11-20).
-
Adjust Parameters (optional):
- Temperature: Control creativity level (0.1 for consistent, 1.0 for creative).
- Top P: Adjust word selection diversity.
- Max Completion Tokens: Set response length limit.
-
Start Execution:
- Use a Conversation Starter (if configured), or
- Type your question or command directly.
- Use simple commands like “Go”, “Start Generating”, “Execute”, or “Run it”.
- Click Send to execute your pipeline.
- View the pipeline execution flow and results in real-time.
- Track execution progress and analyze outputs.
- Copy Output: Click the copy icon to save results.
- Regenerate: Click regenerate if output isn’t satisfactory.
- Continue Dialogue: Type follow-up questions or commands.
- Save: Update the current “latest” version or the current named version
- Save As Version: Create a new named version
- Publish: Submit for approval to make publicly available
Step 6: Add Your Pipeline to Conversations
The primary way to use your pipeline is by adding it to conversations for collaborative work.-
Navigate to Chat Menu:
- Go to the Chat section from the main sidebar.
-
Start a New Conversation:
- Click
+ Createto start a new conversation. - Or select an existing conversation where you want to add your pipeline.
- Click
-
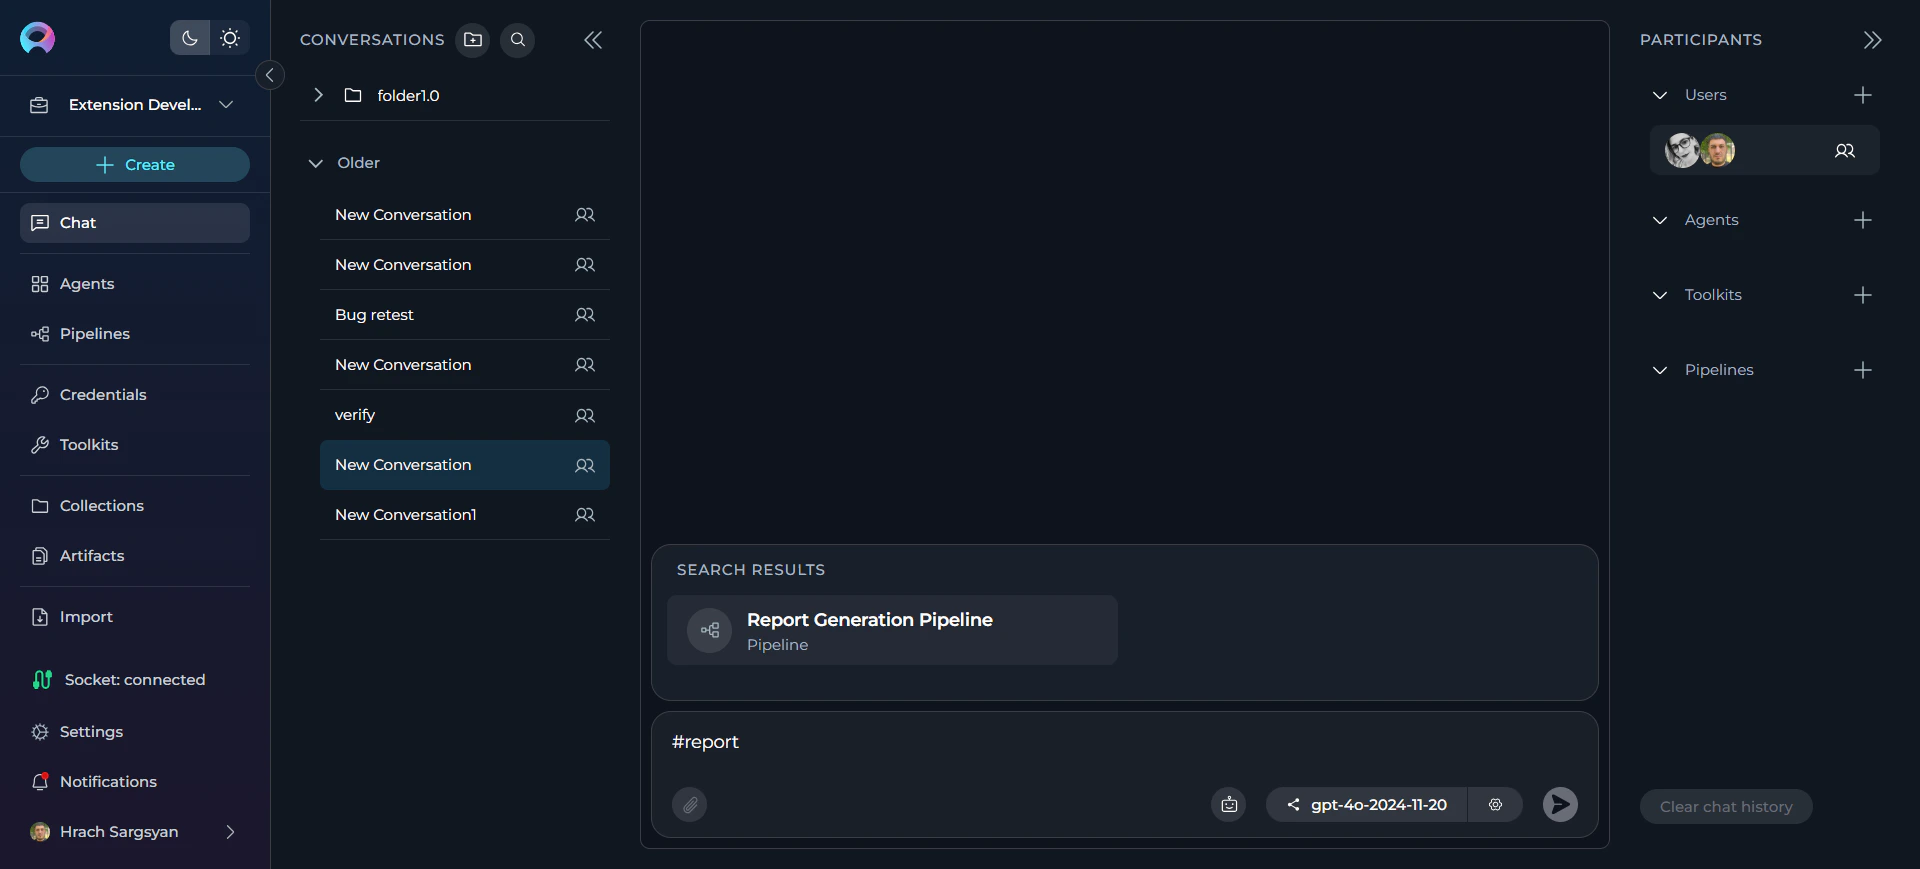
Add Your Pipeline:
- At the bottom of the chat, you can see the switch to assistant icon.
- To switch assistants (e.g., select a Pipeline):
- Click the Switch assistant icon.
- In the “Frequently Used” list, click your pipeline name (e.g., Data Processing Workflow) to select it.
- Alternatively, type # followed by your pipeline name (e.g., #Data Processing Workflow) in the input box to quickly select an assistant
- Alternative Method: Click the + button on the PARTICIPANTS panel next to the Pipeline section to add your pipeline directly to the conversation.
-
Interact with Your Pipeline:
- Type your question or request and send it.
- Your pipeline will respond based on its workflow design and available toolkits.
For detailed instructions on creating a conversation, refer to the Create first Conversation guide.
Next Steps
Now that you’ve created your first pipeline, consider:- Adding more toolkits to expand integration capabilities
- Creating complex workflows with multiple node types
- Building nested pipelines for modular workflow design
- Setting up monitoring for performance optimization
- Publishing versions for team collaboration
For more detailed information, refer to:
- Pipelines Menu Guide - Comprehensive pipeline documentation
- Chat Menu Guide - Learn about conversations and collaboration
- Create a Toolkit - Learn to integrate external services
- Create Credentials - Set up secure authentication
- Pipeline Agent Framework - Advanced pipeline development
- Glossary - Definitions of key terms and concepts