Overview
Navigating to Personal Tokens
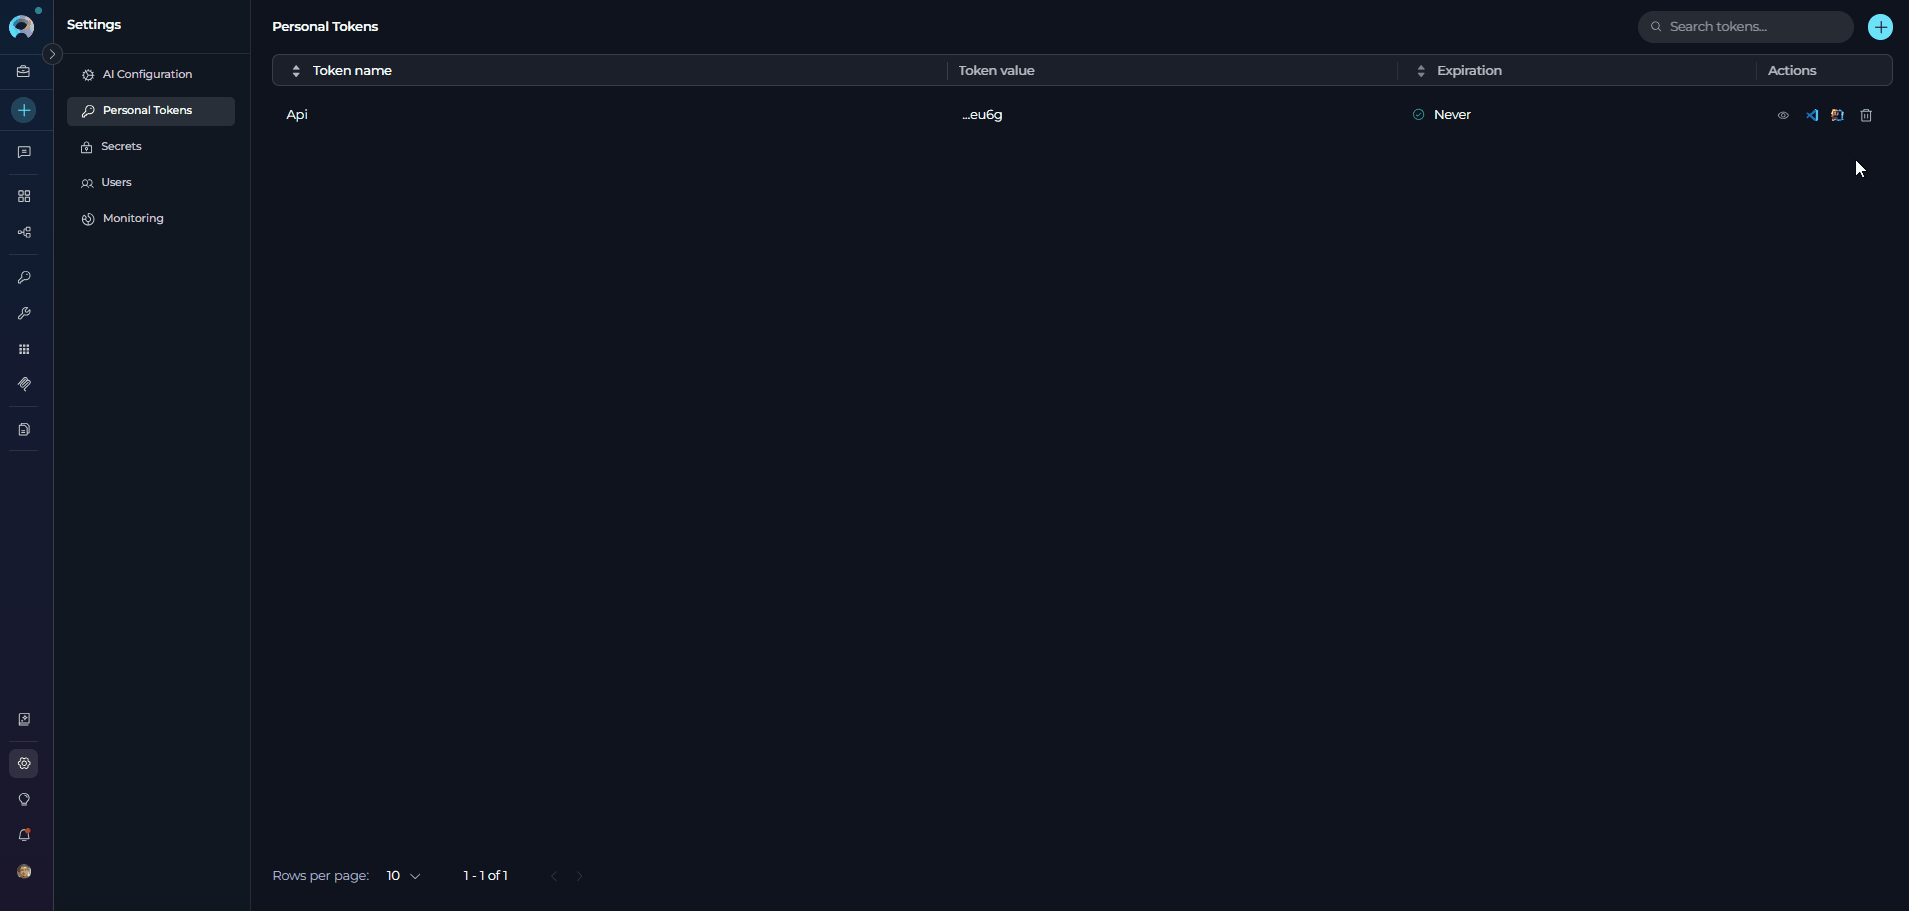
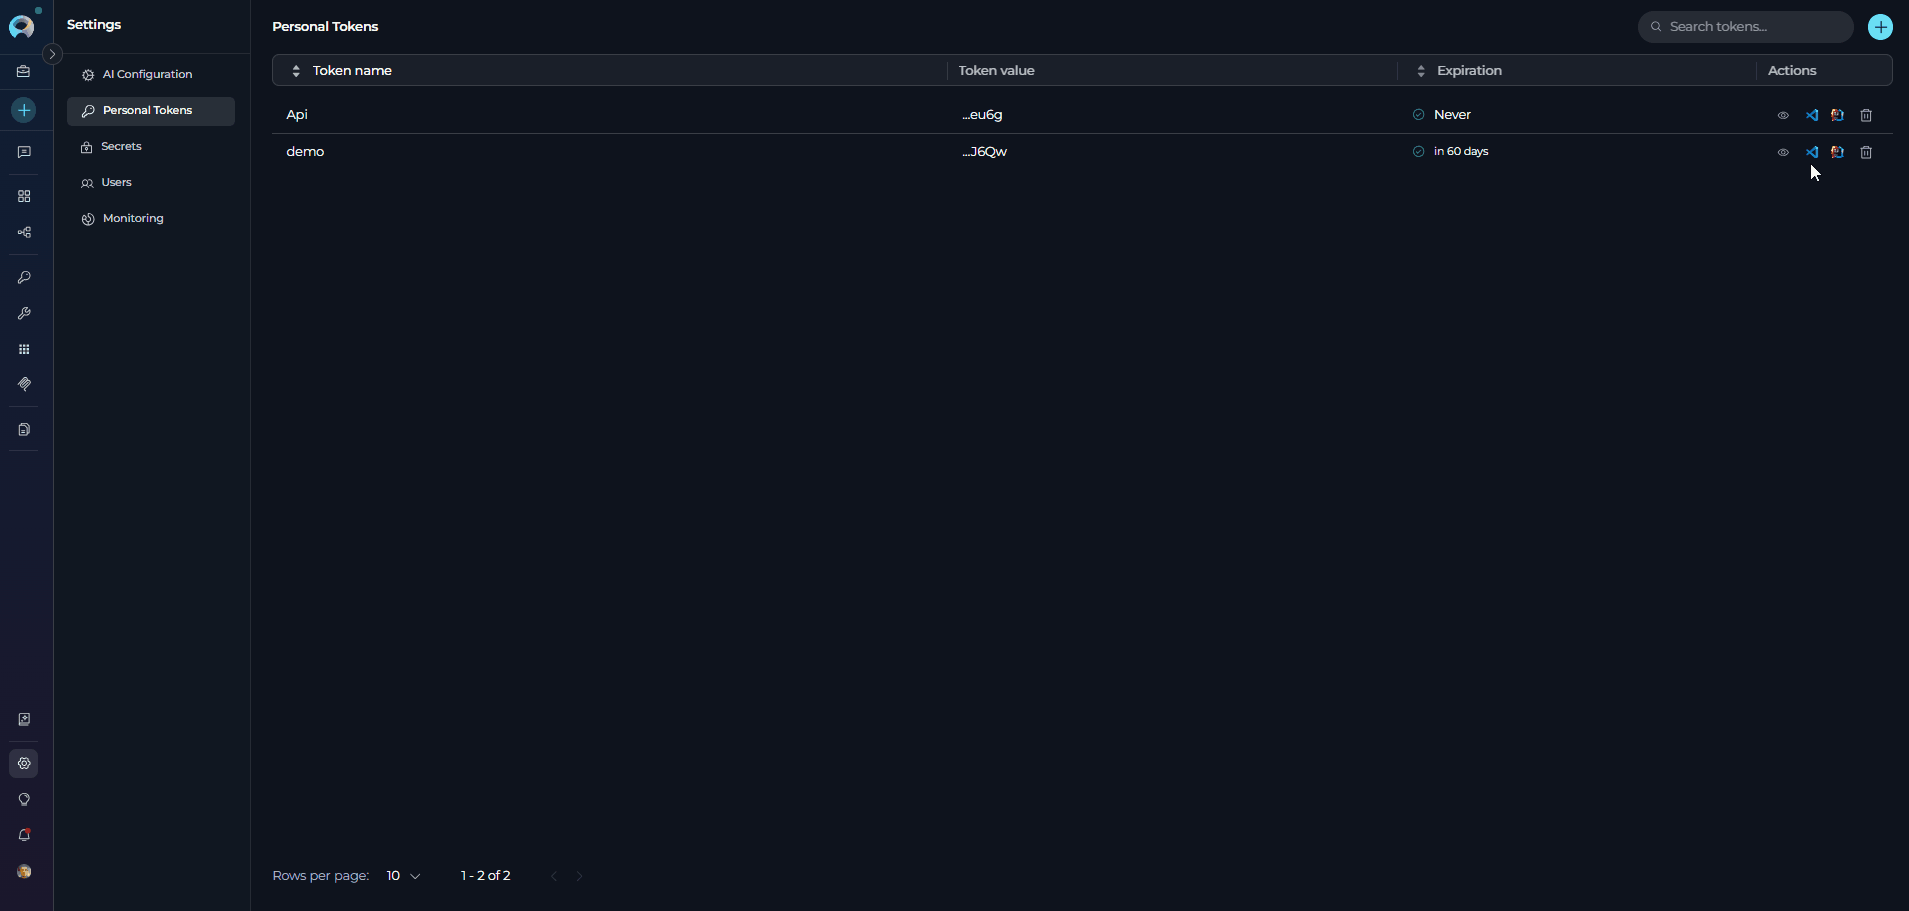
To access the Personal Tokens section:- Click on the Settings icon in the main navigation sidebar.
- Select Personal Tokens (or Tokens) from the settings menu.
- The Personal Tokens management interface will display.
Main Components
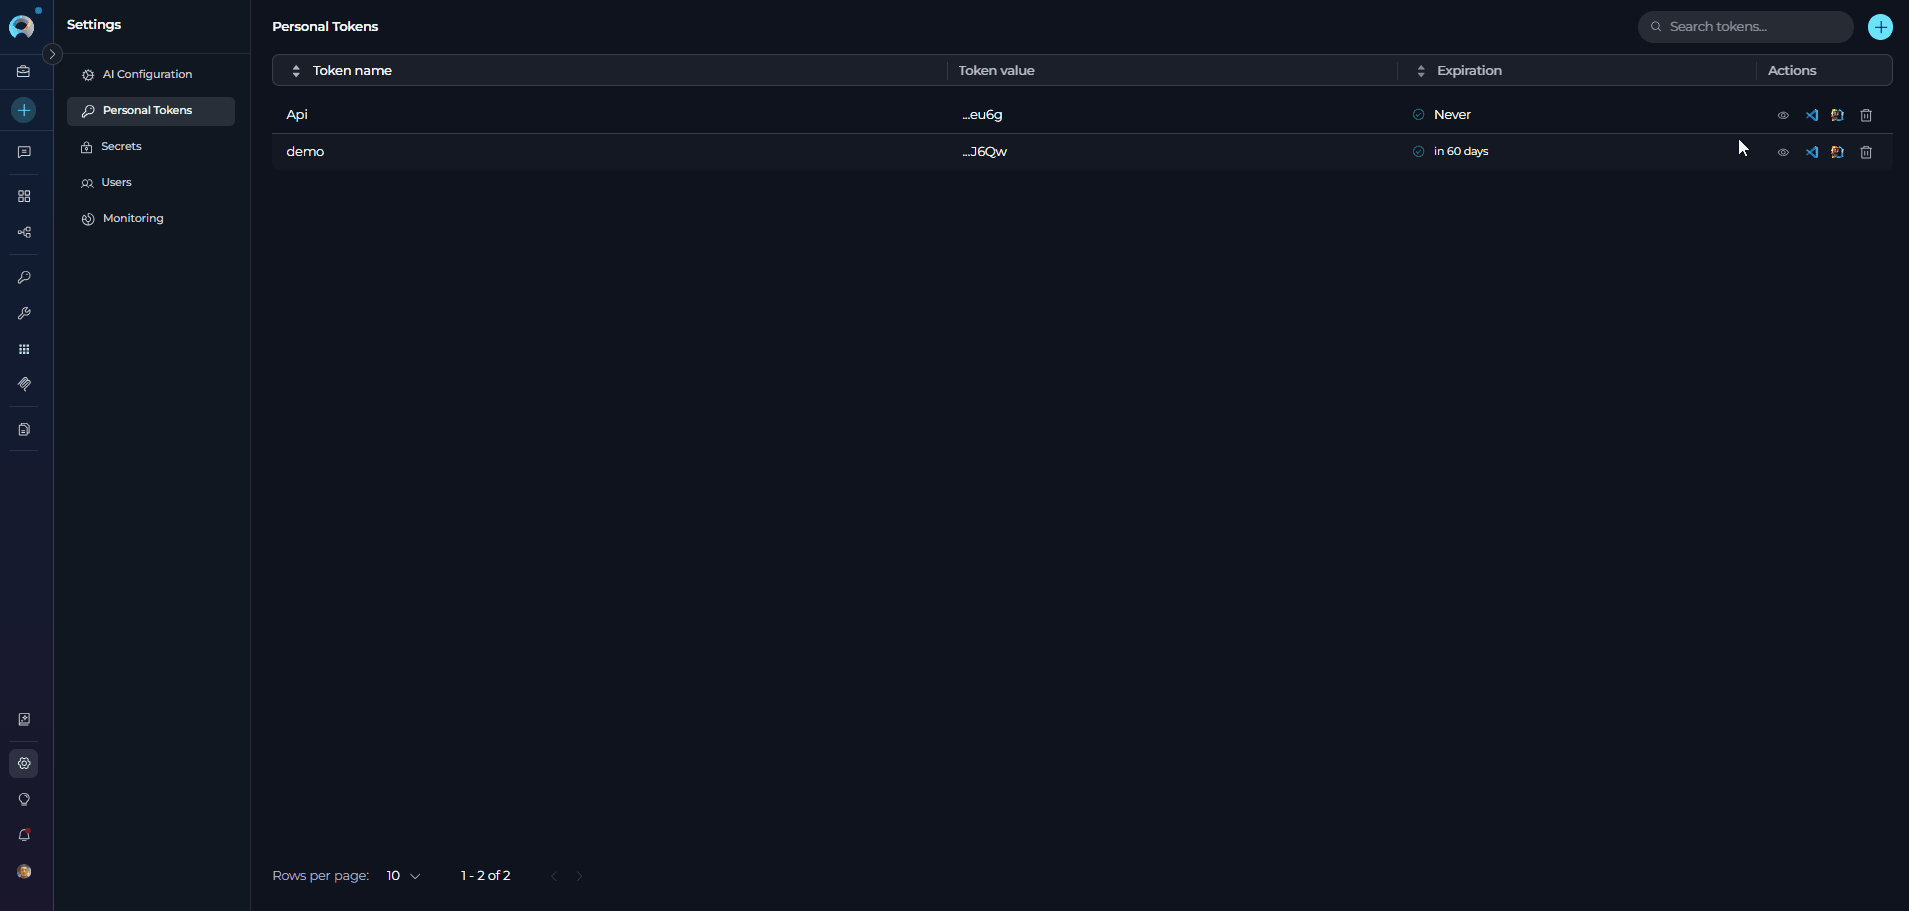
The Personal Tokens section includes:- Search Field: Filter tokens by name using “Search tokens…” placeholder
- + Button: Generate new personal tokens
- Tokens Table: Displays all tokens with columns for Token name, Token value, Expiration, and Actions
- Pagination Controls: Navigate through tokens lists (supports 5, 10, 50, or 100 tokens per page)
- Action Icons: Preview settings, Download VSCode settings, Download JetBrains settings, and Delete options
Tokens Table
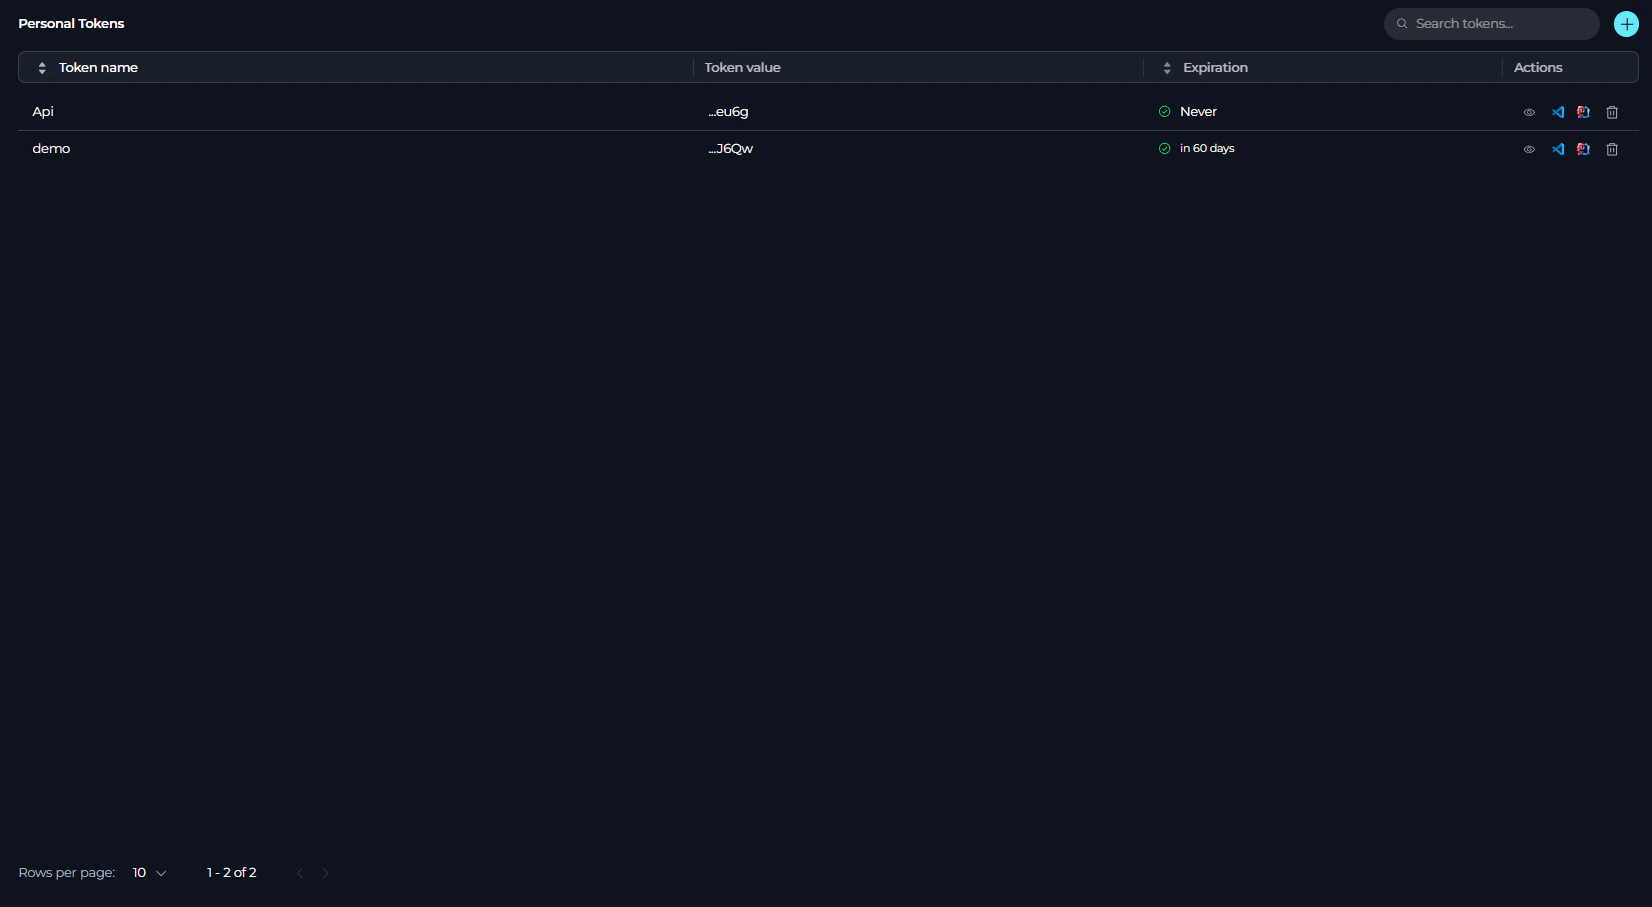
- Token name: The identifier for the token
- Token value: Last 4 characters of the token (e.g., “…ab12”)
- Expiration: Status indicator showing:
- ✓ Green icon with “in X days” for tokens expiring in more than 7 days
- ⚠ Warning icon with “in X days” for tokens expiring within 7 days
- ✓ Green icon with “Never” for tokens without expiration
- ✗ Gray icon with “Expired” for expired tokens
- Actions: Icons for preview, downloads, and delete operations
Creating a Personal Token
To generate a new personal token:- Click the + button in the top-right corner of the Personal Tokens section.
- The “New Token” creation page will open with a form containing:
- Name field: Enter a descriptive name for the token
- Expiration period dropdown: Select from Never, Days, Weeks, Hours, or Minutes
- Value field: Enter the number of expiration units (appears when not “Never”)
- Click the Generate button to create the token.
- A dialog titled will appear with:
- The full token value (displayed once)
- Click the Copy button to copy the token to your clipboard.
- Close the dialog to return to the tokens list.
Managing Personal Tokens
Preview Settings
To preview IDE settings for a token:- Click the 👁 (eye) icon in the Actions column.
- A preview panel will open on the right side showing the IDE configuration for the selected token.
- Use the dropdown selector to switch between VSCode and JetBrains IDE settings.
- From the preview panel, you can:
- Copy: Click the copy button to copy the settings to your clipboard
- Download: Click the download button to save the settings file
- Click the close button to hide the preview panel.
Downloading IDE Settings
- Click the VSCode icon in the Actions column.
- A
settings.jsonfile will be downloaded with pre-configured settings including:
- Click the JetBrains icon in the Actions column.
- An
alita.xmlfile will be downloaded with pre-configured settings.
IDE settings download icons are only available when a model configuration is selected and you are not in the Public project.
Deleting Tokens
To remove a token:- Click the 🗑 (delete) icon in the Actions column.
- A confirmation dialog will appear asking you to confirm the deletion.
- Type the token name to confirm deletion.
- Click Delete to permanently remove the token.
Best Practices
Use Descriptive Token Names
Use Descriptive Token Names
Name your tokens based on their purpose and environment. Examples: “VSCode-MacBook-Dev”, “JetBrains-Windows-Prod”, “API-Testing-Temp”
Set Appropriate Expiration Periods
Set Appropriate Expiration Periods
- Use “Never” only for personal development environments
- Set 30-90 days expiration for production tokens
- Use short expiration (hours/minutes) for testing and temporary access
Monitor Token Expiration
Monitor Token Expiration
Regularly check tokens with warning icons (⚠) indicating expiration within 7 days. Generate replacement tokens before expiration to avoid service interruptions.
Rotate Tokens Regularly
Rotate Tokens Regularly
Even for tokens set to “Never” expire, consider rotating them periodically (every 3-6 months) for enhanced security.
Delete Unused Tokens
Delete Unused Tokens
Remove tokens that are no longer in use to minimize security risks. Before deletion, verify the token is not actively used by any IDE or application.